Hello dear readers. I’m so glad you’re here today, because I have something to celebrate. And it wouldn’t be much fun without you to celebrate it with.
Today, it’s been exactly a year since I started blogging!
I’m usually more of a behind-the-scenes kind of person, so for me, showing myself and the things I do here has been a real adventure. On the whole, despite some jitters now and then, it’s been a very interesting, fulfilling and enjoyable journey. What I’ve enjoyed most of all is looking at the world around me through the lens of my camera and writing about the things I do and love in my own words. As a translator, I always worked with other people’s thoughts and words, and it feels wonderfully liberating to be able to do my own thing here.
I expected to be doing this more or less for myself, at least during the first year or so, but to my surprise and delight I actually seem to have some readers already. Thank you so much for spending some time here, for reading, and for all of your kind comments!
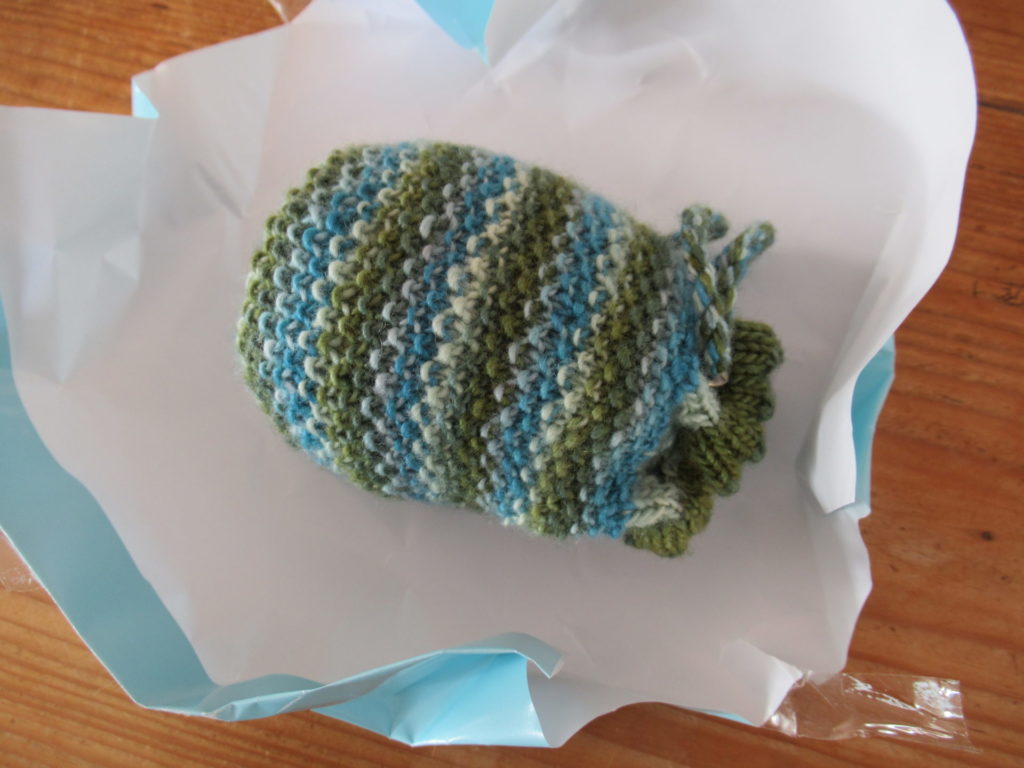
To show my appreciation I’ve made a small gift for you. I’ve learnt a lot during the past year, but what I haven’t learnt yet, is how to post things in 3D, so that you can unwrap it yourself. So I think I’d better do it for you, shall I? Here we go:
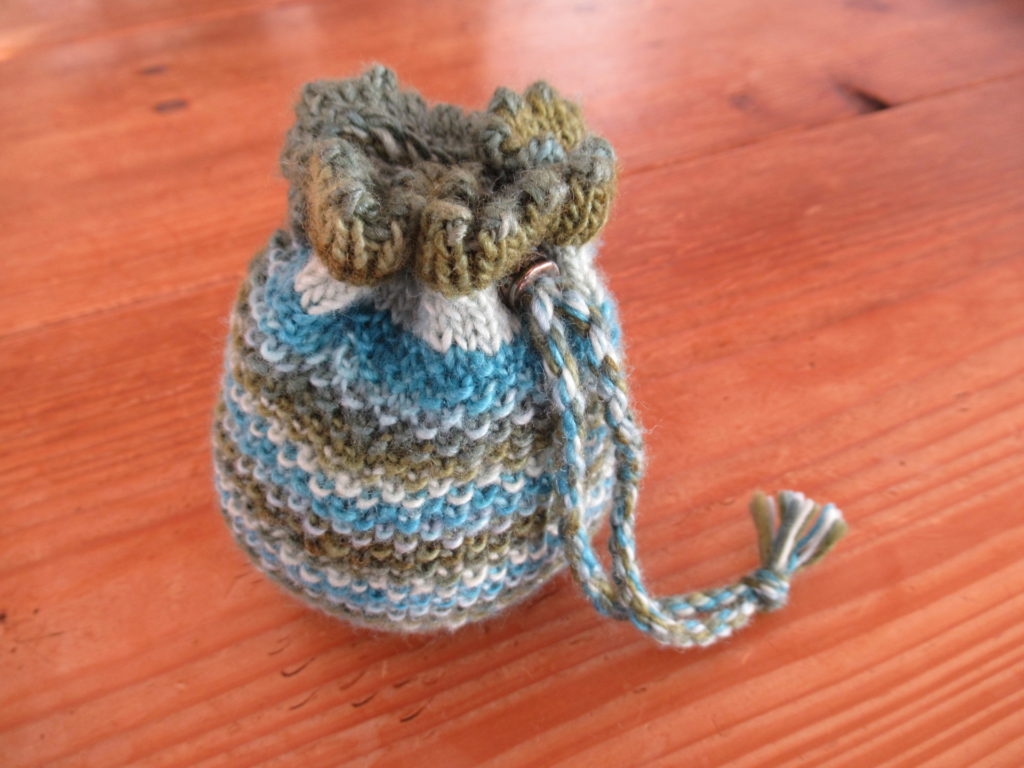
It’s a small knitted drawstring bag. Or rather, the pattern for a small knitted drawstring bag.
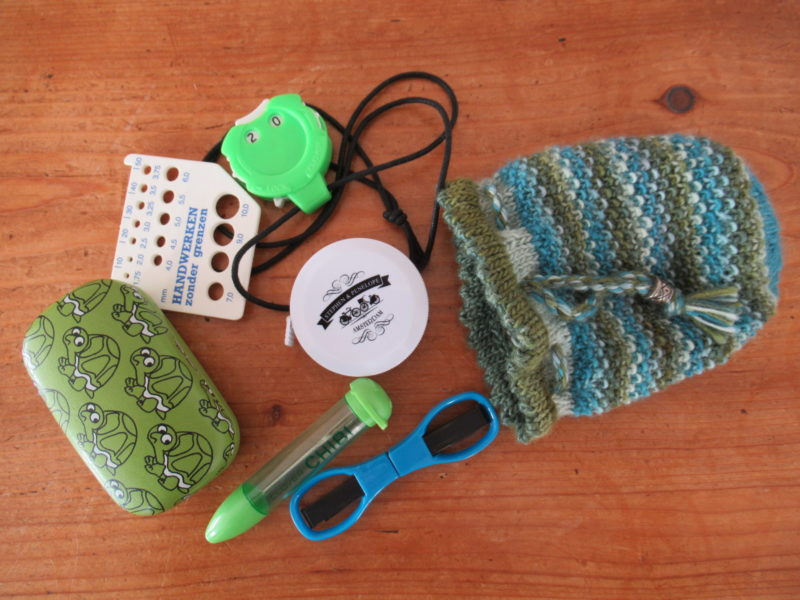
To give you an idea of the size and what you could use it for, here it is with some knitting tools I stuffed into it. It may look incredible, with all these things spread out beside it, but the bag really is big enough to hold them all. (It isn’t quite as magical as Hermione Granger’s bag in Harry Potter, though. I tried to stuff a tent and a few sets of spare clothes in, but that didn’t work.)
Pattern notes
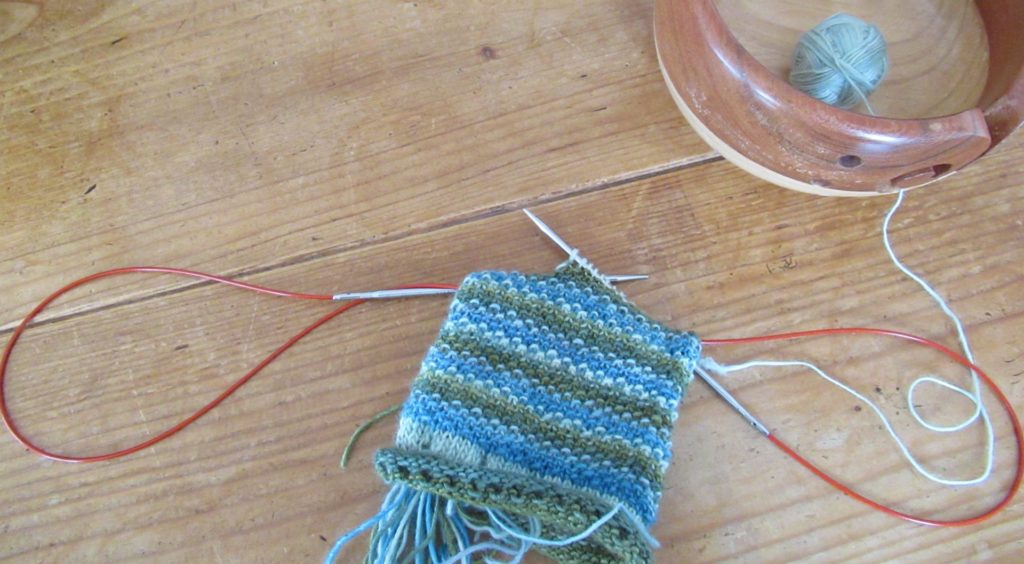
The Blogiversary Bag is worked in the round from the top to the bottom, using a long circular needle and the magic loop technique. If you’re unfamiliar with this technique, you can find a short and simple video showing how to do it here on YouTube. Alternatively, you could use a set of double-pointed sock needles.
This isn’t a very difficult project, but some experience with knitting in the round will help. If you can knit socks, you won’t have any problems with it. Knitting it in a single colour will make it easier, because adding in new colours every few rows is a bit fiddly.
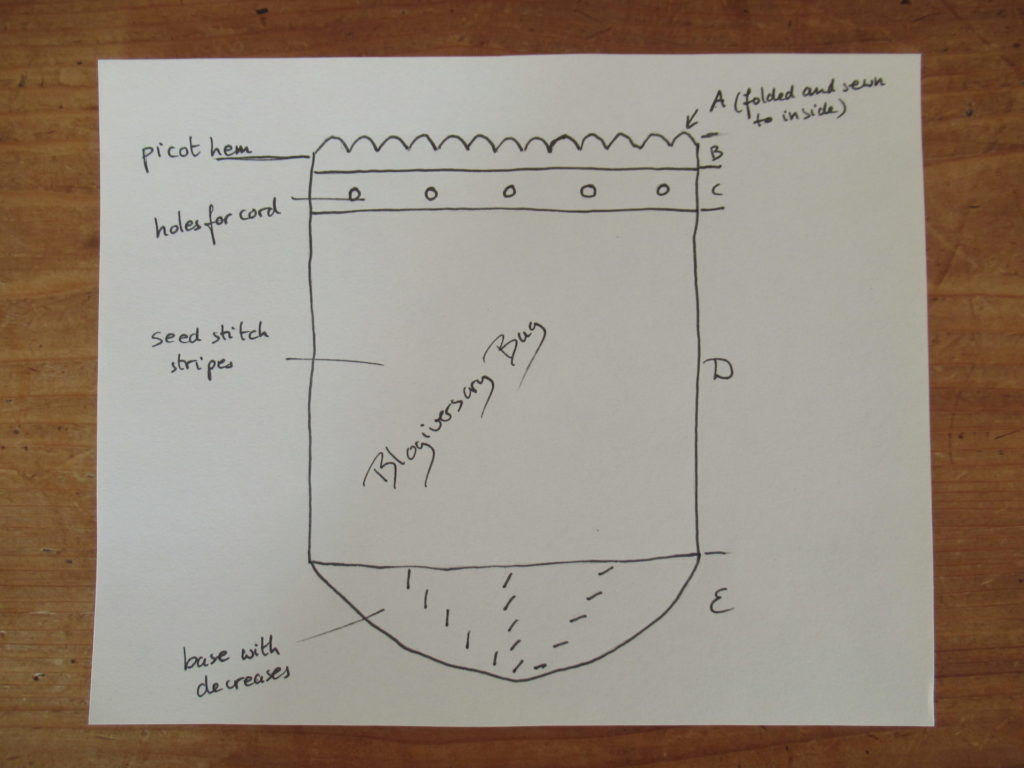
The bag starts with several rows in stocking stitch and a row of eyelets that are folded down and sewn to the inside to make a picot hem. For the sake of clarity I’ve divided the instructions up into 5 sections (A-E, see drawing below).
Gauge: 27 sts x 40 rows = 10 x 10 cm (4” x 4”) in stocking stitch worked in the round.
Finished measurements: Top to start of base 11 cm (4½’’); width 20 cm (8’’) around; base diameter 7 cm (2¾’’).
Yarn, needles and notions
Needles: 3.5 mm (US 4) circular knitting needle at least 80 cm/32″ long.
Notions: Tapestry needle, 1 bead with a 5 mm hole (optional).
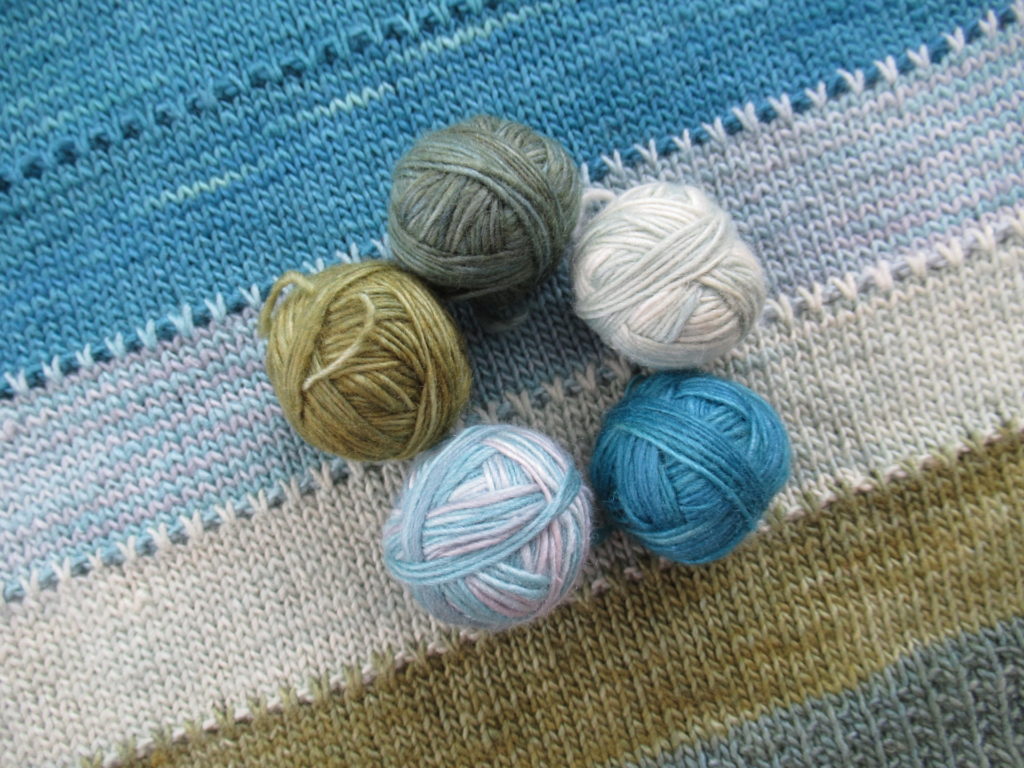
Suggested yarn: A total of approx. 17 g of fingering-weight yarn in 5 colours, for instance Manos del Uruguay ‘Fino’ (70% wool; 30% silk; total yardage/weight approx. 450 m/490 yds/100 g). I used some left-over yarn from Tellina, the simple cowl I made earlier this year, in the colourway ‘Flora’, in this order:
Colour 1: Tincture (darkest green)
Colour 2: Velvet Pincushion (medium green)
Colour 3: Crystal Goblet (pale green)
Colour 4: Folly (dark turquoise)
Colour 5: Watered Silk (pale turquoise)
I used a little more of colours 1 and 4 (approx. 4 grams each) than of the others (approx. 3 grams each).
This is an ideal project for playing with all kinds of left-over bits of yarn. I think it will also work very well in a self-striping (sock) yarn – that will save weaving in a lot of ends! You may have to choose a different needle size, though, and the bag may turn out bigger or smaller.
Abbreviations: K = knit K2tog = knit 2 stitches together P = purl Rnd(s) = round(s) st(s) = stitch(es) yo = yarn over
Instructions
Section A: Cast on 56 sts with colour 1. Rnd 1-4: Knit. Rnd 5: *K2tog, yo; repeat from * to end of rnd.
Section B: Change to colour 2 and knit 5 rnds.
Section C: Change to colour 3. Rnd 1 and 2: Knit. Rnd 3: *K4, K2tog, yo; repeat from * to last 2 sts, K2. Rnd 4 and 5: Knit.
Section D: Change to colour 4. Rnd 1: Knit. Rnd 2: * K1, P1; repeat from * to end of rnd. Rnd 3: *P1, K1; repeat from * to end of rnd.
Repeat rounds 2 and 3 nineteen times more in the following stripe sequence: 2 rnds colour 5; 2 rnds colour 1; 2 rnds colour 2; 2 rnds colour 3; 2 rnds colour 4, ending with 2 rnds in colour 5.
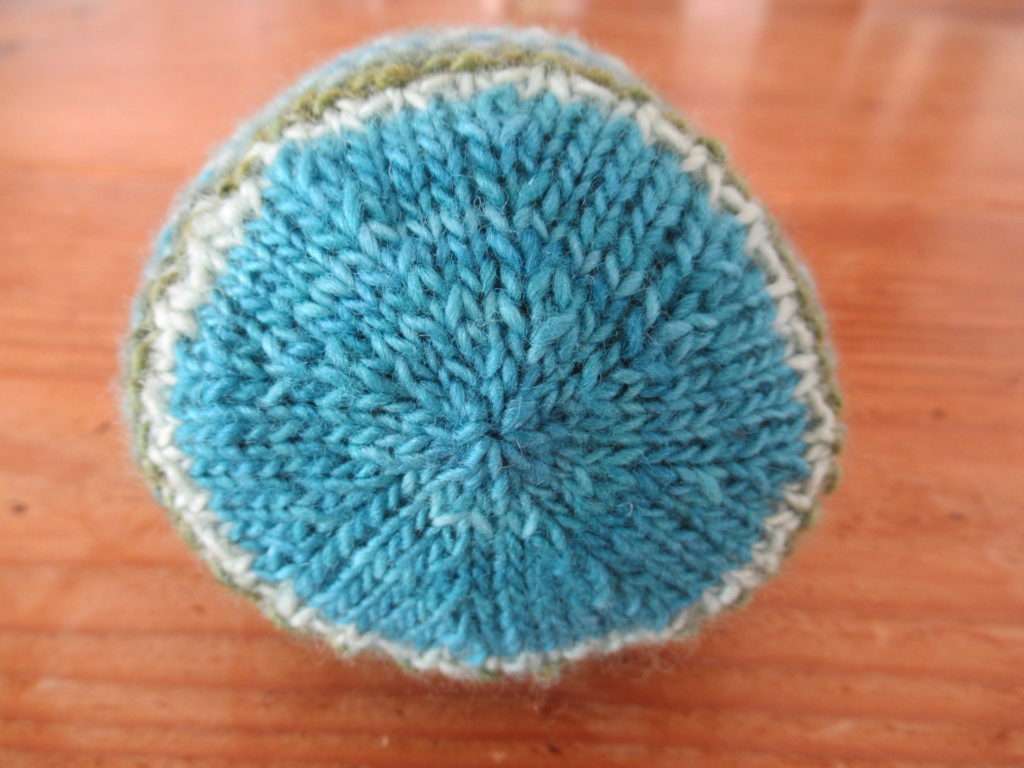
Section E: Change to colour 4. Rnd 1 and all odd rnds: Knit. Rnd 2: *K2tog, K5; repeat from * to end of rnd. Rnd 4: *K2tog, K4; repeat from * to end of rnd. Rnd 6: *K2tog, K3; repeat from * to end of rnd. Rnd 8: *K2tog, K2; repeat from * to end of rnd. Rnd 10: *K2tog, K1; repeat from * to end of rnd. Rnd 12: *K2tog; repeat from * to end of rnd.
Cut yarn. With the tapestry needle, thread yarn through the remaining 8 sts. Fasten off.
Finishing
Weave in all ends.
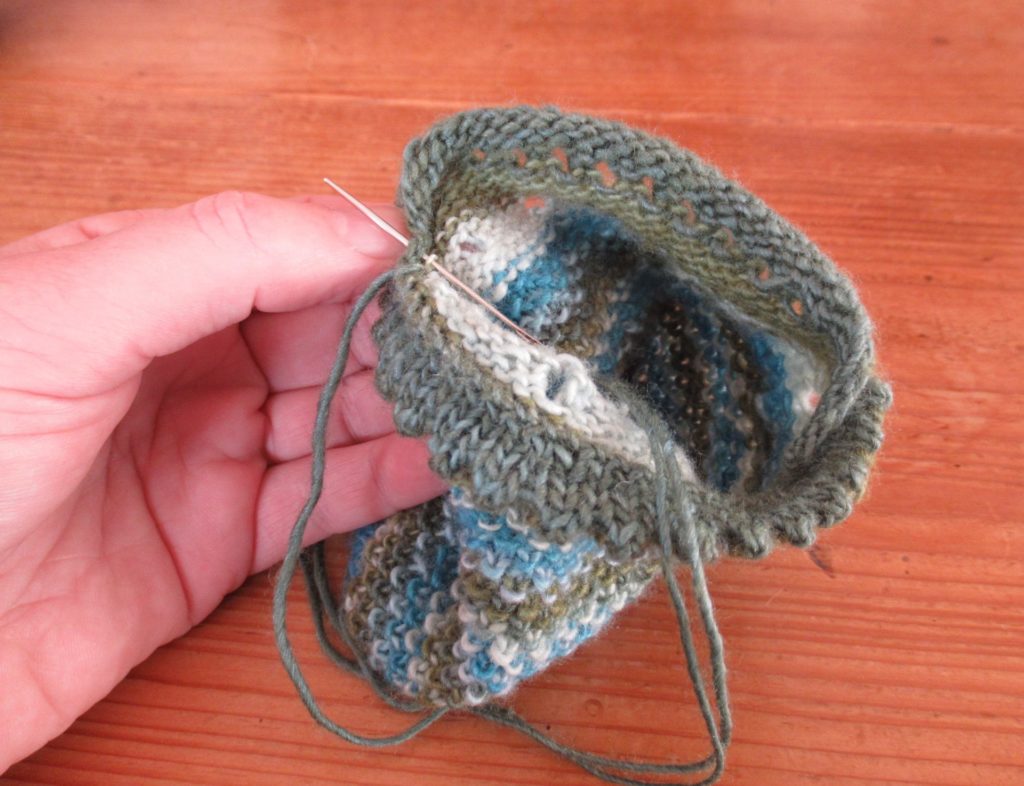
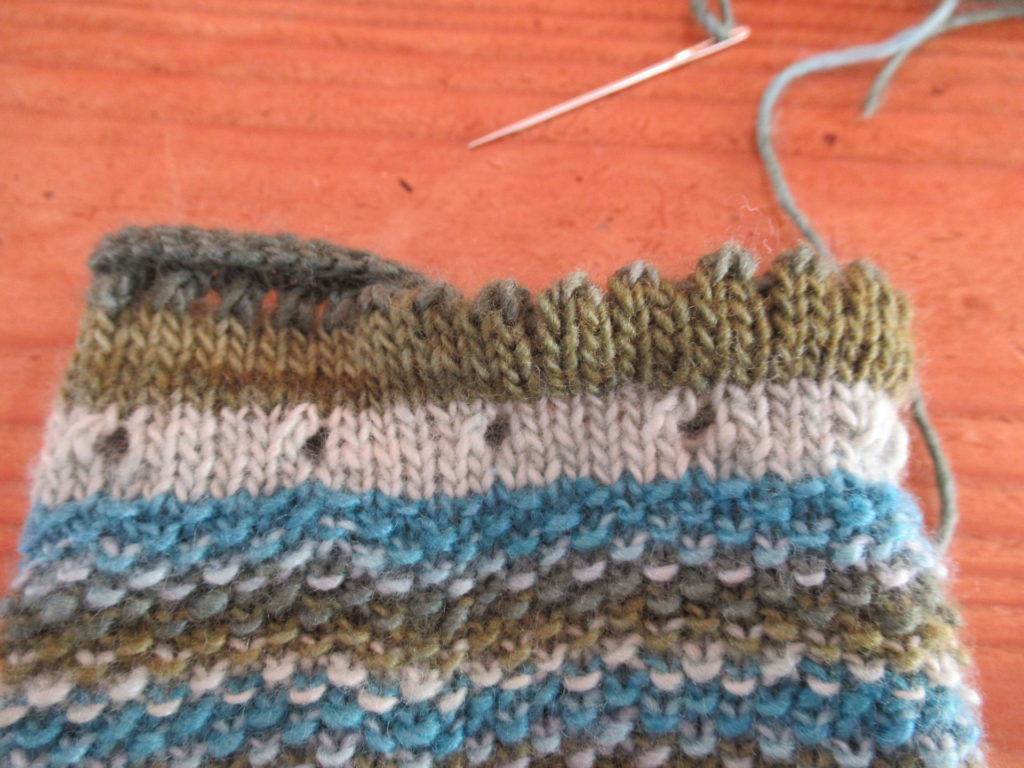
Fold section A to the inside halfway through the eyelets and sew in place with small invisible stitches.
Below there’s another picture of this step, showing what the top looks like before (left) and after hemming (right).
The cord
Thread a cord of approx. 40 cm/16” long through the holes. Use either I-cord, twisted cord, or some shop-bought cord or ribbon.
A twisted cord like the one I used, can be made as follows:
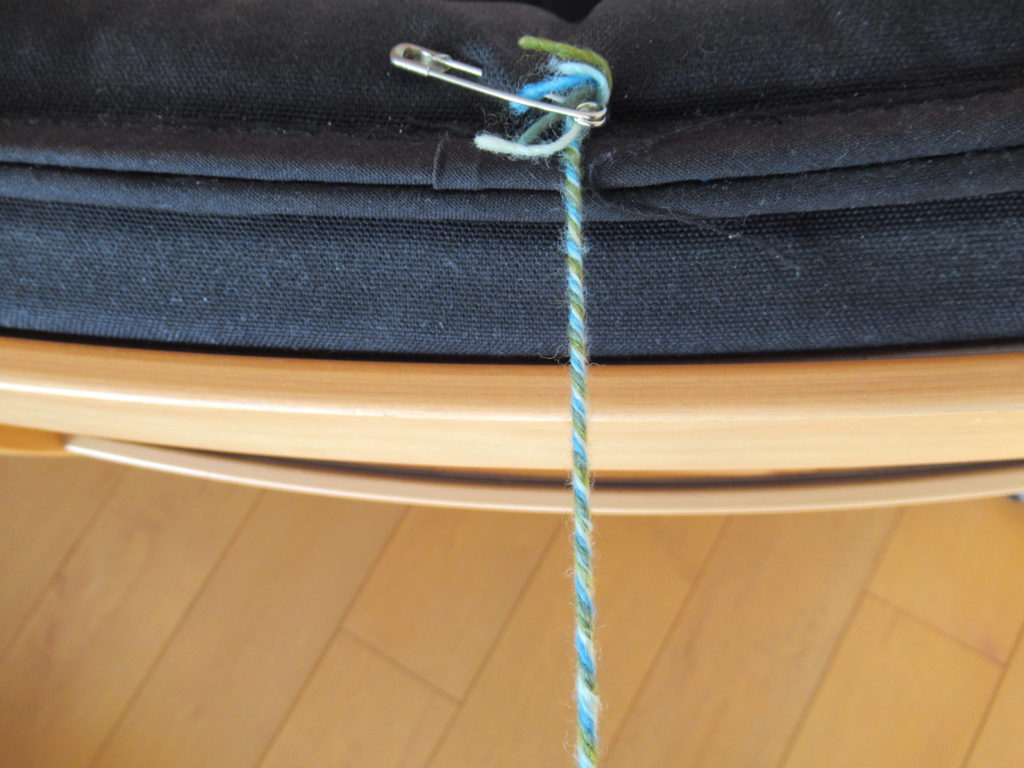
Cut five 1 m/40” lengths of yarn in each of the 5 colours.
Make a provisional knot at one end and fasten it with a safety pin to a heavy object, like a chair.
Twist the threads as tightly as possible.
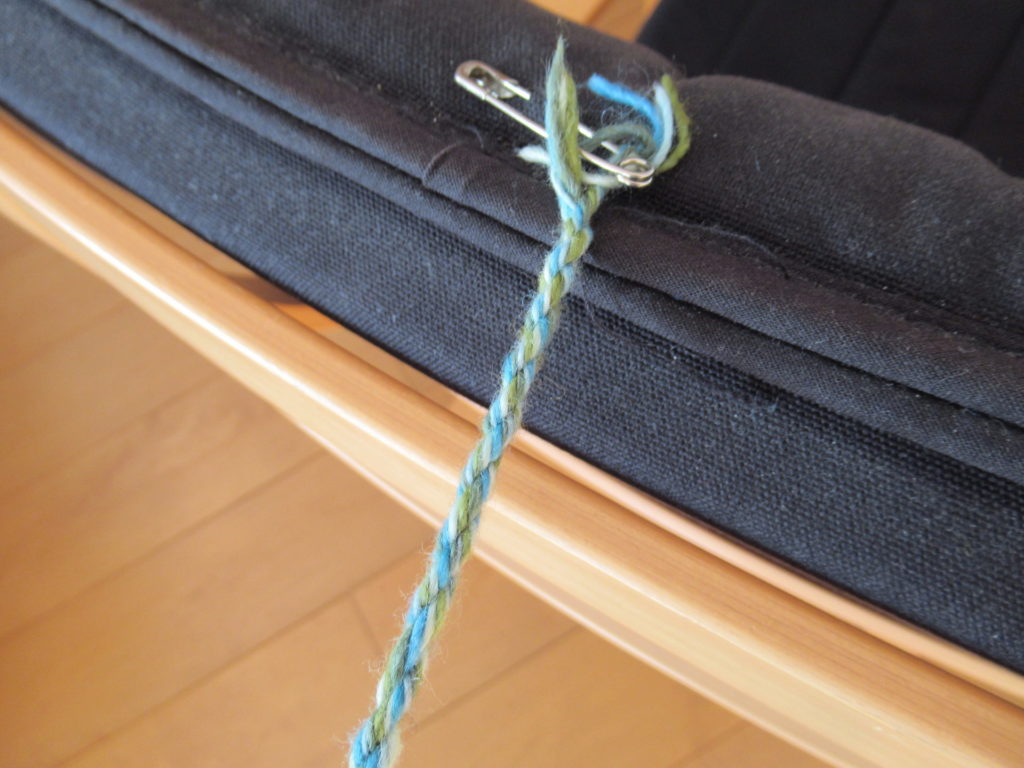
Place your index finger in the middle, fold in half and let the doubled threads twist around each other, smoothing with your hands, if necessary.
Remove safety pin and thread the cord through the holes.
Untie the provisional knot and thread both ends through a bead, if you like. This makes a nice closure, but is not absolutely necessary.
Knot both ends of the cord together and cut off to a nice little tassel.
And that’s it, the Blogiversary Bag all done.
I hope you’ve enjoyed that. If you have any questions about the pattern, please leave a comment and I’ll try to answer as well as I can.
I’ll also add the Blogiversary Bag as a free pattern to Ravelry, so that you can add you own projects there if you like.
12 thoughts on “A Blogiversary Gift for my Readers”
Gefeliciteerd Marijke!
Ik houd van t lezen van je blog op de vroege vrijdagochtend .
En wat een leuke verrassind, je cadeau voor je lezers. Super leuk, dank!
Dank je. Fijn dat je er weer bent!
Ha Marijke,
Wat een orginele blogpost, en zo’n leuk cadeau! Zoals je weet kan ik zelf niet breien, maar erover lezen vind Ik, vlak voor ik aan het werk ga, heel gezellig!
Een leuke dag, Karin
Bedankt! Ik vind het altijd zo bijzonder en leuk dat mensen die zelf niet breien dit leuk vinden om te lezen. Werk ze!
Very Nice, Thank You
Have been enjoying your musings since I signed up earlier this year.
Hi! And thank you! You must be one of my first readers.
How lovely! Just what I needed for my Tellina leftovers. Thank you!
Happy knitting!
Thank you! For the timely pattern gift and for the picture of the items that you stored in it…I have been trying to think of items useful for a new knitter, and this is exactly what he needs. And thank you for your interesting and refreshing blog.
A new knitter, that’s wonderful! Are you teaching him? These are some of the knitting tools I use almost every day, so I think they’ll come in handy.
I’m waiting for the yarn to arrive for my Tellini! meanwhile, I just love this little bag, and will be making it for sure.
I very much appreciate your kindness in providing information regarding the cemetery in Margraten. I’m happy that I’ve “met” you!
Many thanks for this sweet pattern!
I’m looking forward to seeing your Tellina and the colours you’ve chosen on Ravelry. And I hope the little bag works for you too – It is a bit fiddly, but a nice way to use up your scraps. Happy knitting!