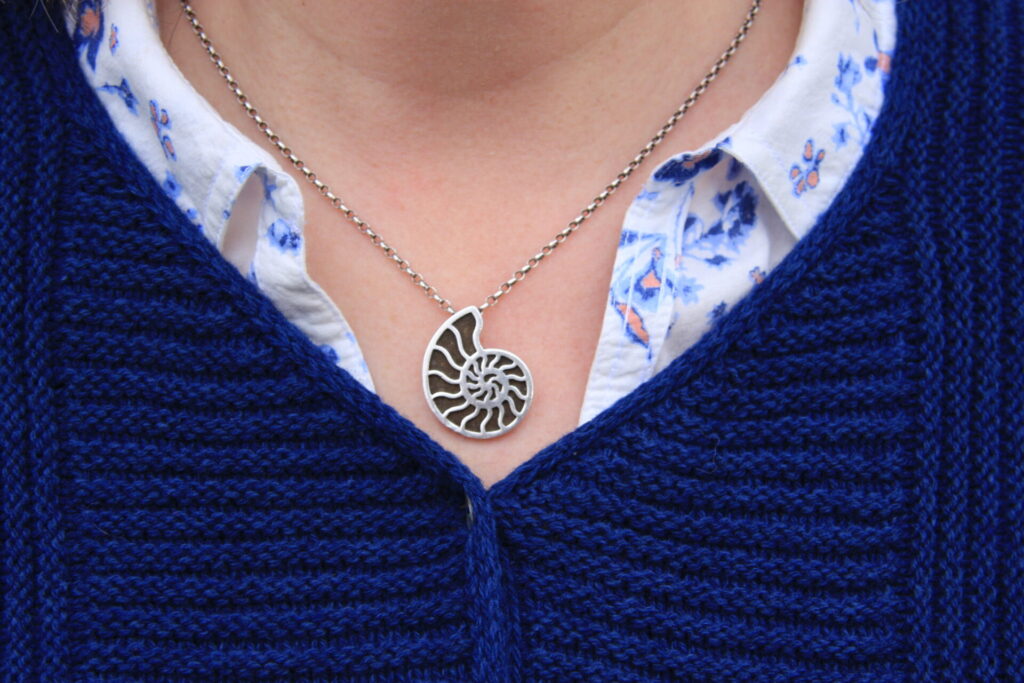
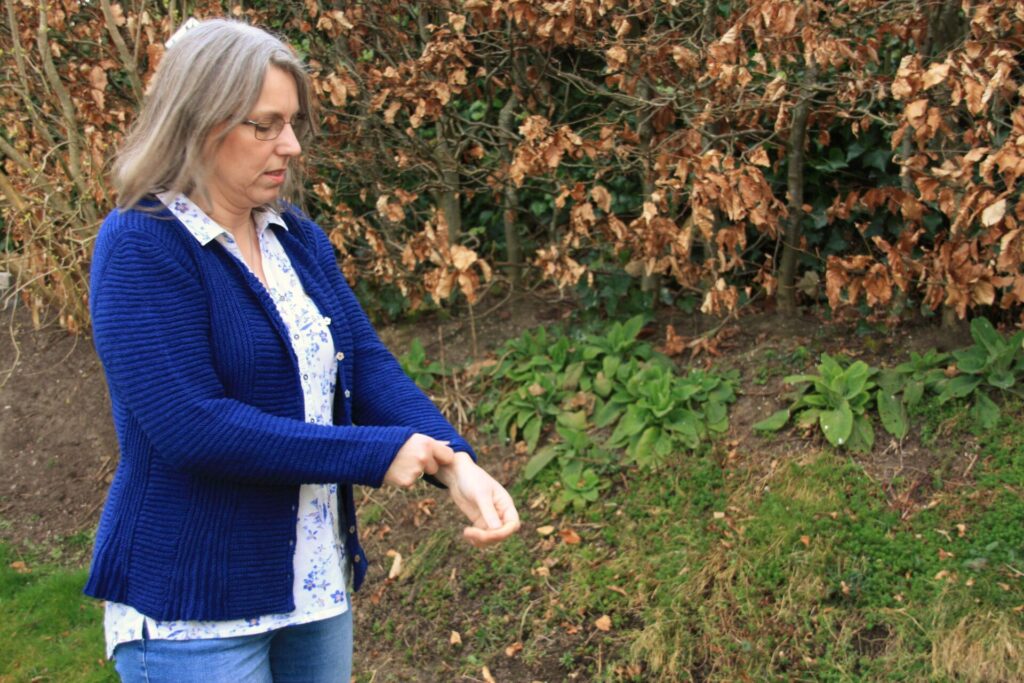
Phew, it’s finished! My Panel Debate cardigan, I mean. It took me about 8 months from start to finish. Well, I knit several other things in between, but on 2.75 mm (US 2) needles and with quite a few technical challenges, it wasn’t a quick knit.
It certainly was interesting, though, and I thought you might like to read about some of the special techniques (so much I-cord!) and what helped me finish it.
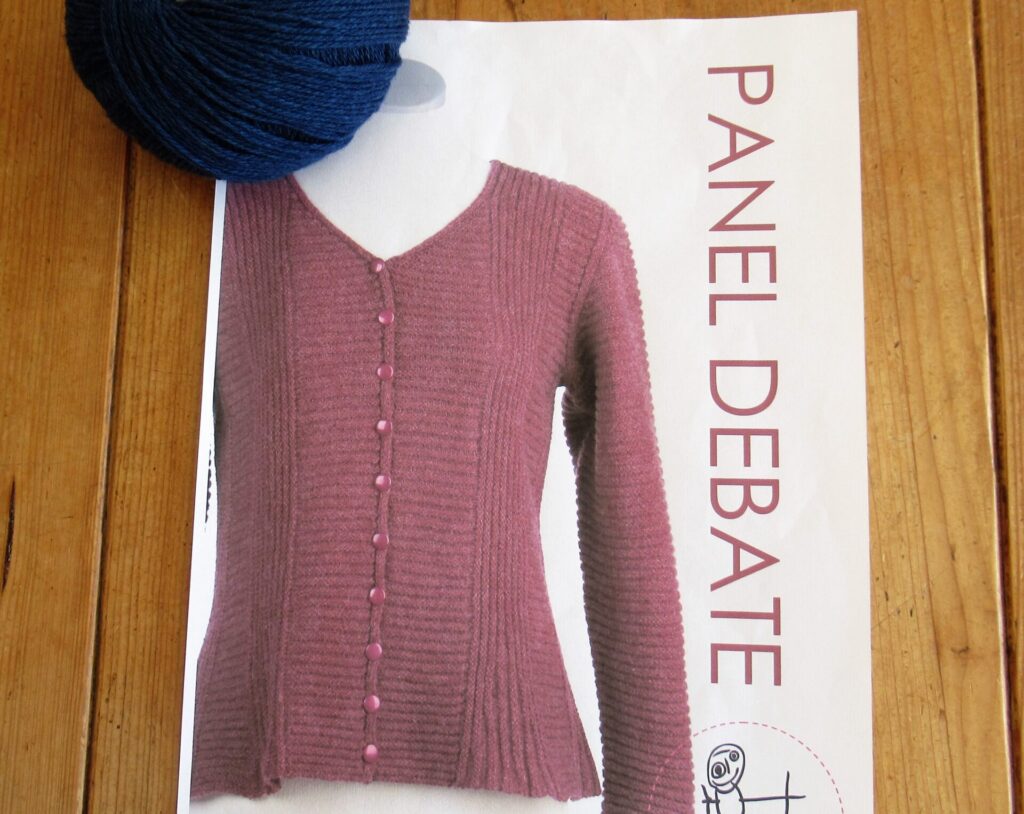
Panel Debate is a pattern by Danish designer Bente Geil, and can be found on Ravelry under its Danish name Paneldebat. I used one of the designer’s own yarns: Geilsk Bomuld og Uld – a light fingering weight blend of 55% wool and 45% cotton.
Reading through the pattern, I couldn’t make head nor tail of the instructions for the neckline. There seemed to be something wrong, so I e-mailed the designer. She said she’d look into it and sent me a new version of the pattern the very next day (during her Summer break!). Excellent service, I have to say.
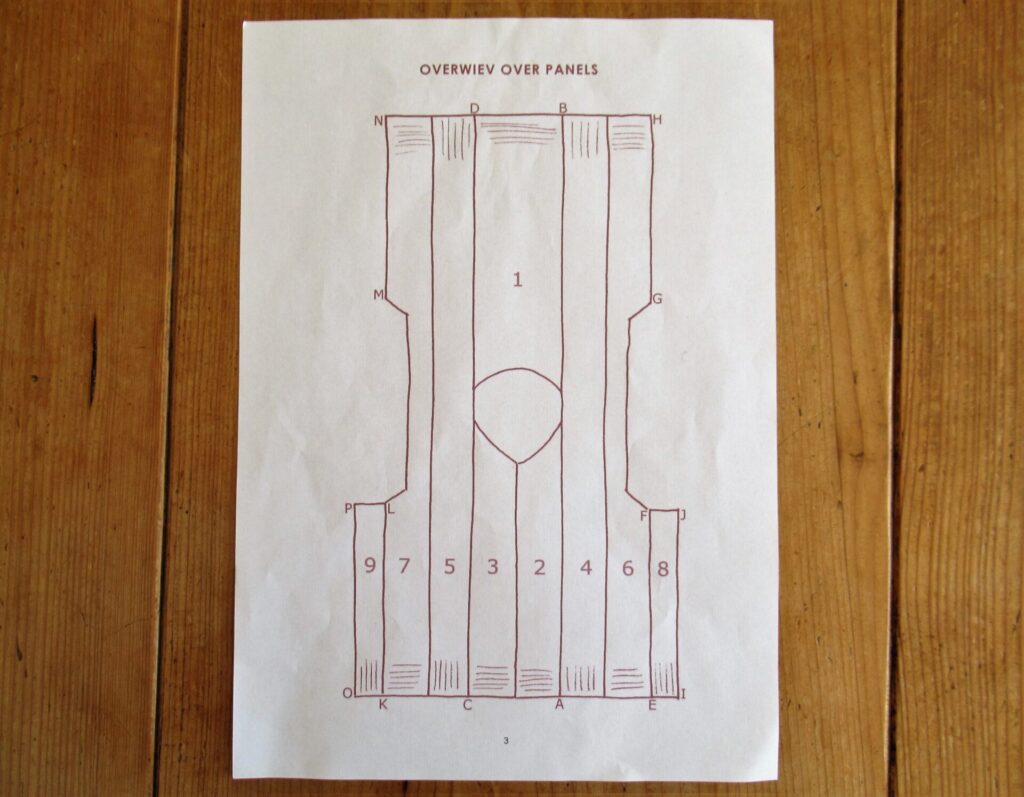
The design is modular and is made up of many panels (hence the name).
Each panel is knit onto the previous one, and the panels are alternately knit horizontally and vertically. The vertical strips end in fans made by knitting short rows.
What helped me knit the fans, was copying the instructions for them onto a separate page, with each step on a new line. I marked the row I was knitting with a sticky note and moved that down after each row. That way I was able to keep track of where I was.
I lengthened the body by 4 cm (approx. 1.6 inches). No problem at all – just added the required length to the first 3 panels and the rest took care of itself. I also enlarged the armholes because I’d heard from several other knitters that they’d turned out rather tight.
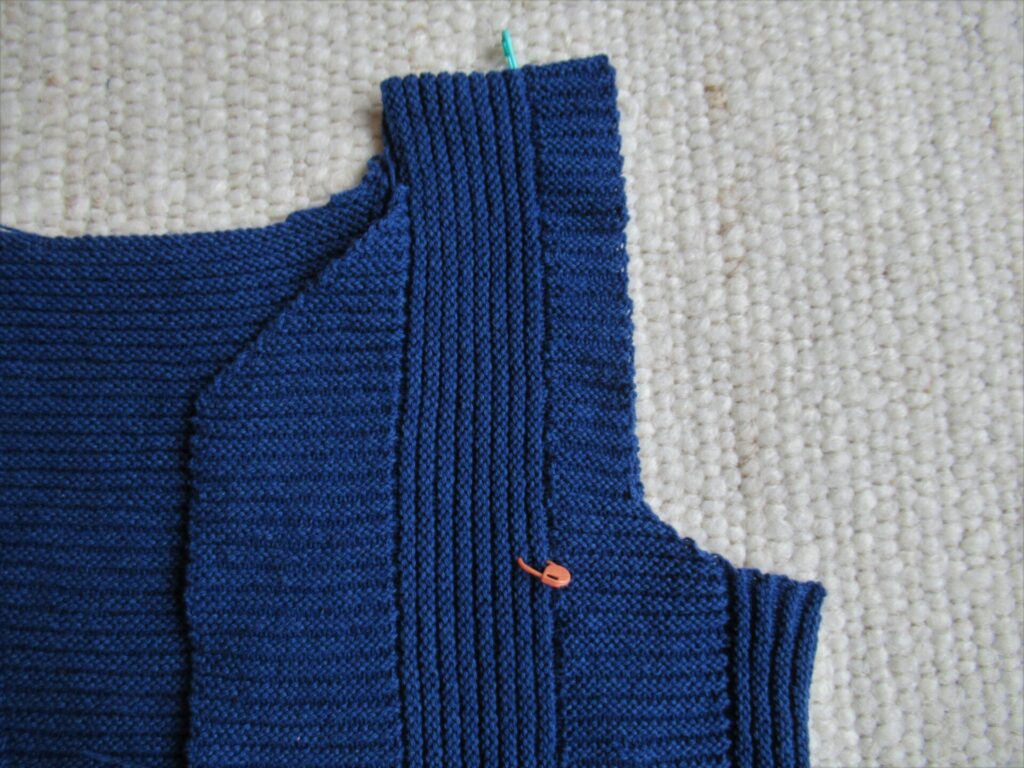
After the body was completed, the armholes were finished with attached I-cords.
Armhole before…
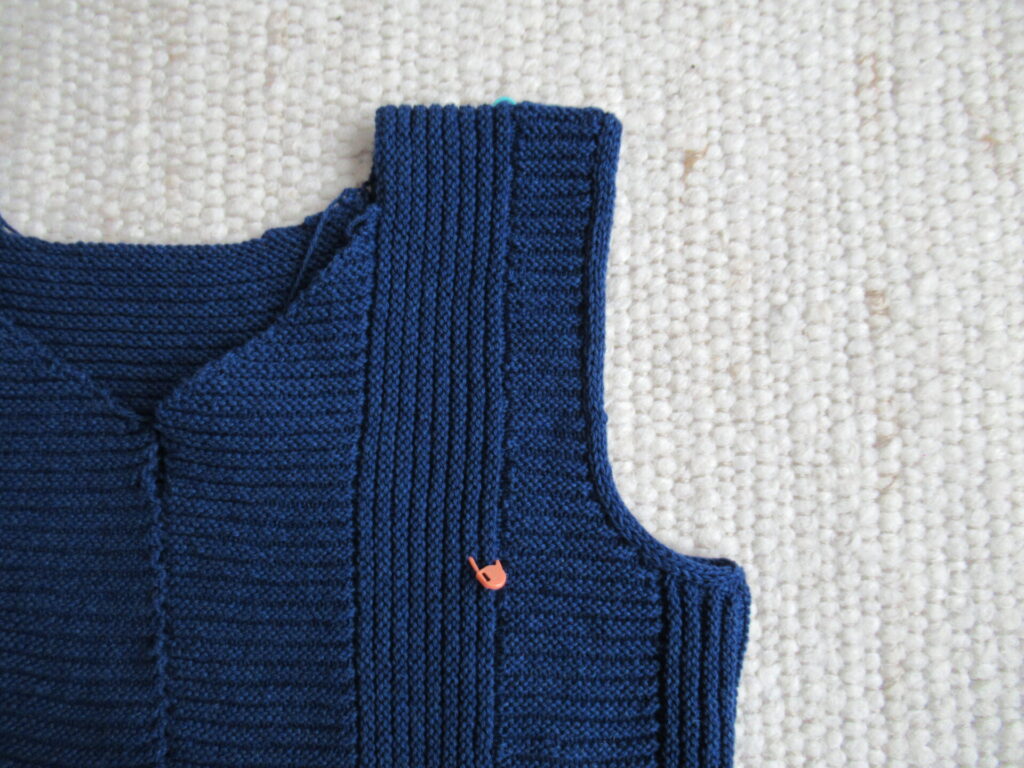
… and after attaching I-cord.
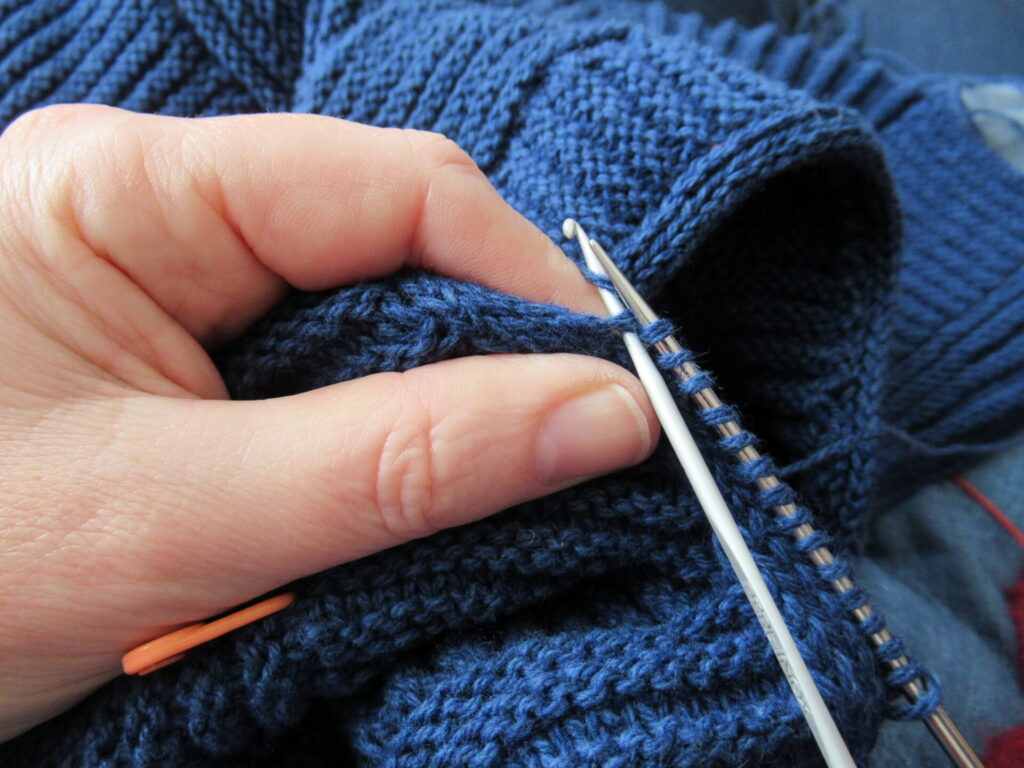
Then stitches for the sleeves needed to be picked up from the I-cord (the sleeves are knit from the top down). That really was a pain at first. But it went a lot better using a crochet hook and slipping the stitches from the hook onto the knitting needle.
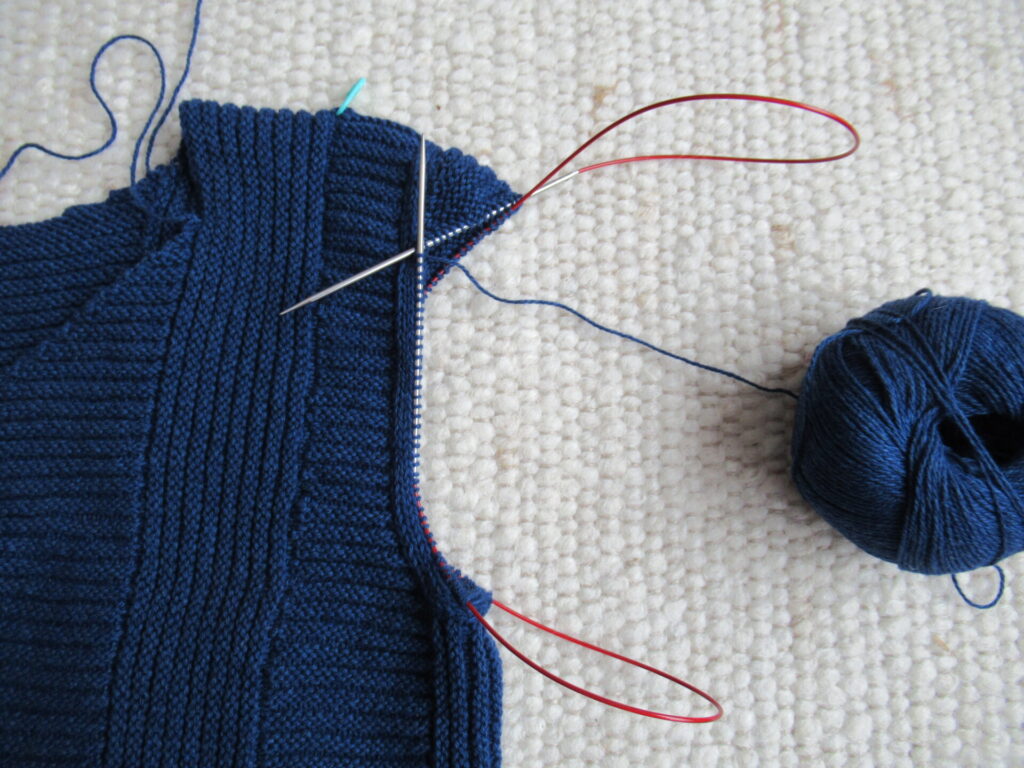
Then I had to adapt the sleeve cap to the enlarged armhole. That was a bit of a puzzle, but after several tries I was happy. I used the magic loop method to knit the sleeves.
I’m not entirely happy with that, because it shows all along the middle of the sleeves. I hope the line will fade with washing and wearing. I haven’t had this problem before. Could it be because of the cotton content of the yarn? Or the reverse stocking stitch ridges?
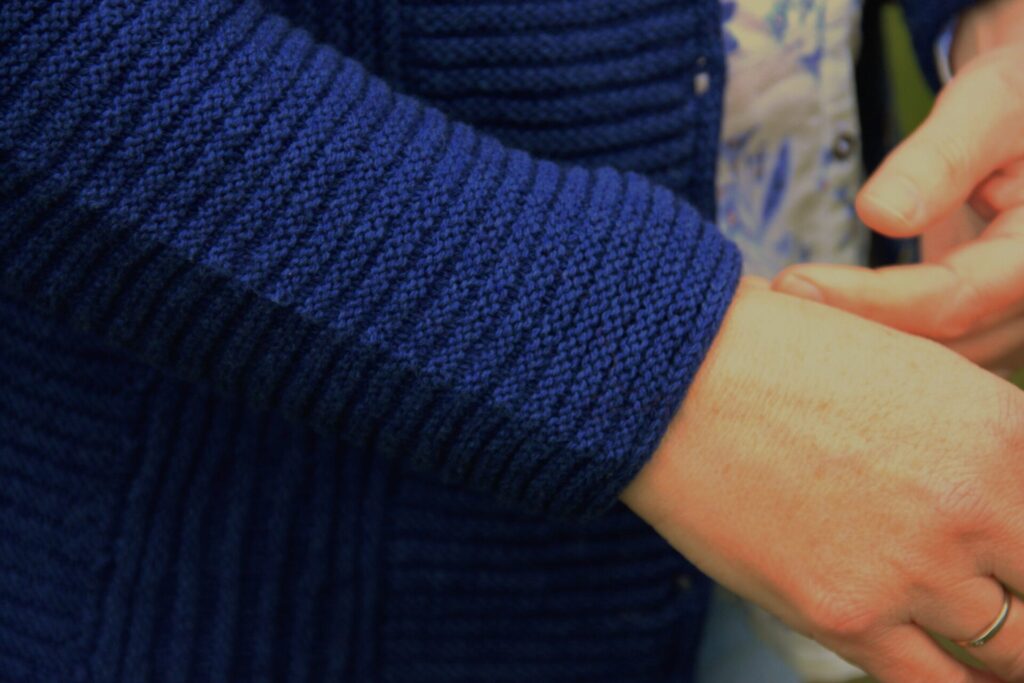
The sleeves are finished with I-cord along the wrists as well.
Finally there was more I-cord to knit – all along the fronts and the neck. First I had to pick up a zillion stitches. Then I cast on 4 extra stitches for the I-cord.
I knit a few inches, saw that the I-cord ‘pulled’ on the front and frogged it. After repeating this several times, I finally found out how to solve it – by pulling the first stitch (on the outside of the I-cord) up a little longer than usual and holding it between my thumb and index finger while knitting the second stitch, to keep it from tightening.
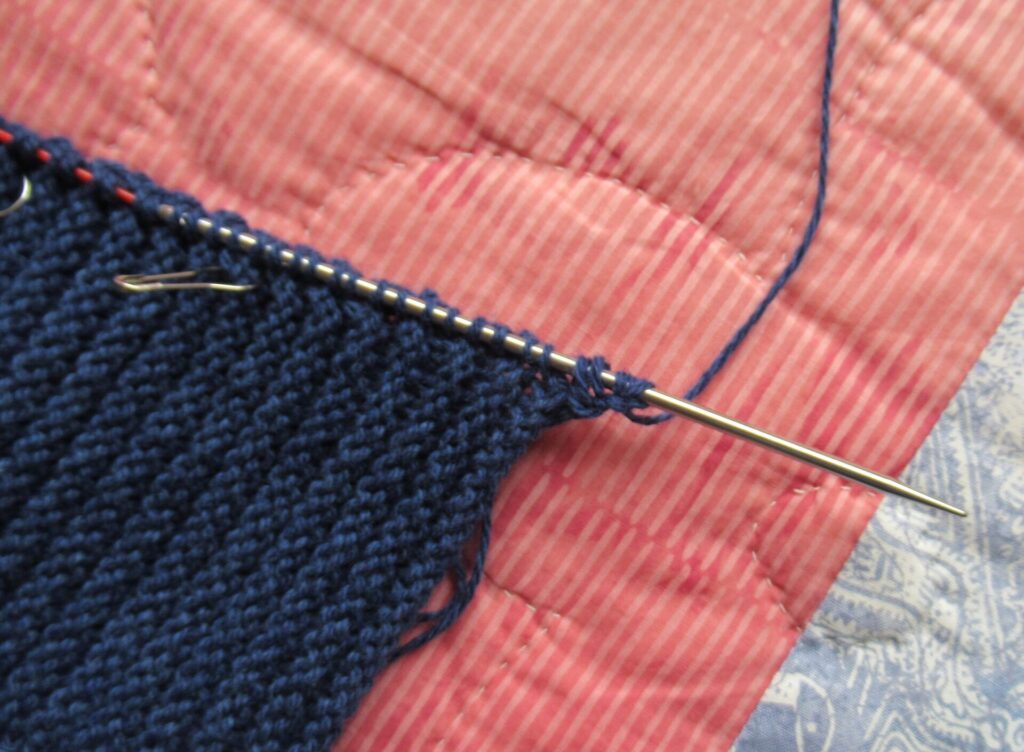
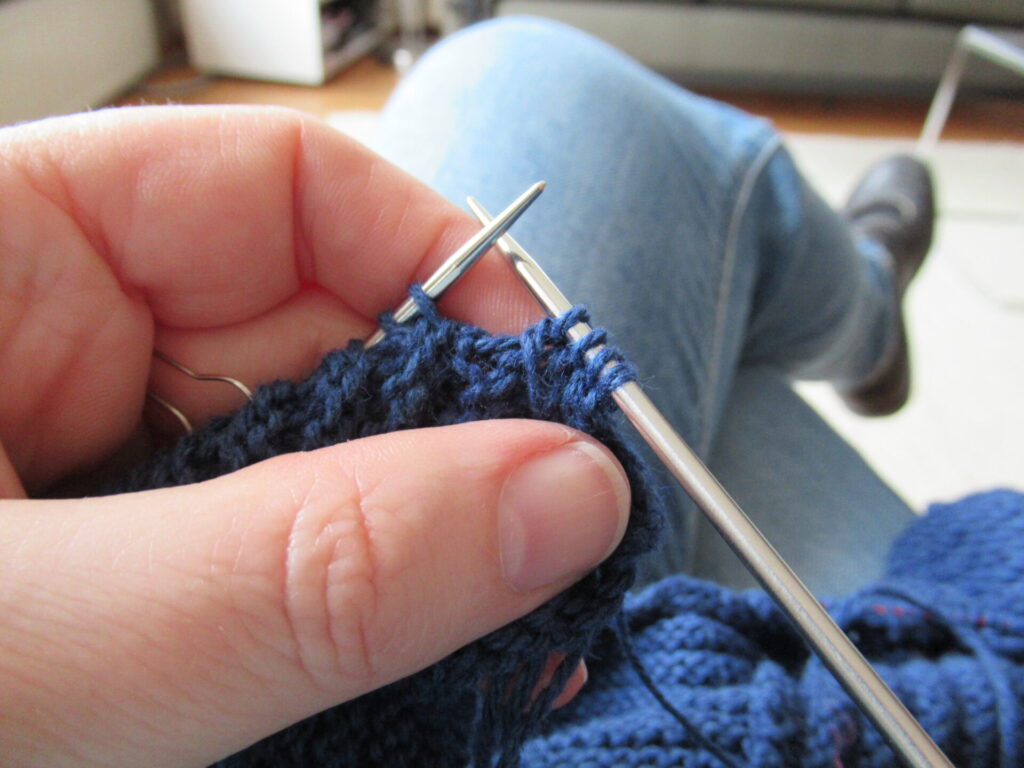
This is the attached I-cord knitting process step by step:
1 – The 4 I-cord stitches are on the left needle, together with the picked-up stitches on the panel. At this stage, the yarn is hanging between the picked-up stitches on the garment and the 4 I-cord stitches. Now the yarn is passed behind the stitches to the first stitch on the right.
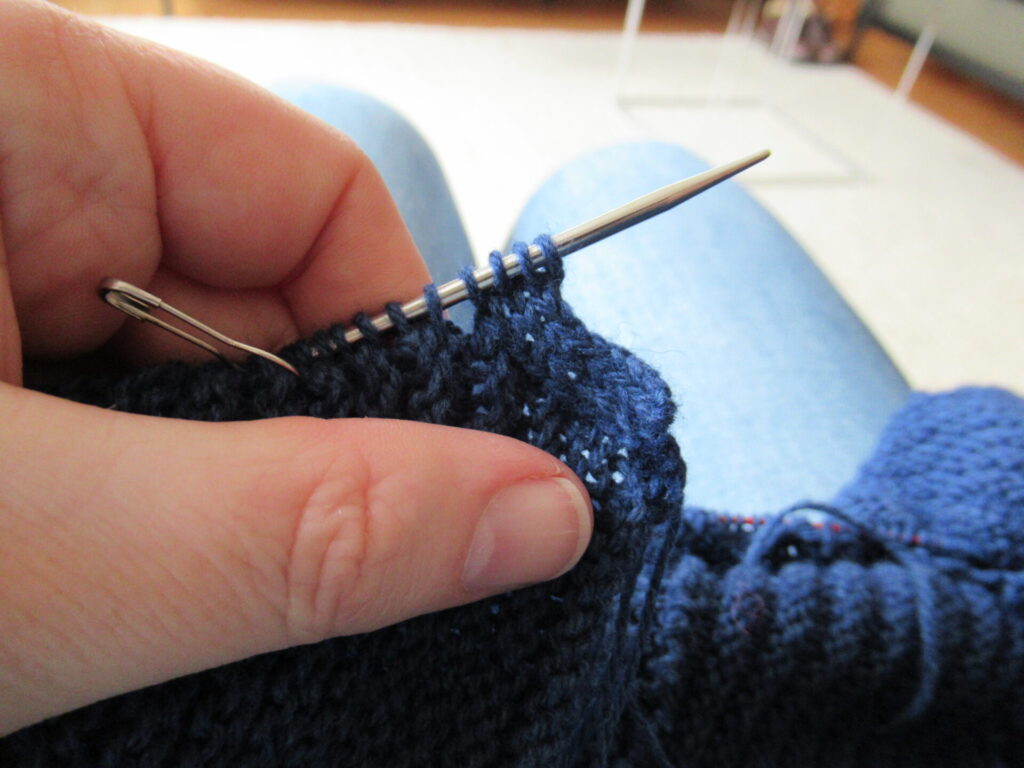
2 – Knit 3 stitches (knitting the 1st stitch very loosely and keeping it from tightening by holding it between thumb and index finger while knitting the 2nd stitch). Slip the 4th stitch knitwise, knit the first picked-up stitch along the panel and lift the slipped stitch over this stitch.
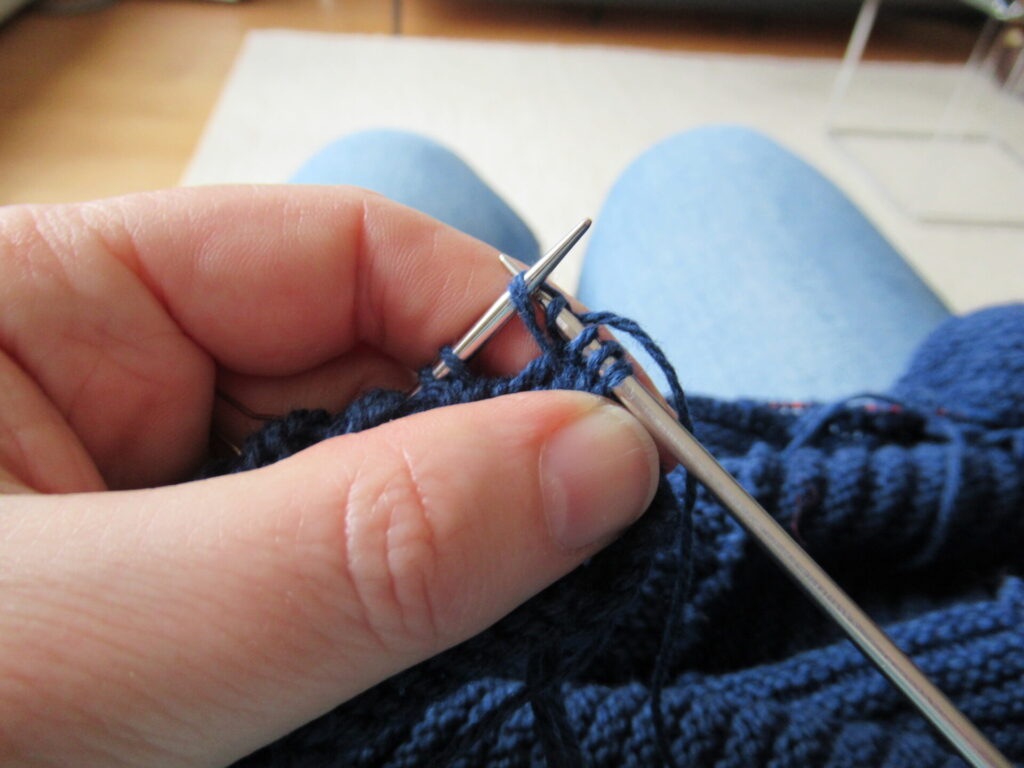
3 – Now slip the 4 I-cord stitches back onto the right needle.
Repeat these 3 steps for hours on end, until all of the picked up stitches along the fronts and neck have been used up, meanwhile making button holes along the right front.
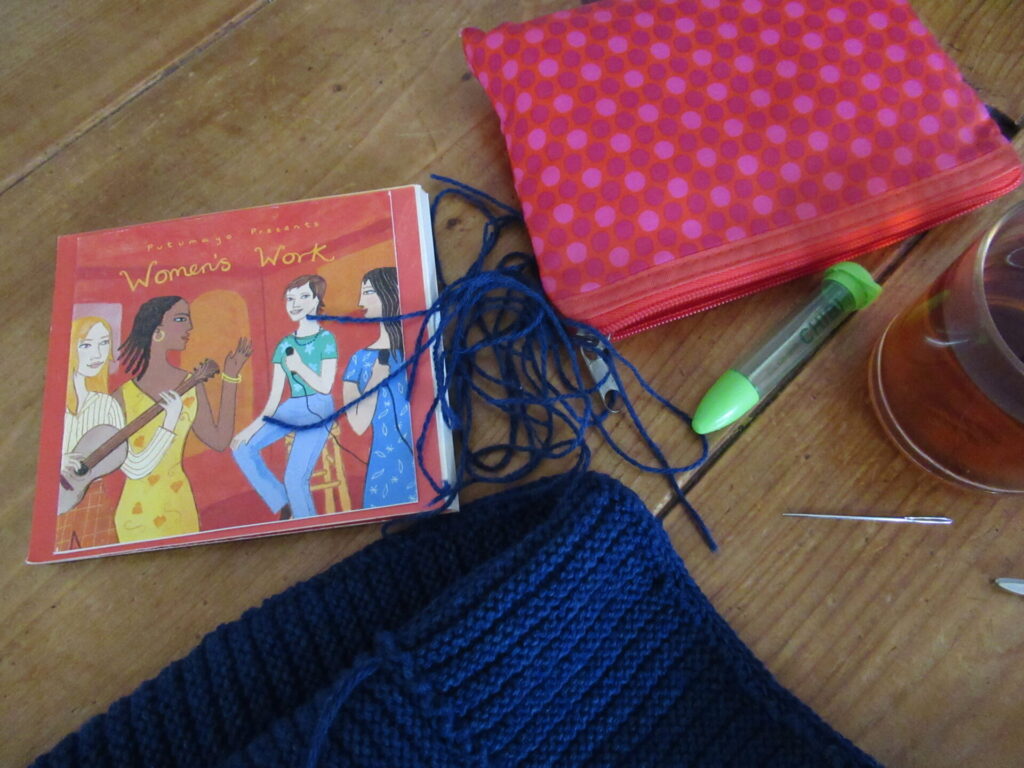
Finally, ‘all’ I needed to do was weave in what seemed like an endless number of ends.
I put on some music, and several cups of tea later that was done, too.
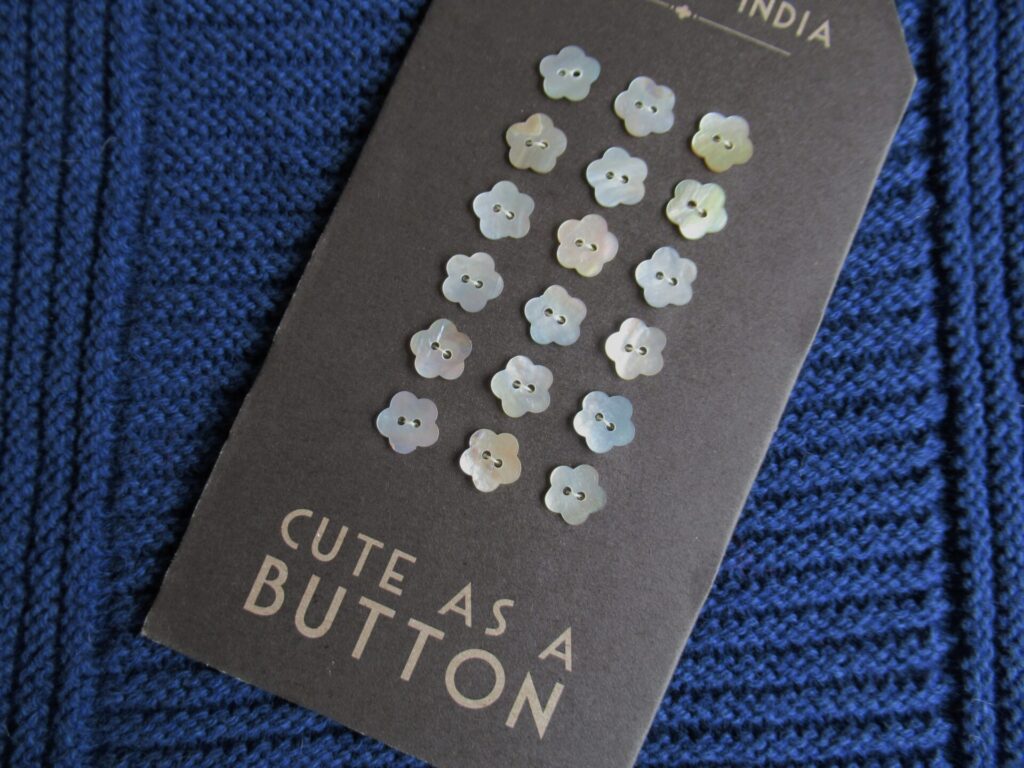
Oh, and let’s not forget the buttons! I happened to have just the right ones, bought long ago in a lovely little shop.
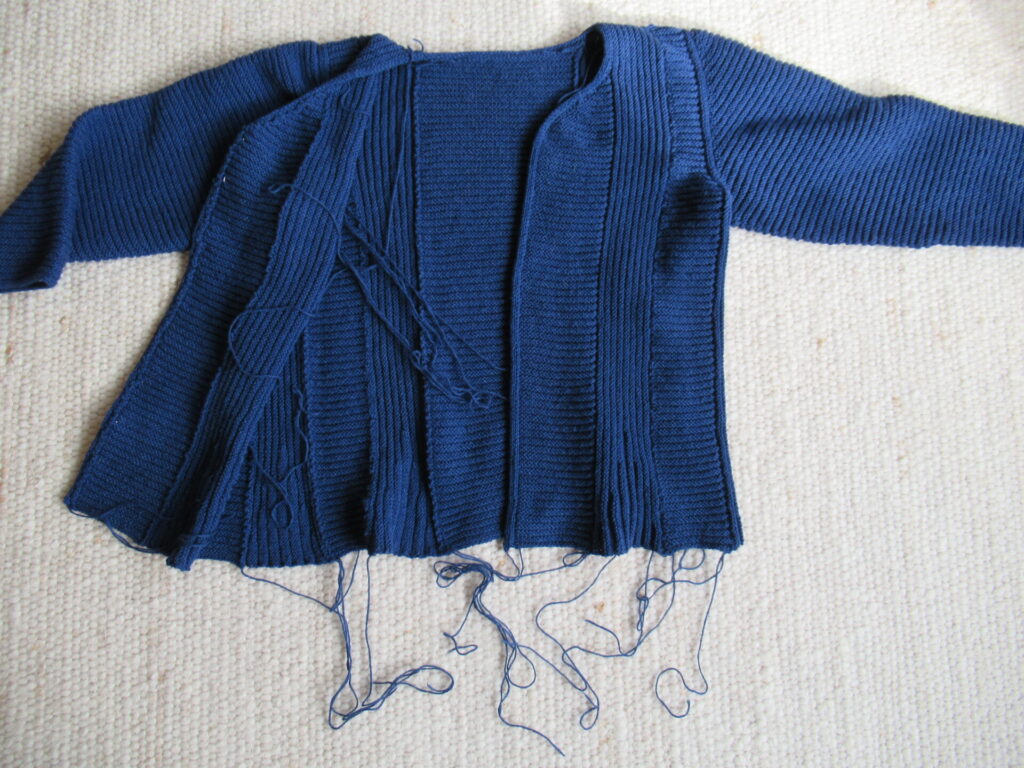
There, all finished!
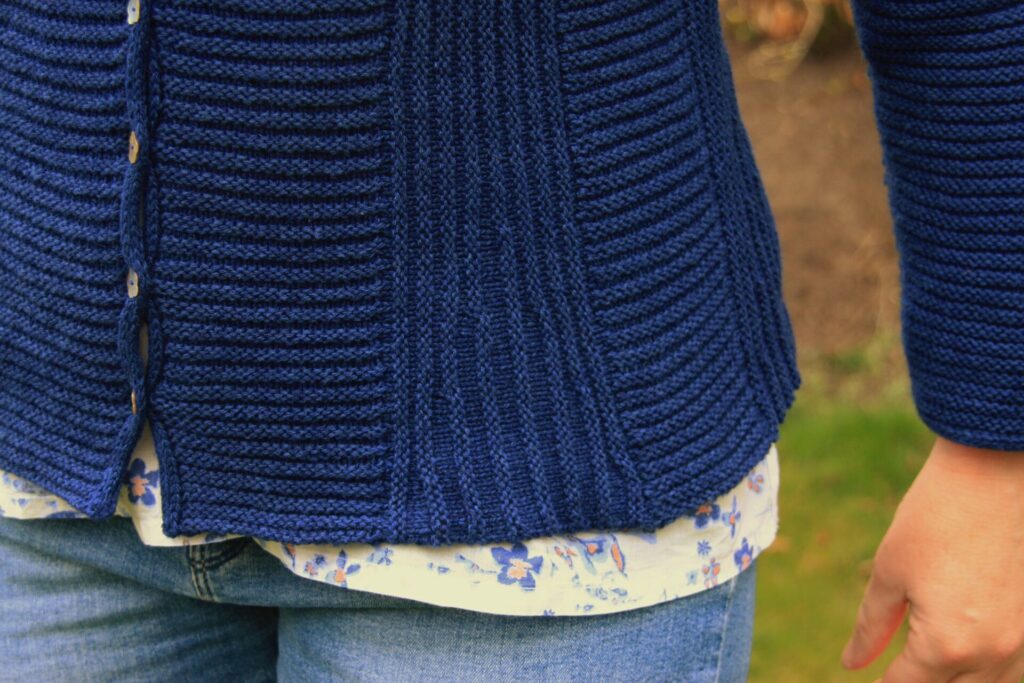
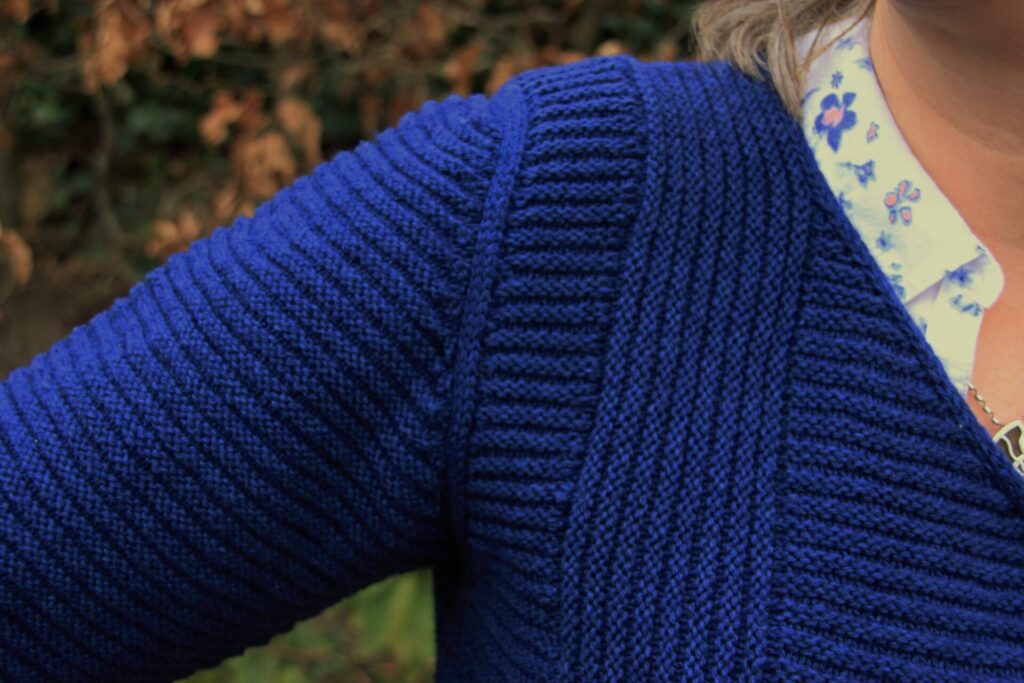
Here is a close-up of the very special armhole.
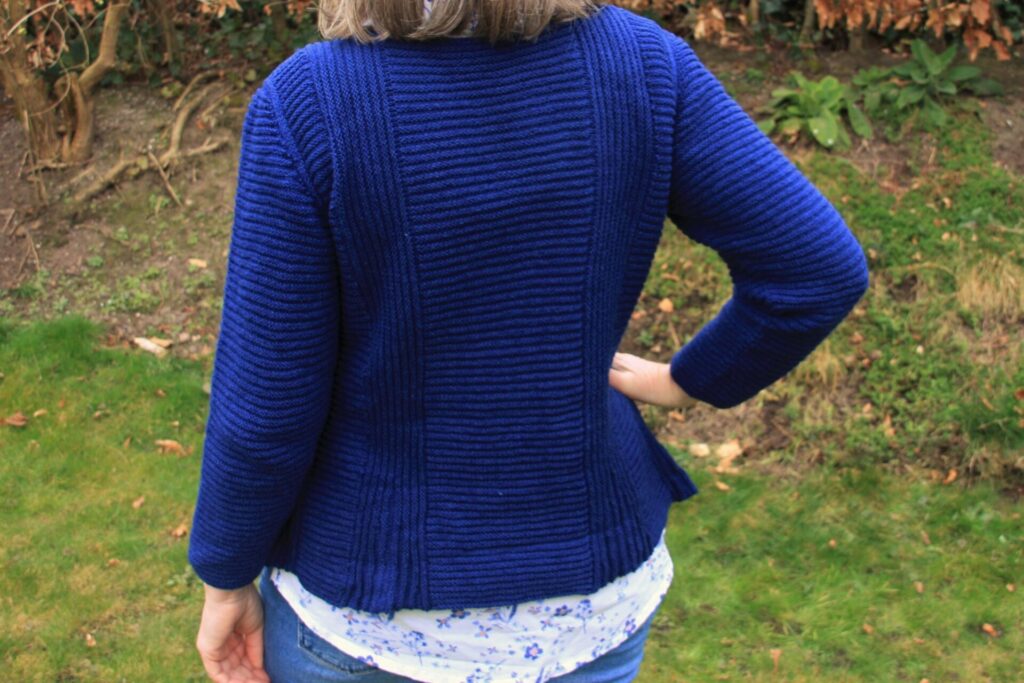
And this is what the cardi looks like from the back.
What helped me through the challenging parts of this knit was:
Finding moments in my week when my brain was up for a challenge (for me especially Saturday mornings)
Cutting the process up into smaller steps, taking a break after finishing a step and giving myself a figurative pat on the back
Using a crochet hook for picking up stitches
Copying difficult bits onto a separate page and keeping track of where I was by means of sticky notes
Relaxing and uplifting music in the background
Having good (day)light
Blogging about it
All in all, I’m happy with the process and happy with the result!
Well, that was a lot of technical detail. Sorry to the non-knitters among you (it’s a miracle you even got this far). If all goes according to plan, my next post will be of more general interest. Bye for now, and hope to see you again soon!
For us, Christmas is not about presents. Our big gift-giving moment is on December 5th, the feast of Saint Nicholas. For us, this time of the year is about celebrating togetherness, darkness and light, and good food. And for me, it is also a time to reflect, rest, read and knit.
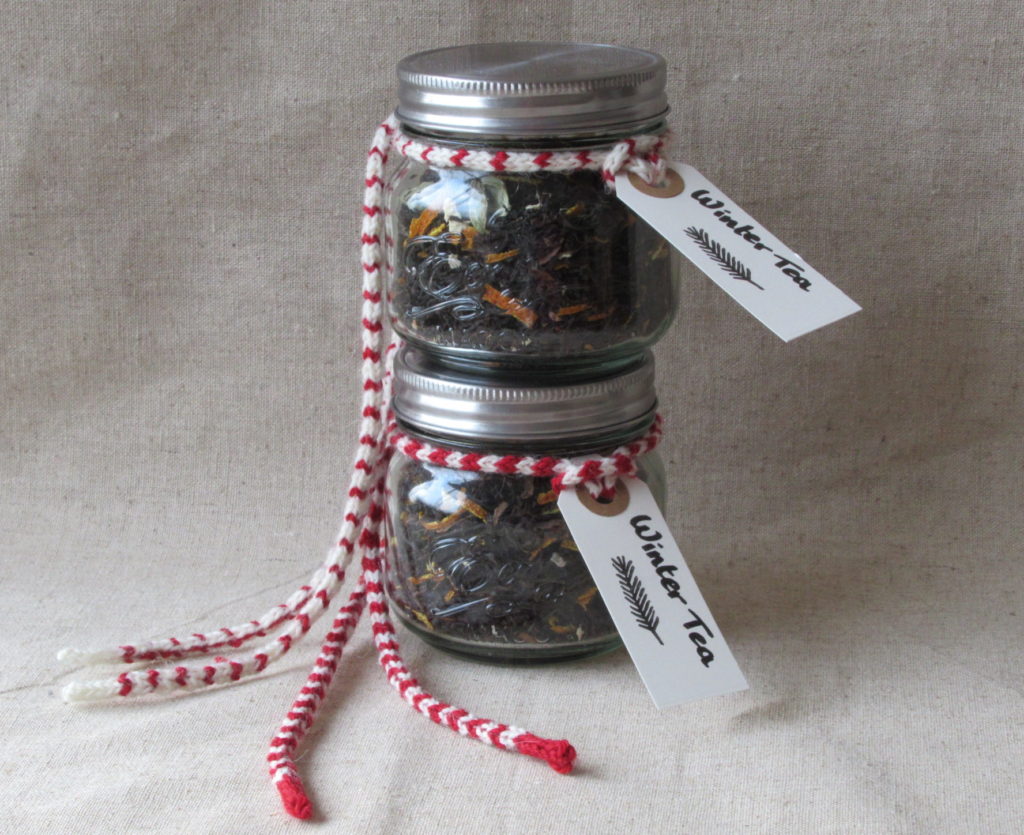
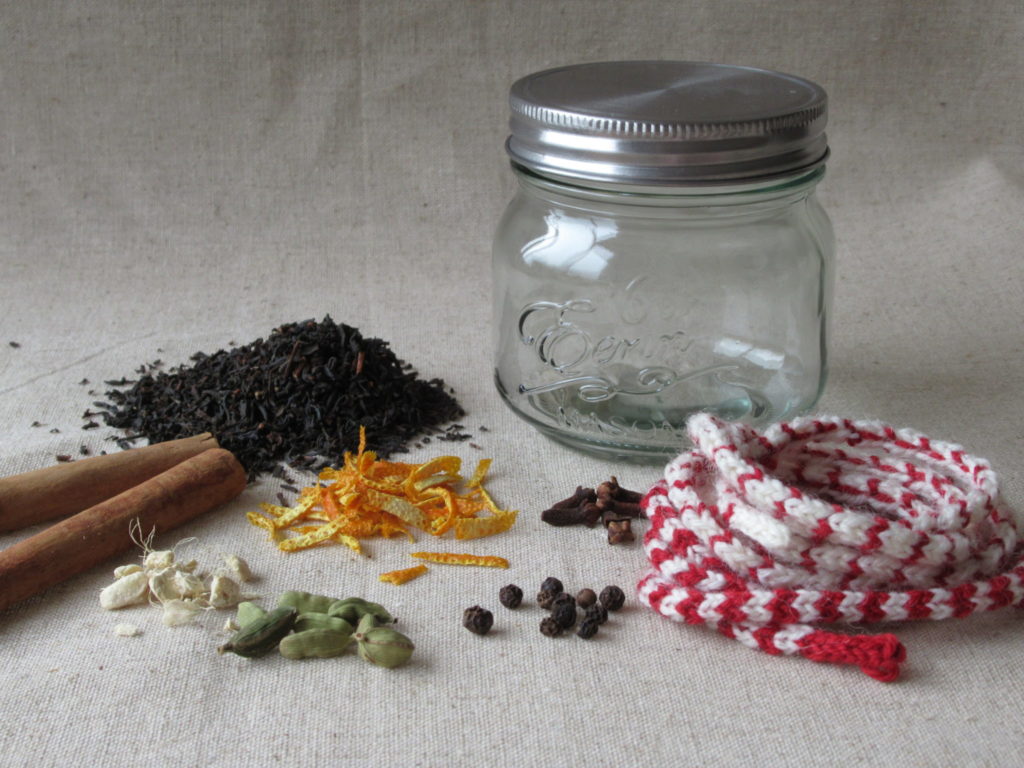
Still, there is always someone who could do with a small present – a host, someone who has moved house, or ‘just’ a dear friend. For such occasions I have made some warming Winter Tea, with orange zest and spices. I’ve written the recipe down and included it further on in this blog post.
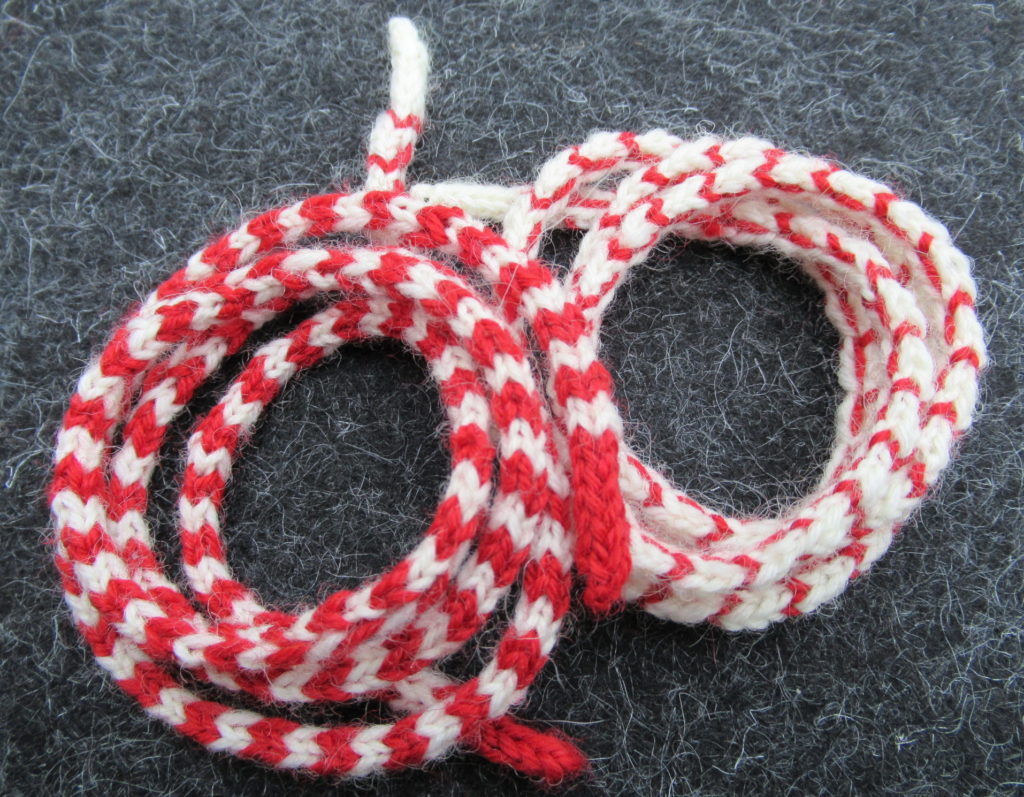
Making the tea is really nice, cutting and drying the zingy orange zest, crushing the spices, and mixing the fragrant blend. But what is even nicer, is knitting the cords to decorate the jars. It would be much quicker to use string, raffia or ribbon, of course. But knitting this cord is so much fun and brings a quirky, personal touch.
I-cord
This type of knitted cord is usually called I-cord. Why? Something to do with iPhones and iPads perhaps? No, as it turns out, the ‘I’ stands for ‘idiot’. This cord is so easy to knit that every idiot can make it. I-cord was made famous by the innovative knitting teacher Elizabeth Zimmermann, and can be used in many different ways – along the edges of knitted fabrics or separately, like I used it here.
For a cord like this you’ll need some scraps of fingering-weight (sock) yarn in two colours and two double-pointed knitting needles (I used 2.5 mm).
Knitting the I-cord:
Cast on 1 stitch
Knit into the front, the back and the front of the stitch (= 3 stitches)
DO NOT TURN! Move the needle from your right to your left hand and slide the stitches to the right tip of the needle.
Knit the 3 stitches, pulling the yarn firmly (but not too tight) at the first stitch.
Repeat steps 3 and 4 to the desired length. (I knit to about 70 cm/28 inches).
To cast off slip the first stitch, knit the next two stitches together, pass the slipped stitch over this stitch, cut the thread and pull it through the last stitch. Weave in ends.
For the cord on the left in the photo above I knit 2 rows red and 2 rows natural white. For the cord on the right I alternated 3 rows natural white with 1 row red.
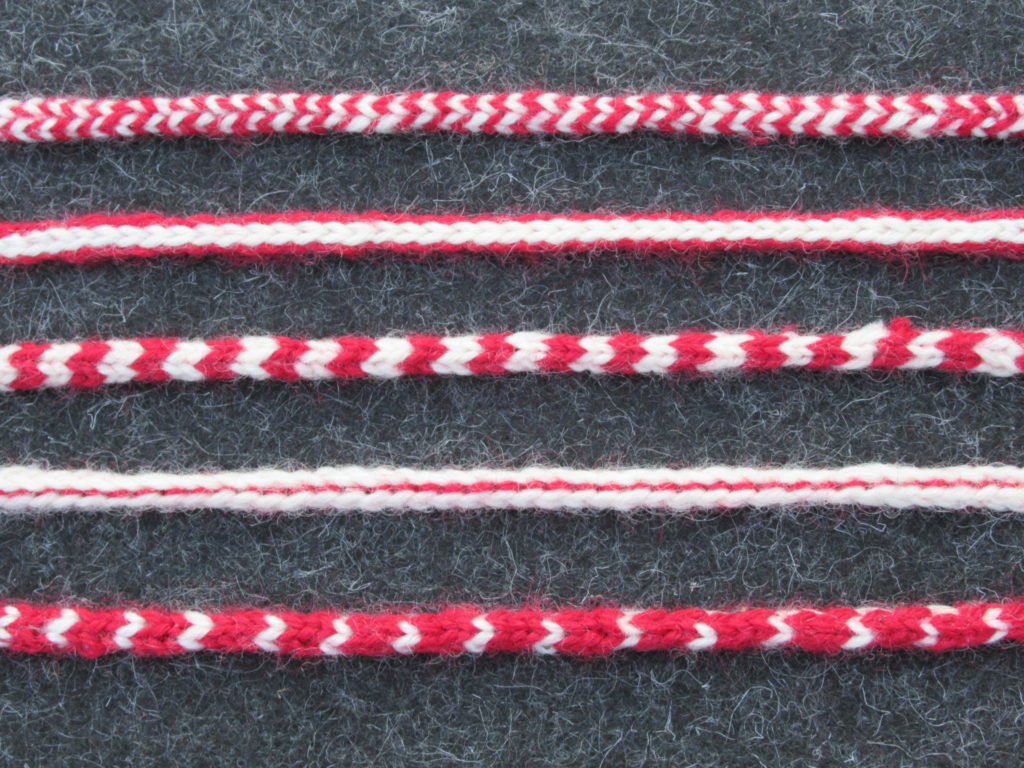
And then I played some more with the yarn:
It’s amazing what you can do with just 3 stitches and 2 colours of yarn. The hardest thing about I-cord is keeping an even tension. Don’t worry too much about that, though. Nobody will notice. As you can see from the photo above, my tension is not all that even. But do you notice that looking at the I-cords on the jars? Not really.
Winter Tea Recipe
You’ll need:
Dried zest of 1 orange (see below)
100 grs black tea (e.g. Ceylon)
8 cloves
1-2 cinnamon sticks (depending on size)
15 cardamom pods
10 black pepper corns
2 teaspoons dried ginger
To dry the orange zest, preheat the oven to 100 °C / 210° F / 90 °C fan. Peel the orange thinly using a potato peeler. Cut the zest into tiny strips. Spread the strips of zest out on a baking tray and place in the oven for about 1 hour, until completely dried out and brittle. Leave to cool.
Break the cinnamon sticks into pieces. Crush the spices (not the orange zest!) using a pestle and mortar. Use some force, but not too much. The spices should still be recognizable and not pounded to a powder.
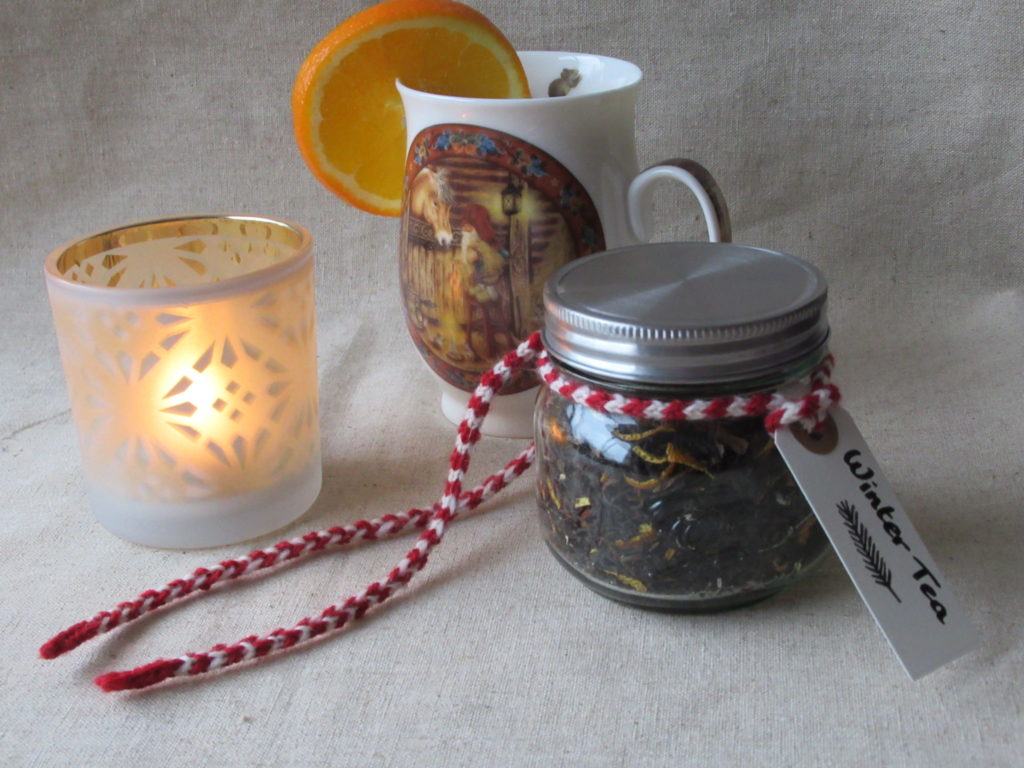
Mix the spices with the tea and the dried orange zest and fill into jars. (This quantity is enough to fill two 240 ml jars.)
Make a nice gift tag and fasten it with your I-cord.
The tea is even better served with a slice of fresh orange.
Last but not least
Remember to take some time to make yourself a cup of tea, sit down, sip and relax.
I wish you a very happy and peaceful holiday season and look forward to seeing you again (in real life or here) in the New Year!