Hello! And how are you all doing? I’ve been busy, busy, busy. And also knitting quite a bit, trying to finish all of my WIPs before starting something new.
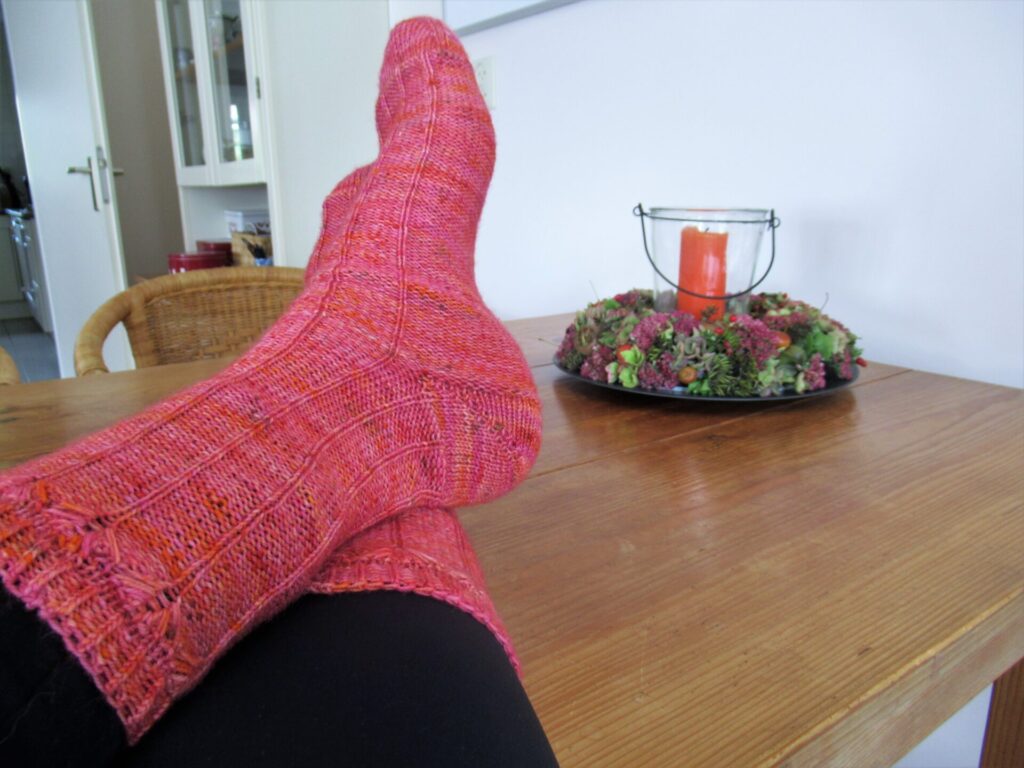
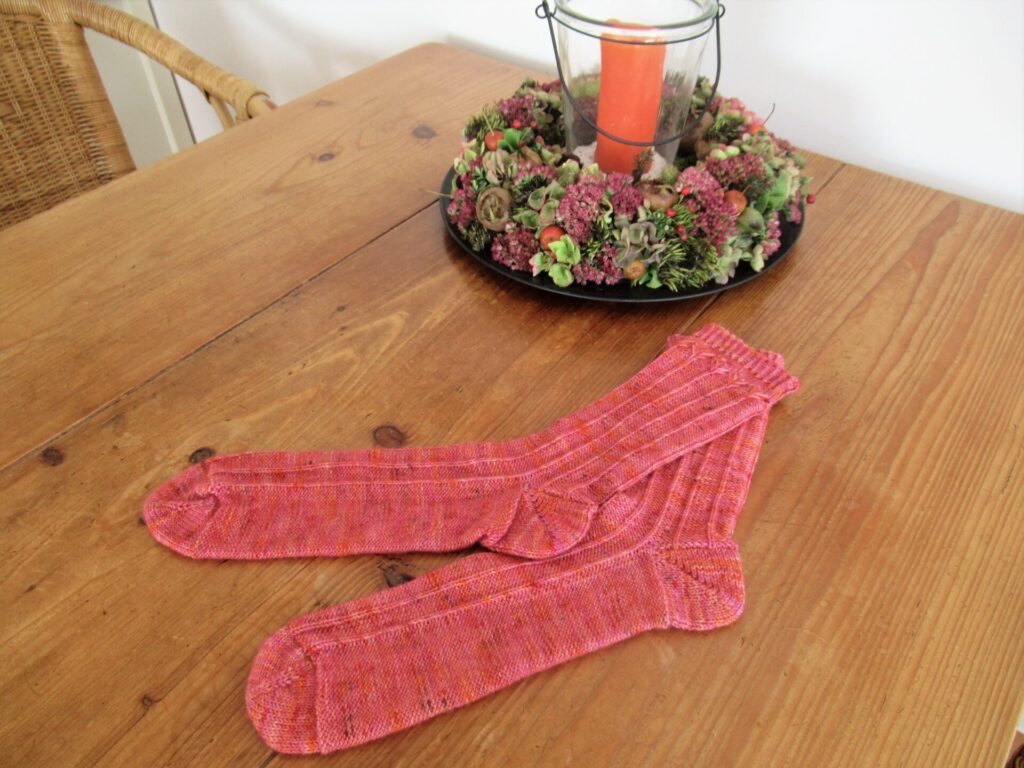
The designer of the socks that have just slid off my needles calls them Garia Socks. She explains that in Basque, her mother tongue, garia means wheat. She chose this name for her design because of the row of wheat ears along the top of the socks.
I’m calling them Dahlia Socks, however, because that is what the motif reminds me of in the shade I’ve used.
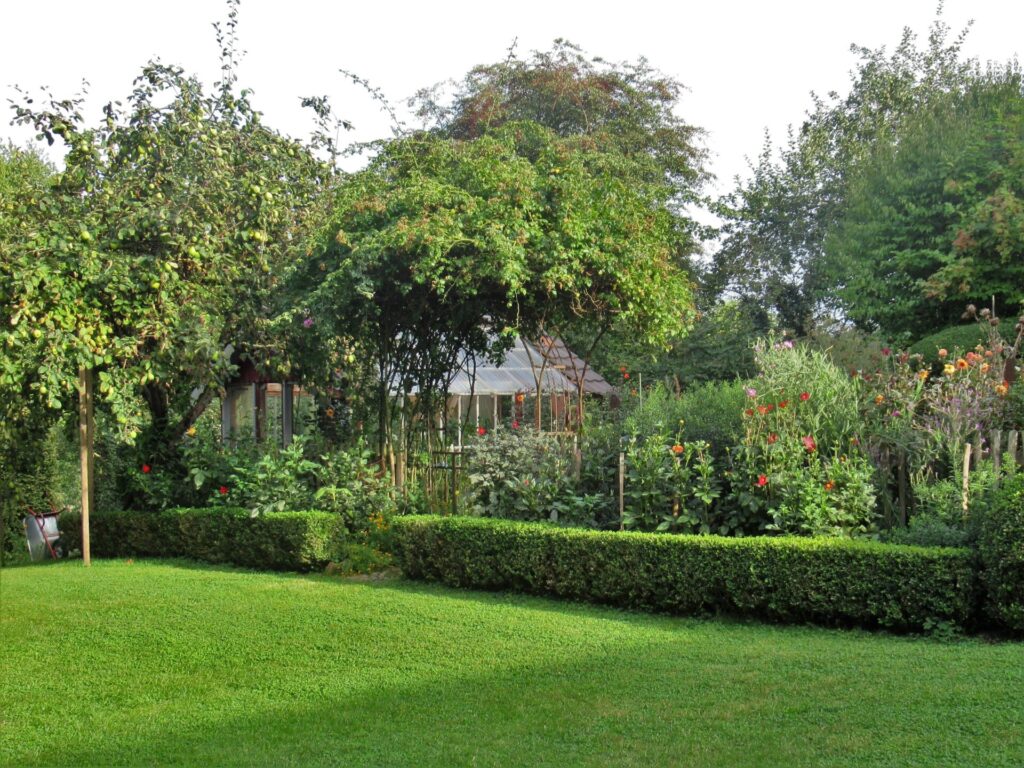
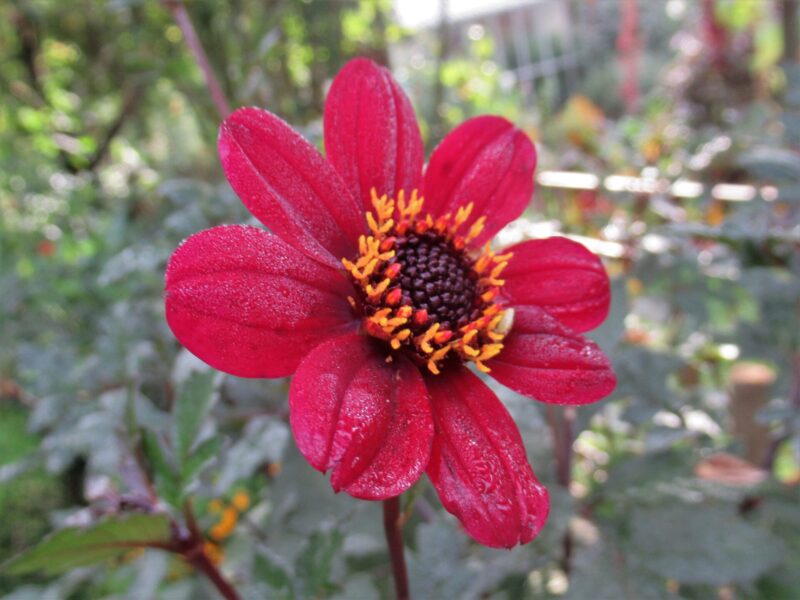
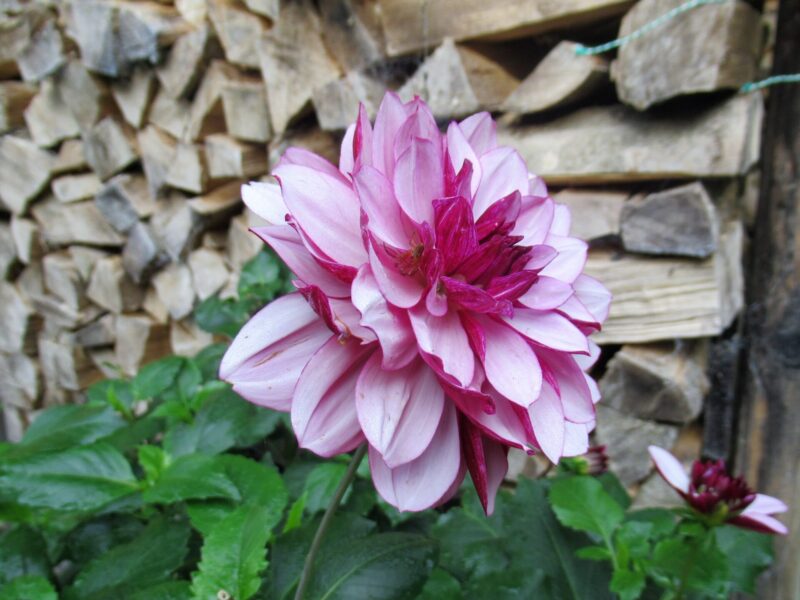
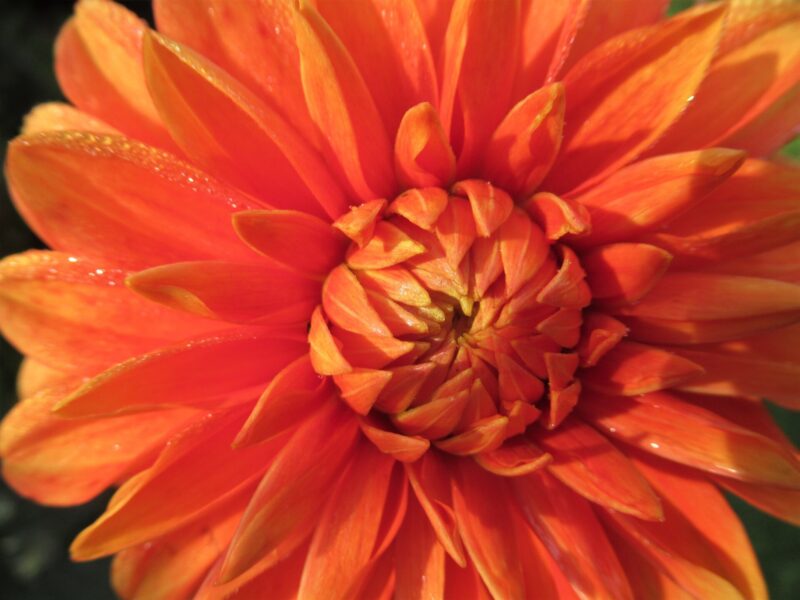
Part of the beautiful garden in Germany that we were allowed to call our own for a week in September, was a mixed vegetable and flower plot.
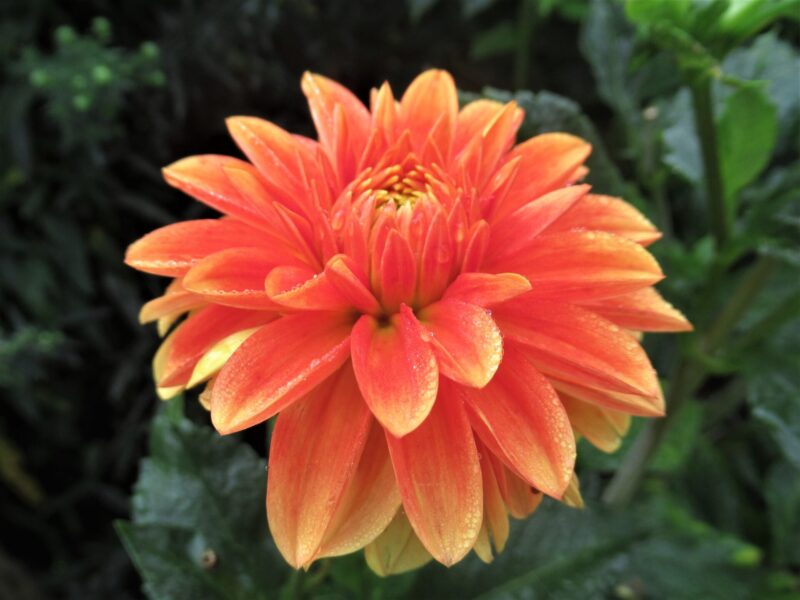
At this time of year, the dahlias were the star of the show there. Single-flowered dahlias, but also many of those spiky pompom-flowered ones, big and small (click on images to enlarge).
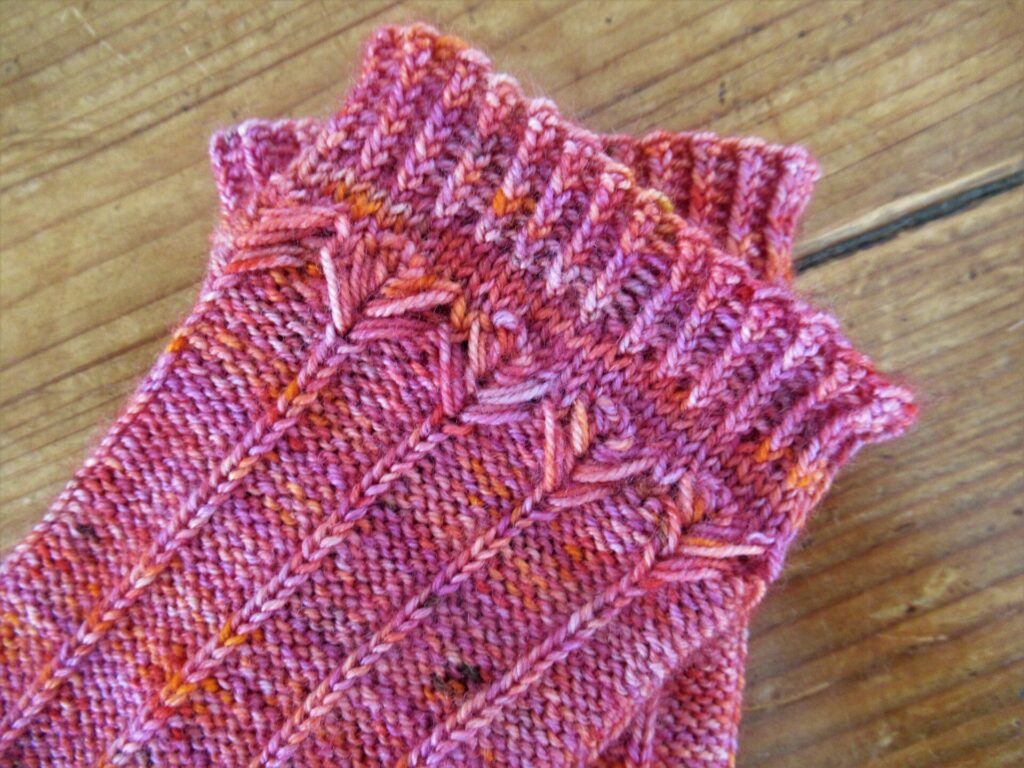
The Garia/Dahlia Socks were fairly easy to knit (from the toe up). Only the wheat ears/dahlia flowers were quite a challenge, and from what I’ve read on Ravelry I’m not the only one who struggled. So I thought it might be helpful for others who’d like to knit these socks to show how I knit the ‘spikelet motif’, as it is called in the pattern.
Notes:
This explanation can only be understood in combination with the Garia Socks pattern designed by Erika Lopez A. It can be found in the book 52 Weeks of Socks or here on Ravelry.
I usually prefer charts, but in this case the written instructions worked better for me.
The yarn should always be held at the back of the work, except when purling sts.
Instead of my knitting needle, I used a crochet needle the same size (in my case 2.5 mm) to pull up the ‘long stitches’.
First of all: Set aside an hour or so for the spikelet motif and hang a ‘Do Not Disturb!!!’ sign on your door.
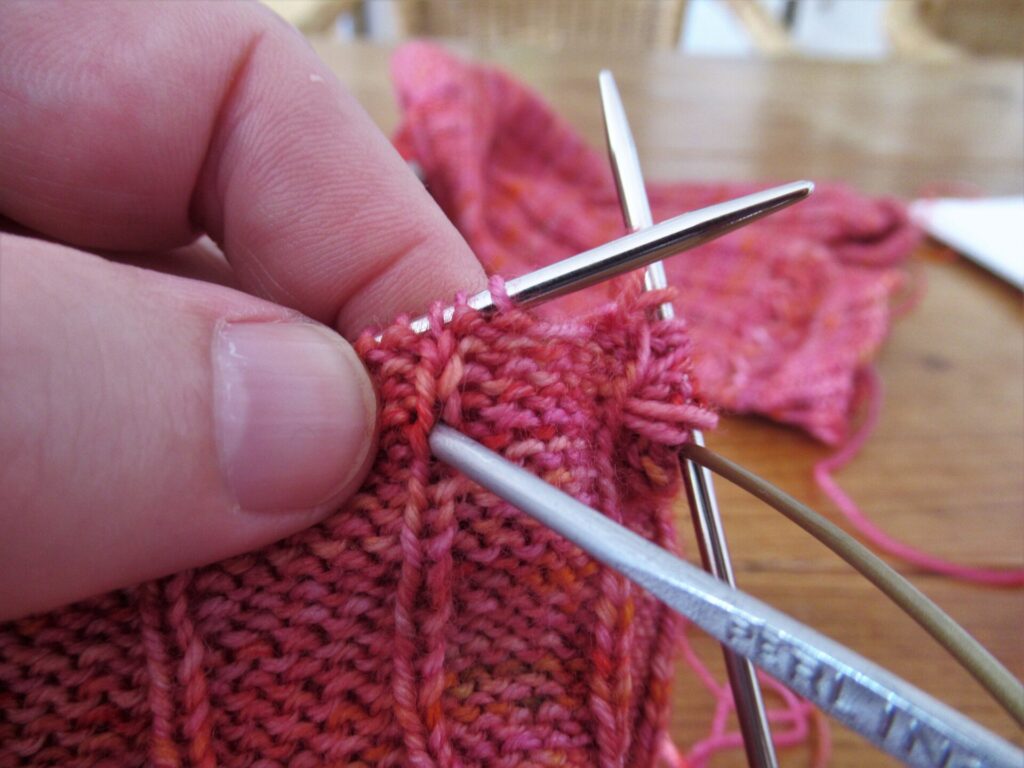
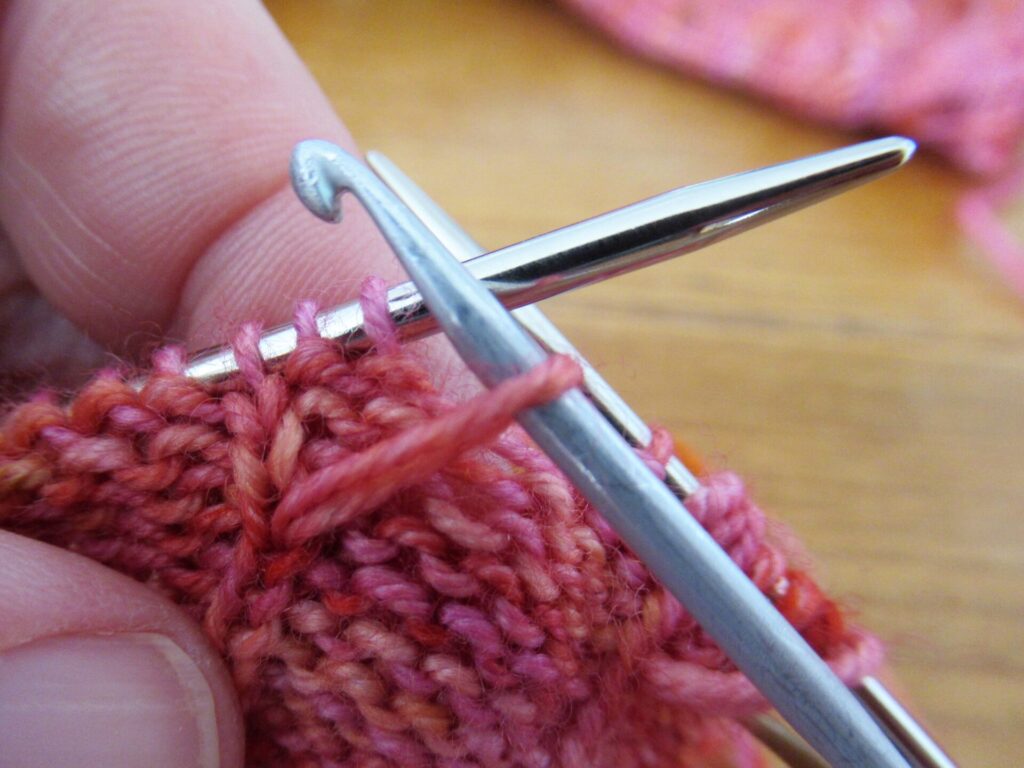
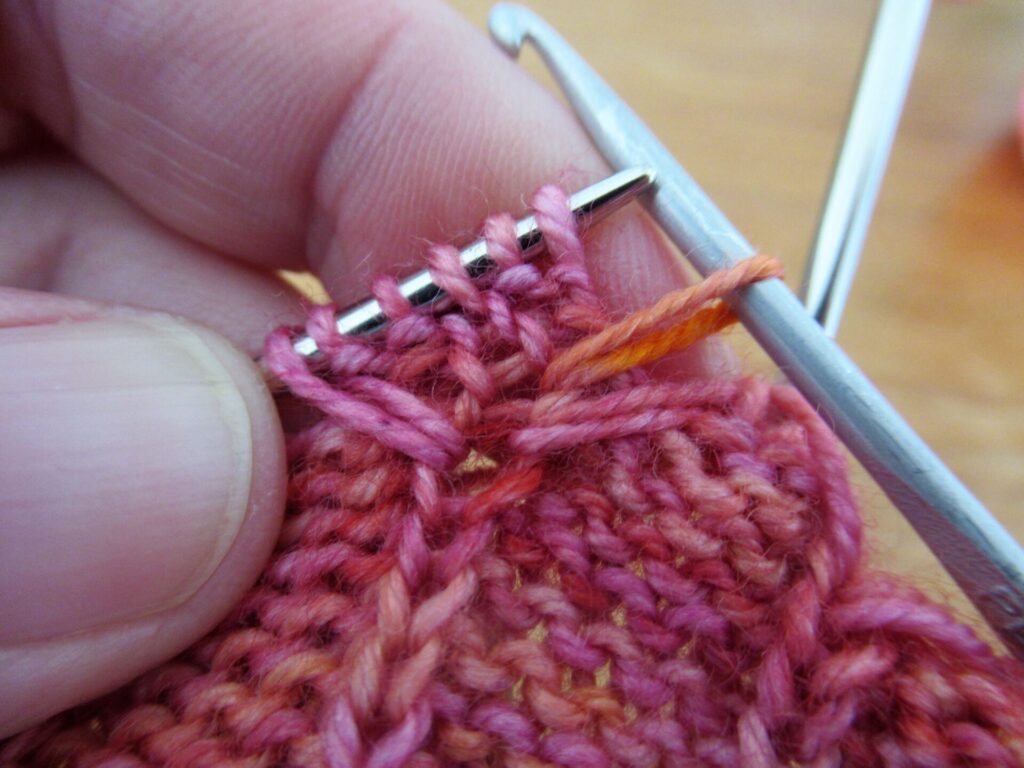
Round 1: After a purl st, bring the yarn to the back, insert your crochet needle into the 4th stitch down…
…pull up a loop…
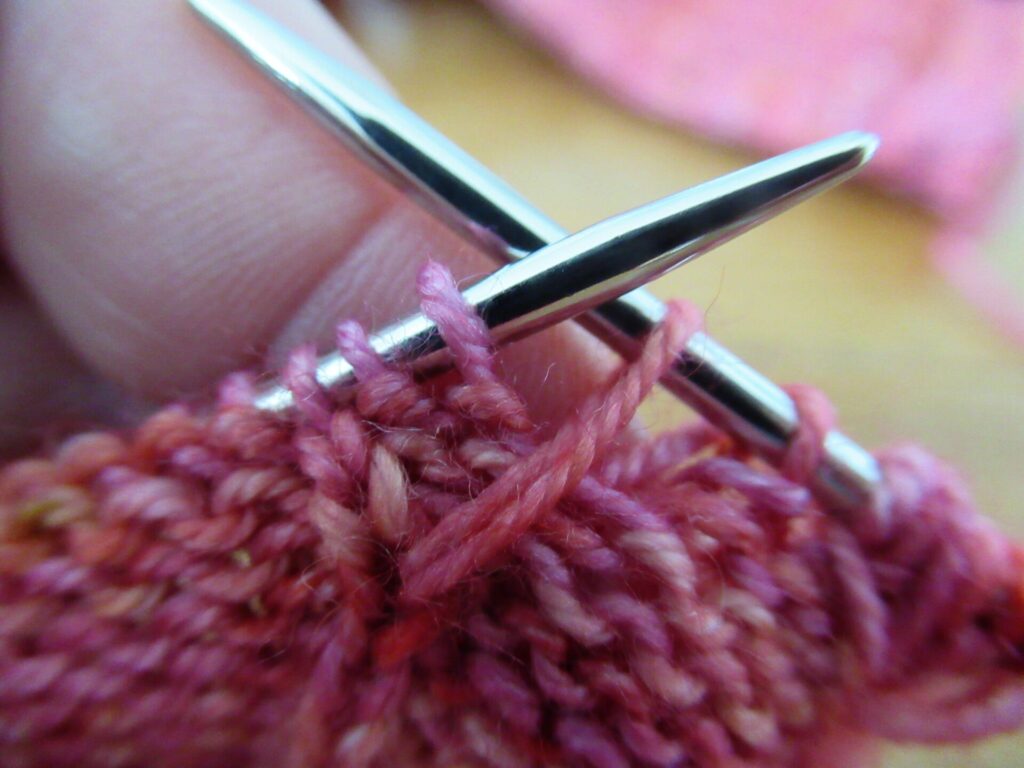
place it on left needle without twisting, then transfer the stitch to right needle. (It doesn’t have to be placed on the left needle first, but doing so does make things easier.)
The next loop, to the left of the column of knit sts, is pulled up in the same way, in the same hole as before. Don’t pull the loops too tight. The left one tends to pull tighter. Aim at making them the same length.
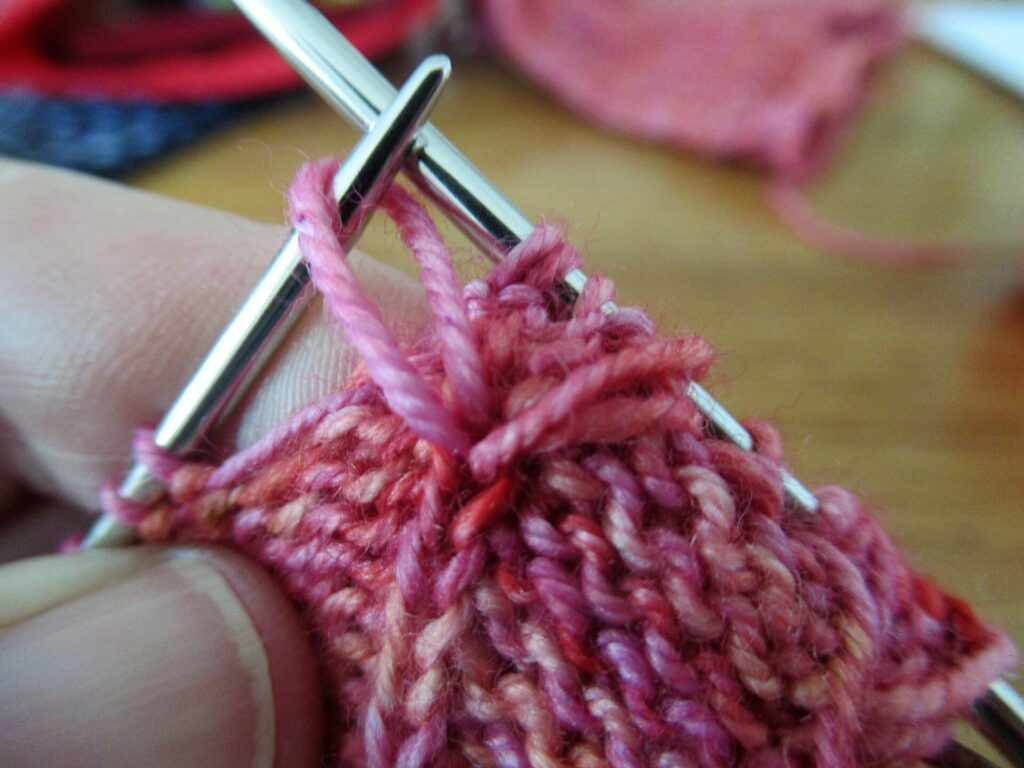
Round 2: The ‘cdd’ can be confusing, because the ‘long’ stitches do not always stay in place. At least on my sock, some of them wandered along the needle and changed places with the purl stitches beside them.
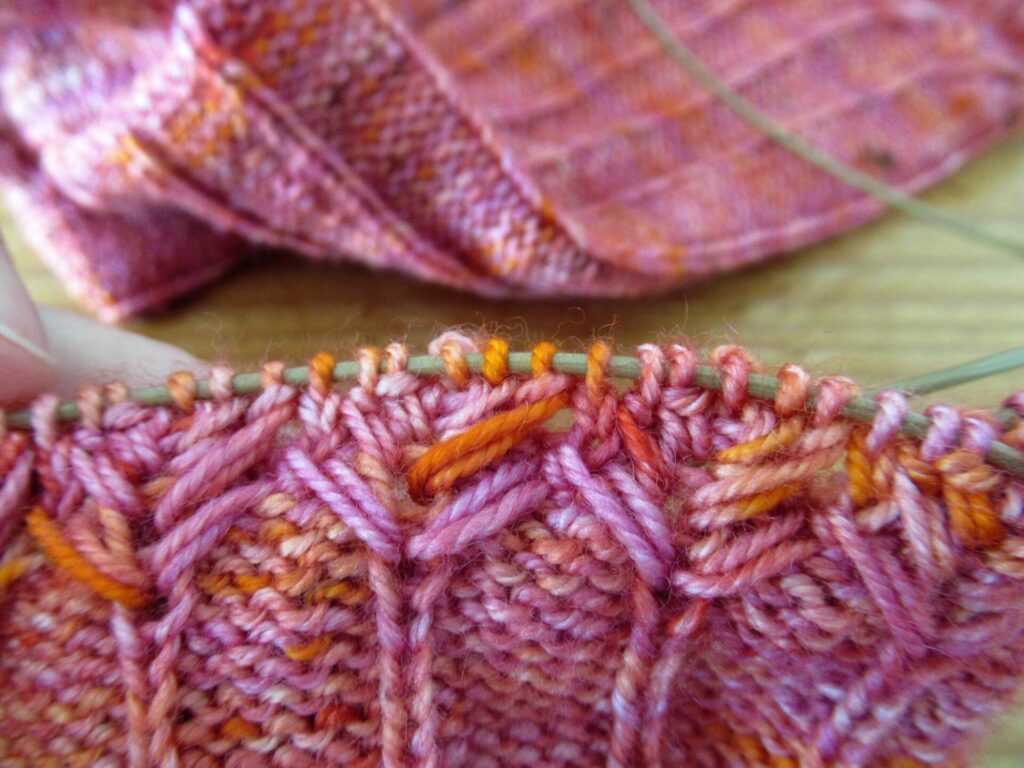
So this is how it goes: Sl. 2 sts purlwise. The first of these 2 sts should be a long st, the second is a purl st. Knit the next st (this is again a long st). Pass the 2 slipped sts over the knit st. Now it looks like this:
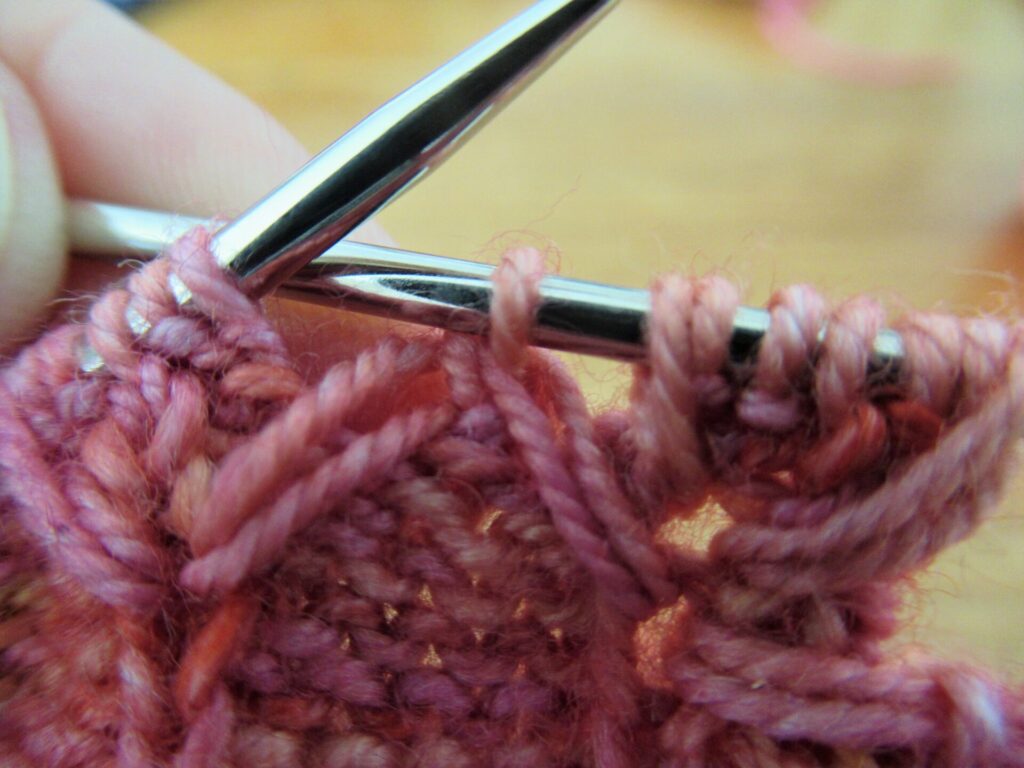
The long sts in rounds 2 and 3 are pulled up 1 round above the ones in the previous round:
After round 3 it looks like this:
Do not despair – there are no more long sts to pull up after this, and everything is going to be fine.
Round 4 shouldn’t be a problem – just one small tip: K2tog = 1 long st + 1 purl st K2togtbl = 1 purl st + 1 long st
There! You can breathe out now – you did it!
Is this an enjoyable pair of socks to knit? Absolutely, especially with a good quality yarn in a lovely colour. The only thing I wasn’t totally happy with was the heel. It is on the small side. And no matter how hard I tried to prevent them, holes appeared on either side. I closed them by doing some darning on the inside afterwards. The German short rows require some experience, and the ‘spikelet motif’ is a great technique for anyone who likes a challenge.
PS: My blog post about the toes, foot and heel can be read here. The yarn I used was one 100-gram skein of hand-dyed Enkeltje Sock in a unique shade that is never dyed twice.
14 thoughts on “Dahlia Socks”
Wat zijn ze mooi geworden! En ik deze kleuren lijken het inderdaad bloemetjes. En wat een mooie tutorial.
Het is leuk om een tutorial te maken. Daardoor kijk je toch weer op een andere manier naar je eigen breiwerk. Heerlijk sokkengaren!
Handig zo’n tutorial! Prachtige sokken!
Dank je! Ze waren echt leuk om te breien met deze vrolijke kleurtjes.
Your Dahlia Socks turned out so beautiful!
Thank you – they were a joy to knit with this cheerful yarn.
SO pretty! I like your instructions for the spikelets…especially about hanging the “Do Not Disturb” sign.
Thank you. And, yes, this really calls for some uninterrupted time.
Thank you for the tutorial, which I’ve bookmarked. And thank you for the pictures of the dahlias!
Your welcome! It was a pleasure, both making the tutorial and taking the pictures of the dahlias.
Your socks turned out beautifully, and those are some very helpful tips! Did you happen to add them to your Rav project page? By the time I (possibly) get around to knitting these, I may have forgotten your tips!
Thank you! There is a link to this blogpost on my Ravelry project page for the Garia socks. And if you go to the Garia socks pattern page on Ravelry and click on the ‘blog posts’ tab at the top, it’ll appear on your screen, too. So you should be able to find my tips if/when you get around to knitting these socks.
Fantastic tutorial! Thank you! These socks are going on my list to do, and I will refer to your tutorial. The pictures are a great help!
Oh, that’s so nice to hear! Making the tutorial was fun, and I hope you’ll enjoy knitting these socks as much as I did.