Thank you for your kind comments about last week’s autumn walk. Today it’s all about knitting again. Looking through my photos I have a feeling it may become a longish post, so why not make yourself a nice cup of tea or coffee before diving in?
I’ve just finished a cardigan for our daughter and thought I’d talk about that for a bit. It’s the cardi I had to unravel the front of because I hadn’t read the pattern properly. Well, that was quickly remedied and it was soon time to check the sleeve length.
I didn’t have our daughter or any of her clothes at hand to measure the length, but I found an old sweater of mine she often borrows that I thought had exactly the right sleeve length.
It’s a different shape and size, but that didn’t matter. As long as the measurements across the chest and along the underarm were the same it would be all right (I hoped). Measured by the old sweater, the sleeve had reached the arm hole and the starting point of the sleeve cap. The sleeves were soon finished and it was time to go looking for buttons.
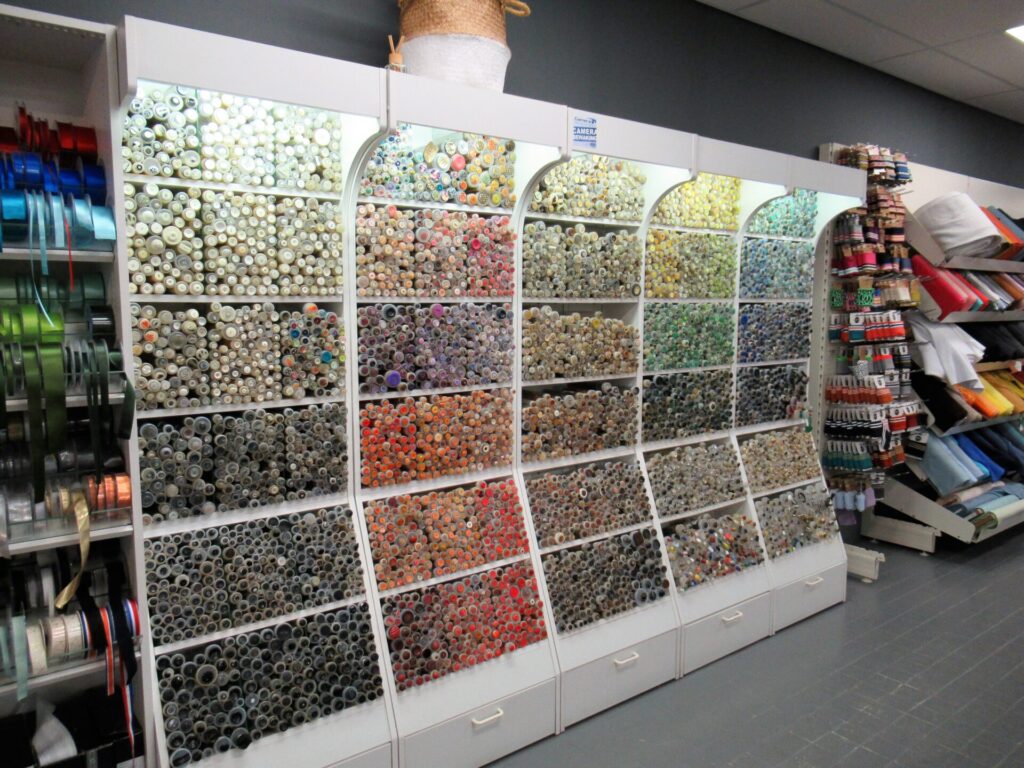
I popped into a large fabric store while we were on our way to visit our daughter and was greeted by a colourful wall of buttons. (For those of you in the Netherlands, it is just outside Deventer. There is nothing on their website but the address and opening hours, but as there are so few fabric stores left, I thought I’d include a link here anyway.)
I tried to be quick because my husband was waiting outside. He is always patient, but I didn’t want to keep him waiting too long or arrive too late. I got briefly distracted, though, by the displays of satin ribbons…
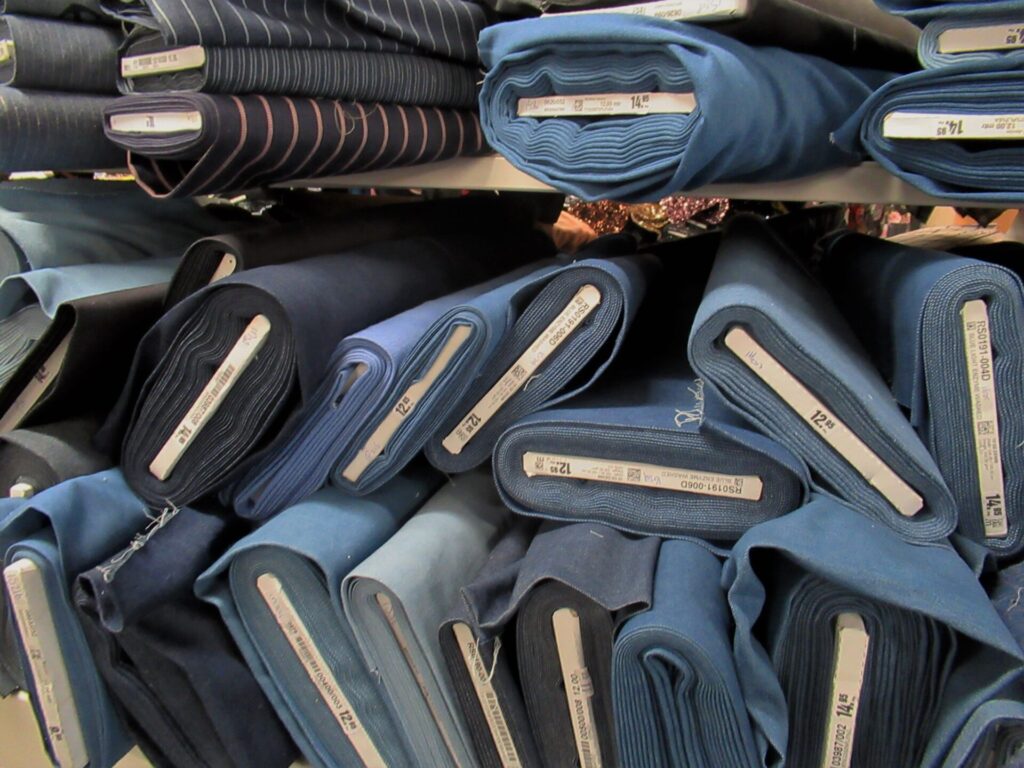
… denim fabrics…
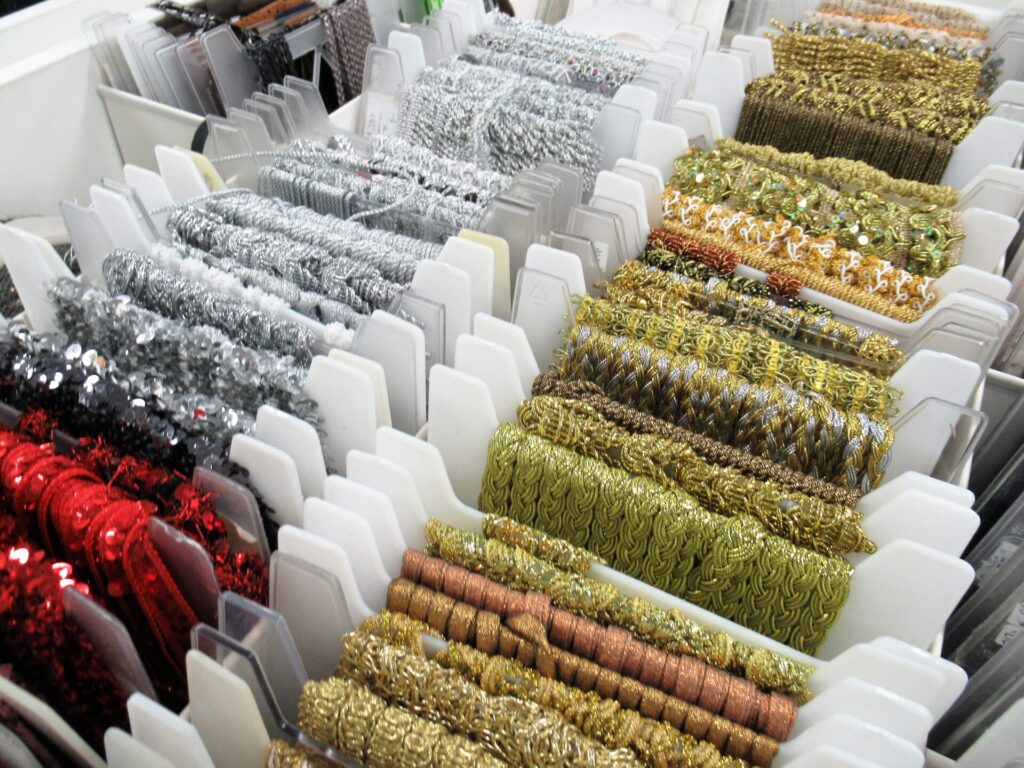
… and bling-bling.
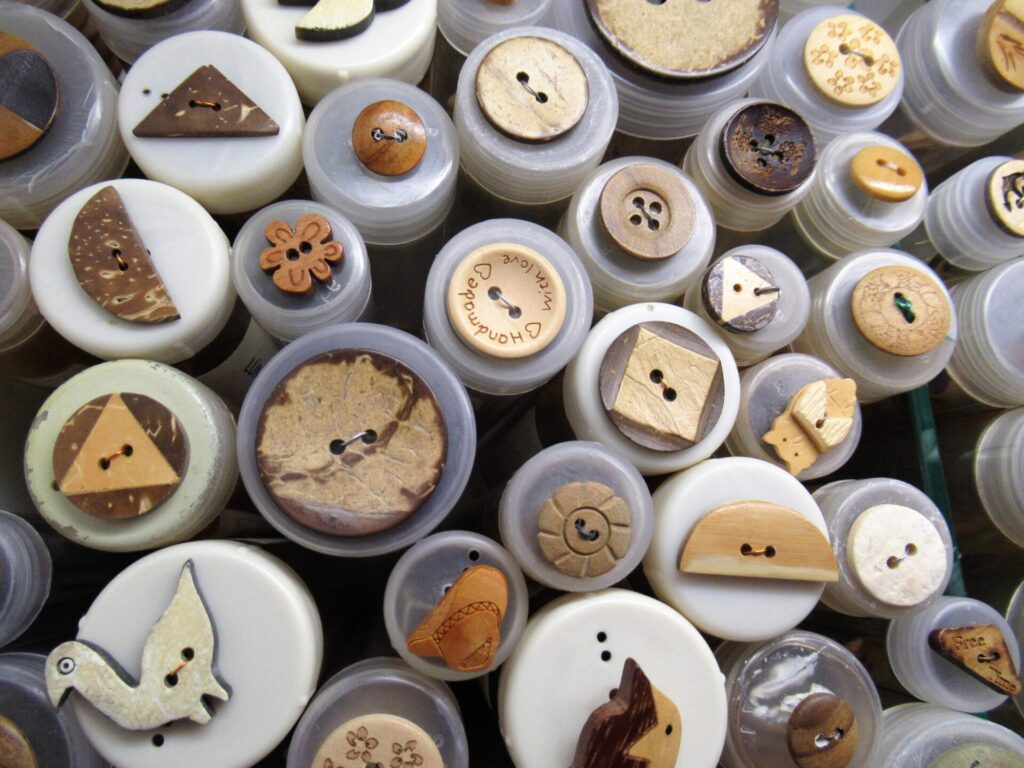
‘Come on, just focus on the buttons, you can do it,’ I told myself. I looked at the wooden buttons…
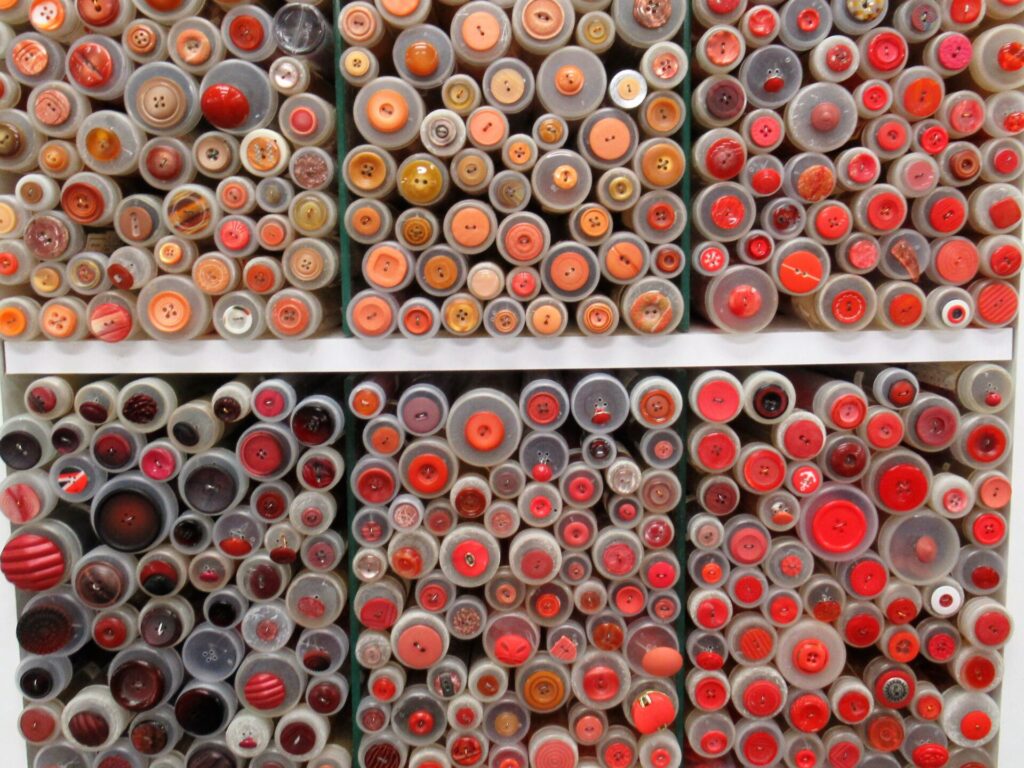
… as well as the red ones.
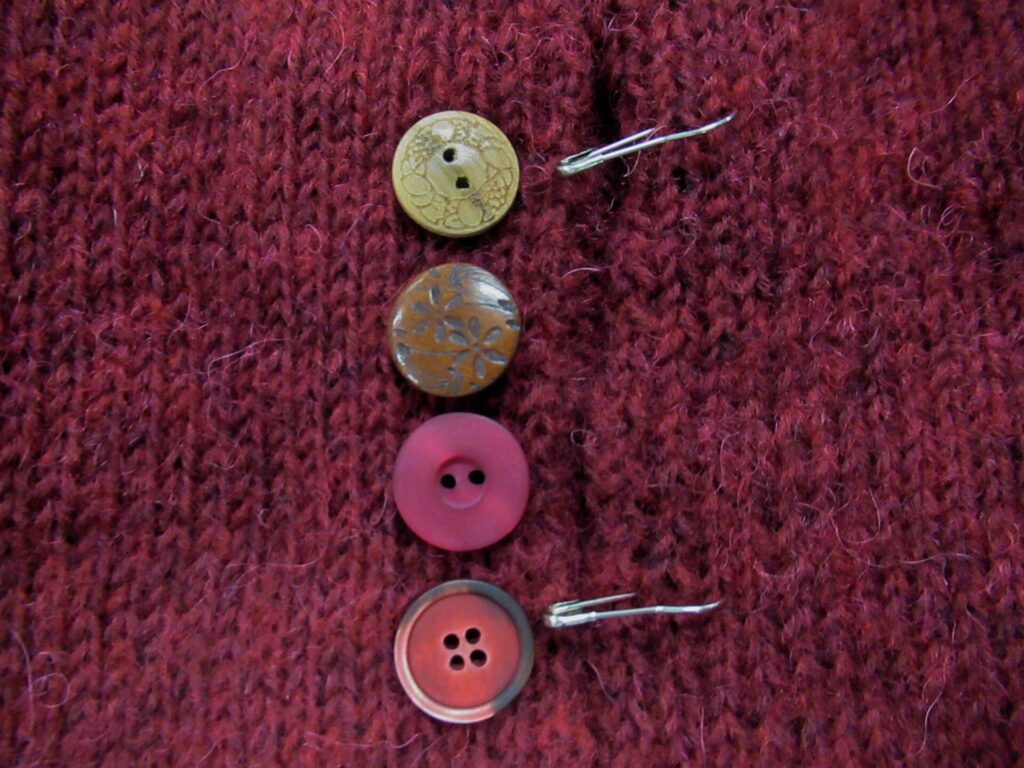
So much choice! These 4 seemed most suitable.
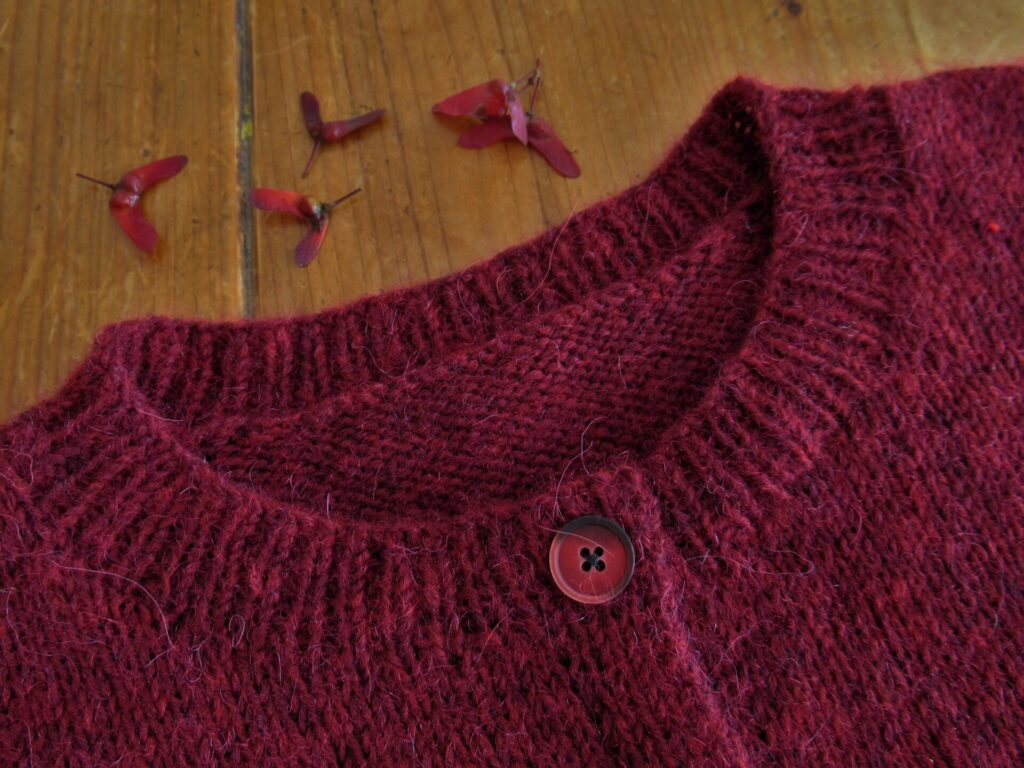
In the end I chose the colour that matched the yarn best, the bottom one.
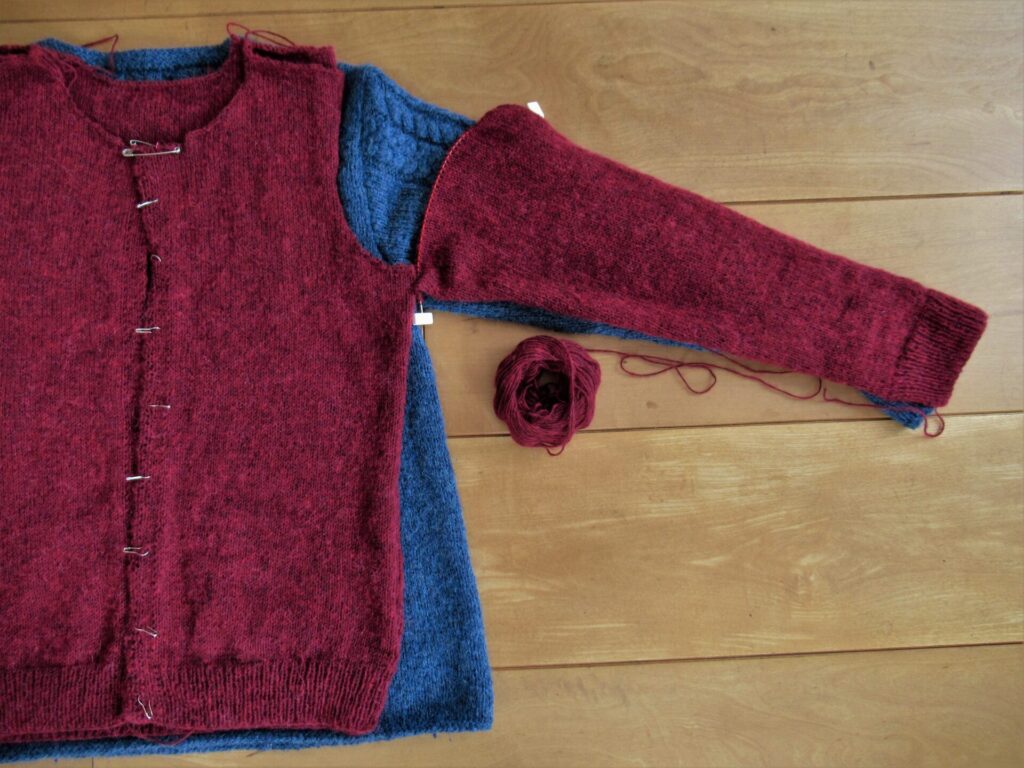
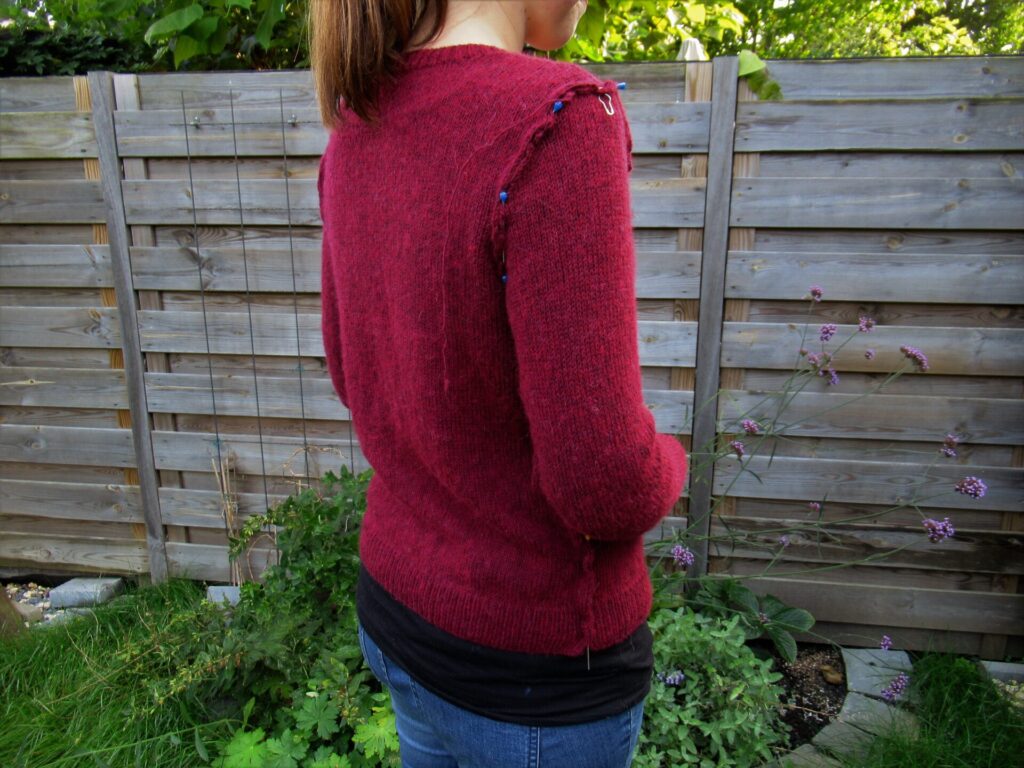
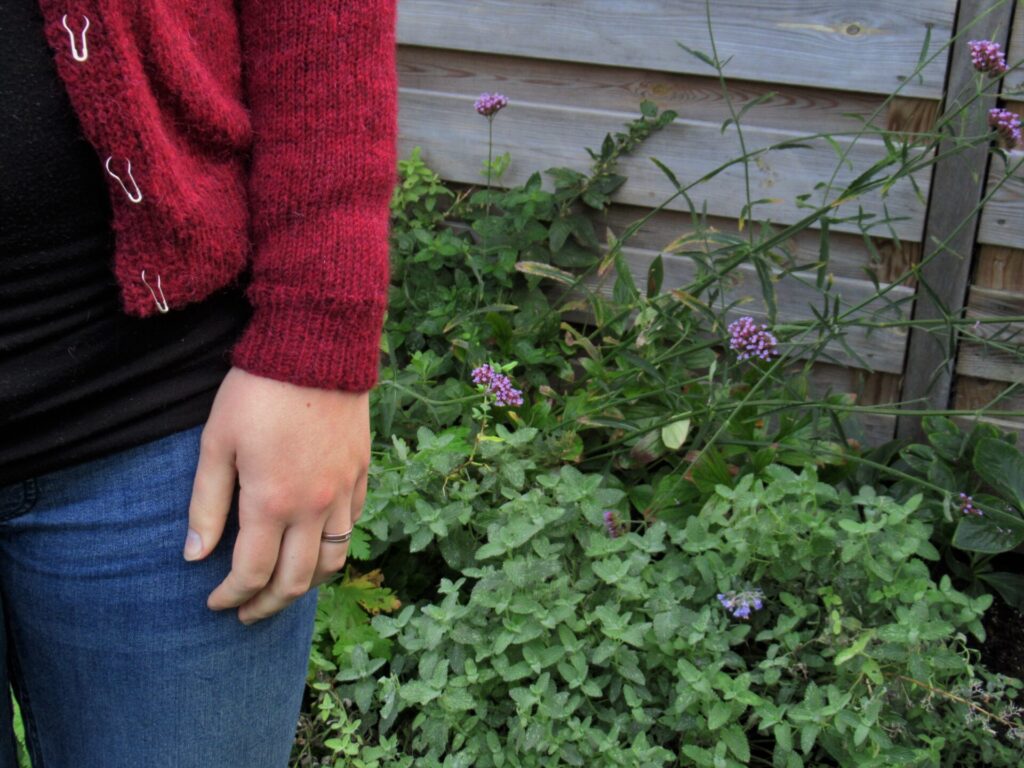
Time to see if the cardi fit and the sleeves were the right length. I pinned it together on the outside to make it easier to try on.
Yes, perfect! And the sleeves were the right length too.
Now all that was left to do was seam everything together.
My waistbands are getting a little tight and I don’t think it is because my clothes have shrunk. I’ll really need to watch what I eat for a while.
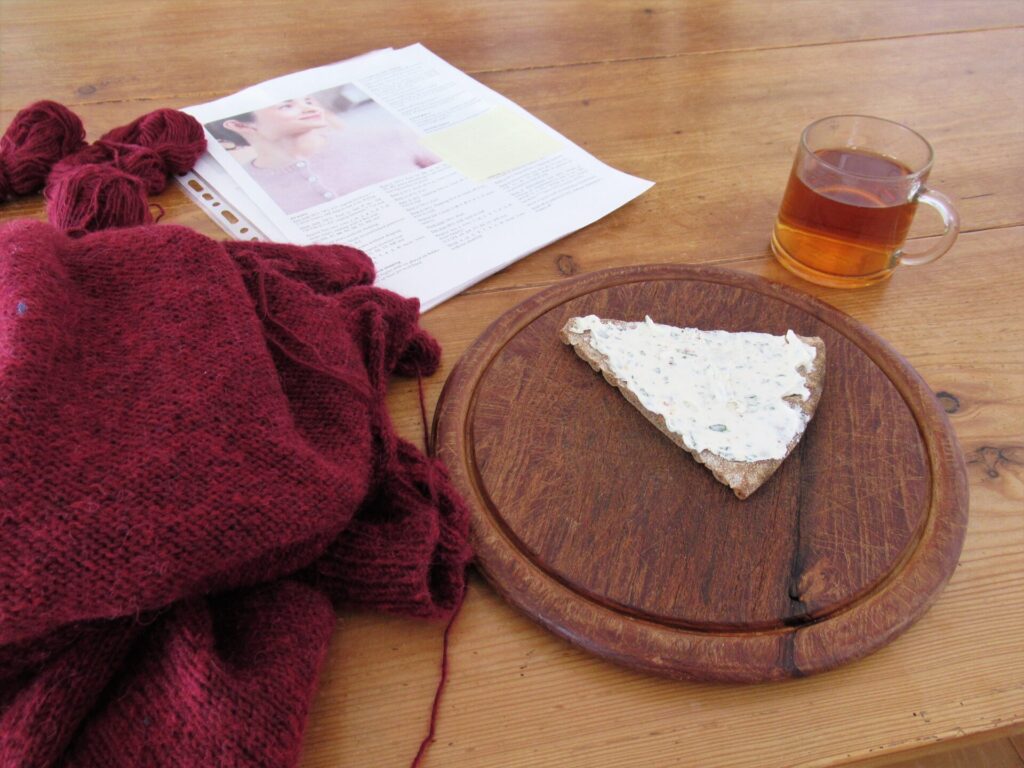
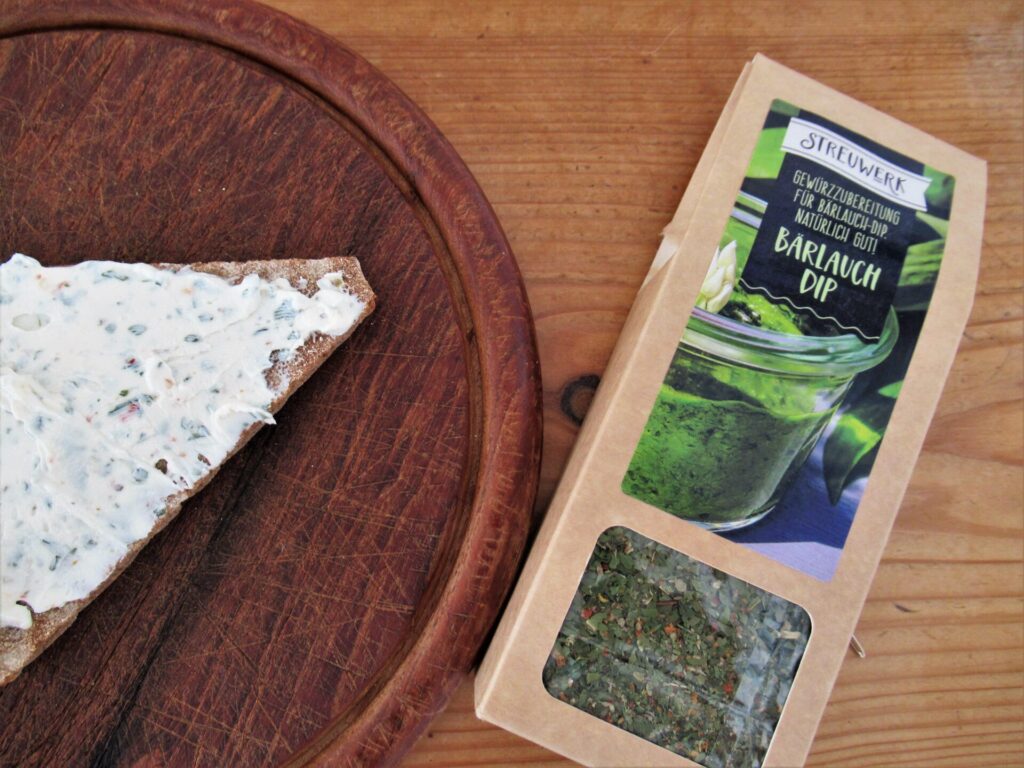
For a low-calory, high-protein spread, I emptied a tub of no-fat fromage frais into a sieve lined with a piece of moist cheesecloth, placed the sieve on a mixing bowl and left it in the fridge overnight. The next morning it had a nice spreadable consistency and I mixed in a couple of tea spoons of dried herbs and some sea salt.
I used a tasty German mixture with wild garlic and chili flakes that we got as a gift, but almost any fresh or dried herbs will do.
Well, back to the cardigan. To sew everything together I used the ordinary back stitch. At least I thought it was ordinary. But a while ago I talked with someone who always used mattress stitch and didn’t know how to do the back stitch. For her, and others who have never back stitched their knitting together, I’ve sewn a part of the side seam with a contrasting thread and taken pictures.
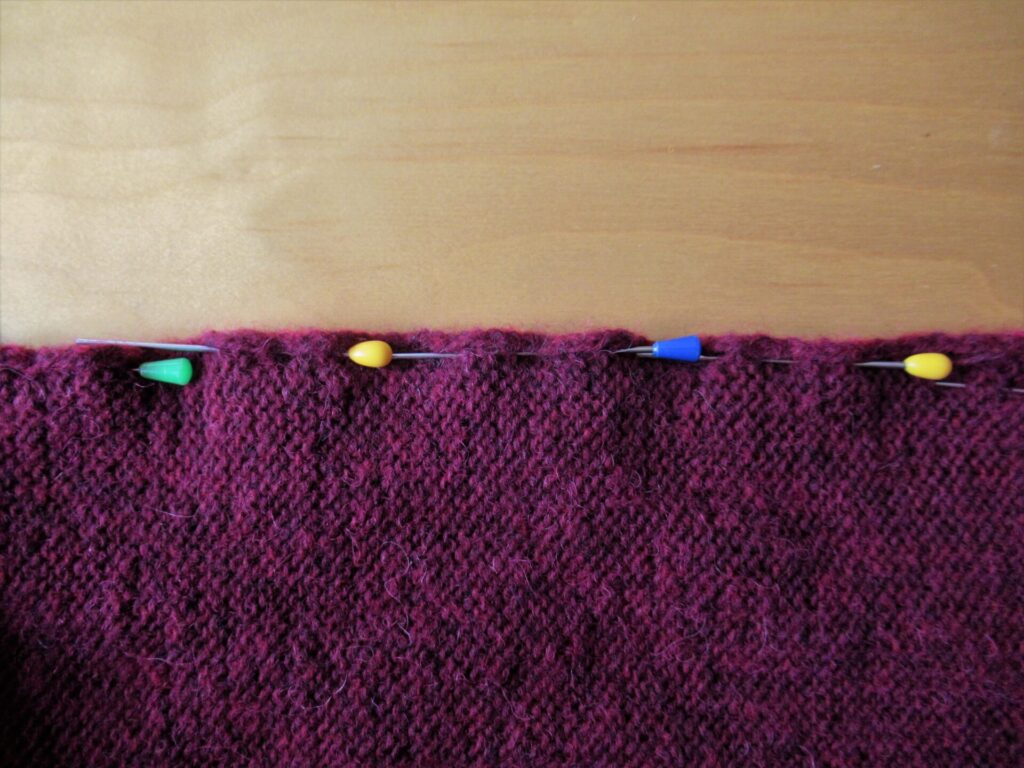
Mattress stitch is worked from the outside. It is very precise and best for very delicate knitting and for matching up stripes. Back stitch is much faster and works well for anything else. It is worked on the wrong side of the knitted fabric. First everything is pinned together with the right sides together.
(My pins come from the chemist’s and are meant for fastening old-fashioned hair rollers.)
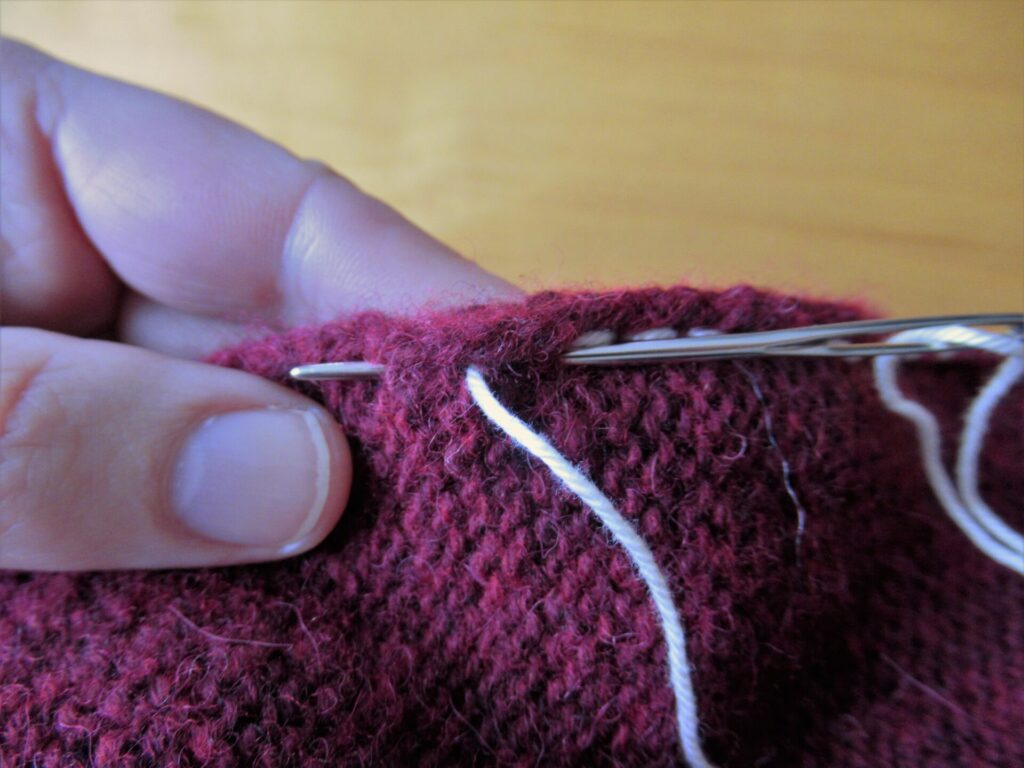
It’s very simple, really, but not so easy to put into words. I hope the picture below is clear enough.
Back stitch is worked from right to left, holding the edges of the fabrics up. What you do is, basically:
Insert your needle from nearside to far side about 0.5 cm/¼ inch to the right from where the thread came up,
*Insert the needle from far side to near side about twice the distance to the left.
Pull the yarn through and insert the needle from near side to far side again through the same hole where the yarn originally came up* (where the vertical white thread is in the picture)
Repeat from * to *.
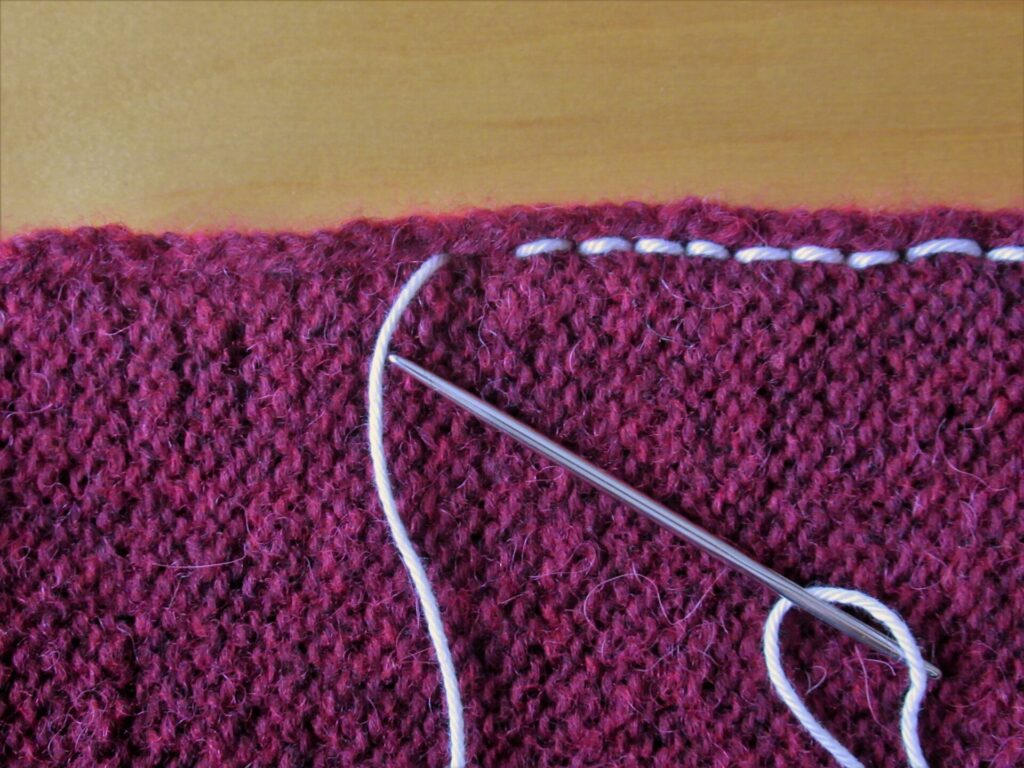
It gives a neat seam on the outside and looks like this on the inside:
I hope this is clear. If not, there is a good video here on YouTube.
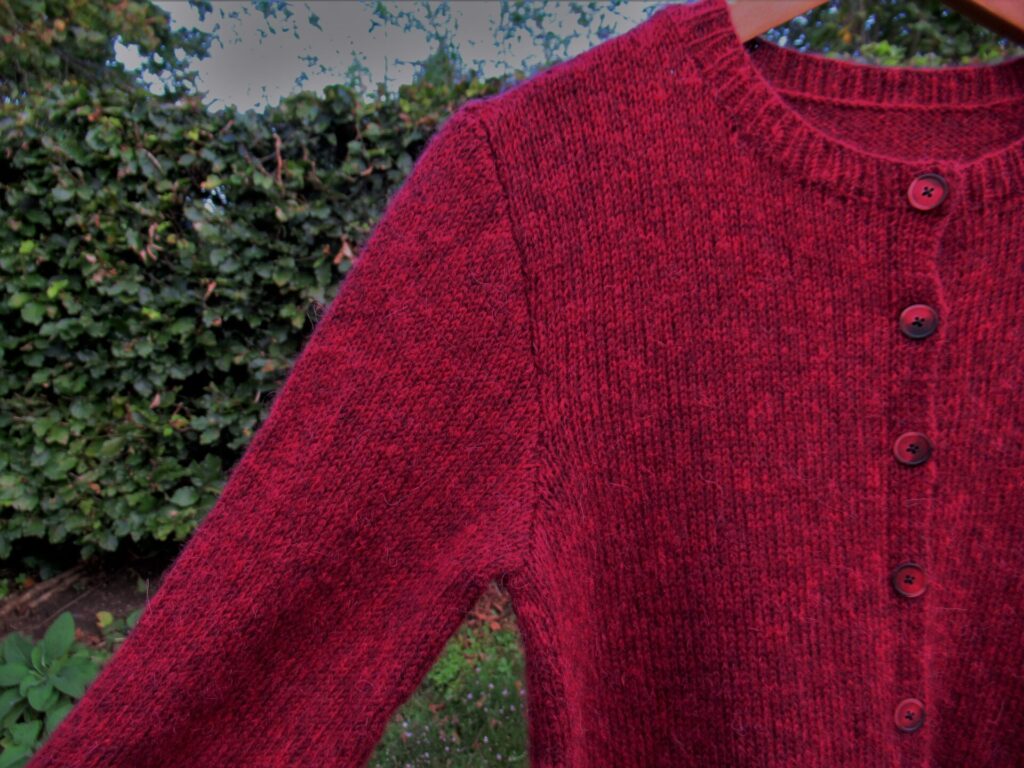
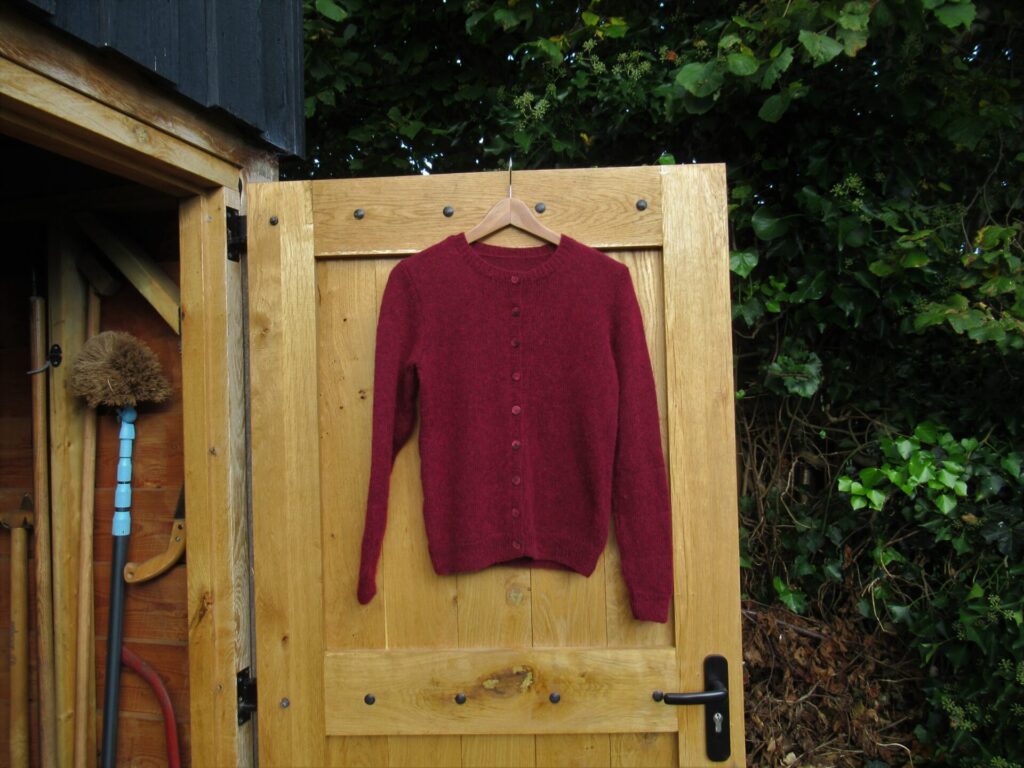
After sewing on the buttons the cardigan is all finished. The pattern I used is the Quintessential Cardigan by the Churchmouse design team – a simple, classic cardi with great attention to detail. An elegant neckline, neat button bands, a few short rows at the hem, nicely sloping shoulders and well-fitting armholes.
The yarn I used is Lana Grossa ‘EcoPuno’. It looks warm and woolly, but actually is 72% cotton. The other 28 percent is a mixture of merino and alpaca. It does not stand up very well to unravelling, but other than that it was a nice enough yarn to knit with. The ‘Eco’ suggests that it is (partly) organic, but the ball band or the manufacturer’s website do not say anything about that.
It is an airy, lightweight yarn and the entire cardi in the size I made (finished bust size 99 cm/39”) weighs only 270 grams. Here it is in its entirety:
It was a lovely cardi to knit and I can see myself making more of these in different colours and yarns.
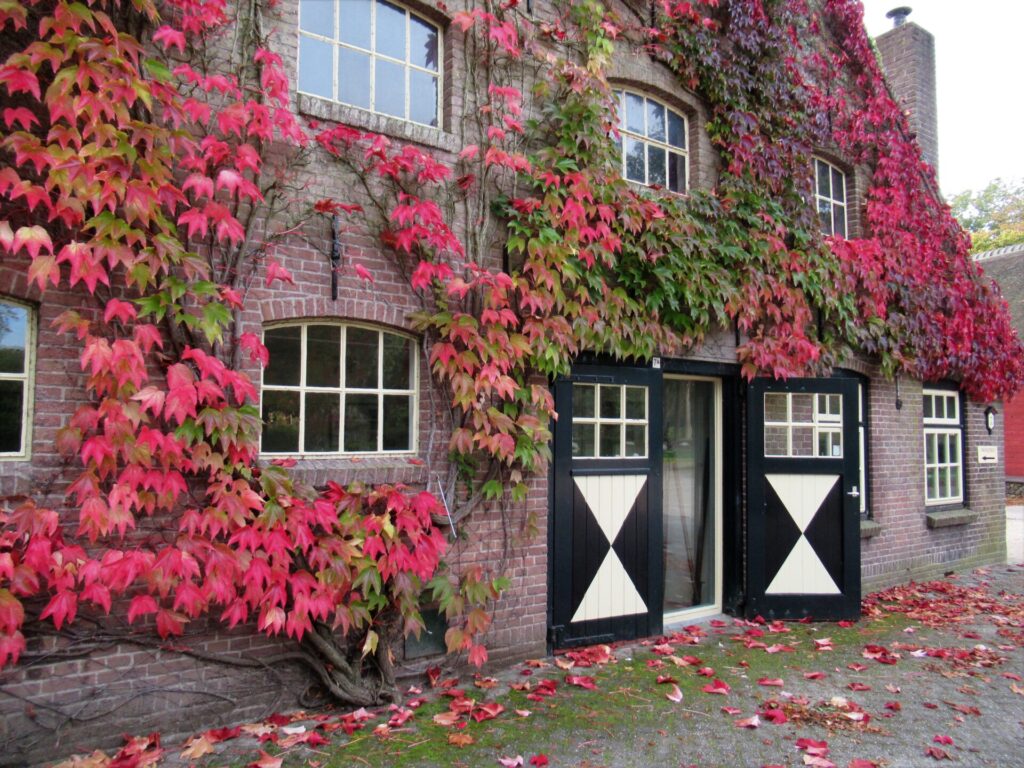
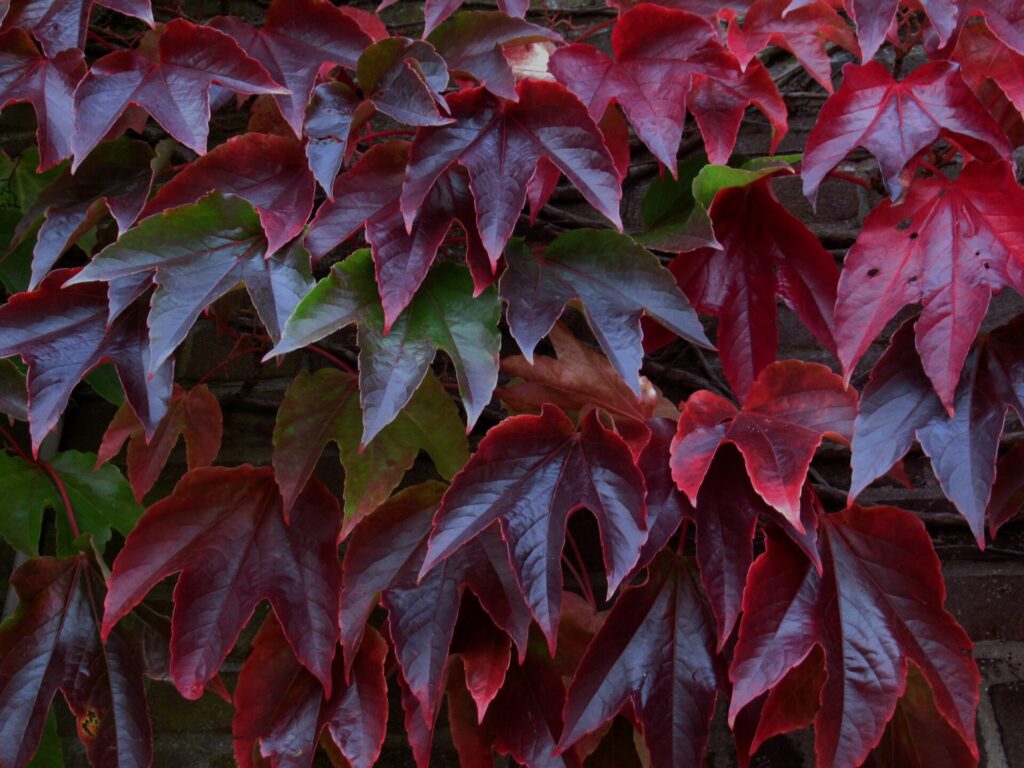
I had great difficulty capturing the colour in my photos. In some it looked purple, in others almost fuchsia. In real life it is the colour of the darkest leaves on this farm building that we often pass on our walks.
A beautiful deep burgundy.
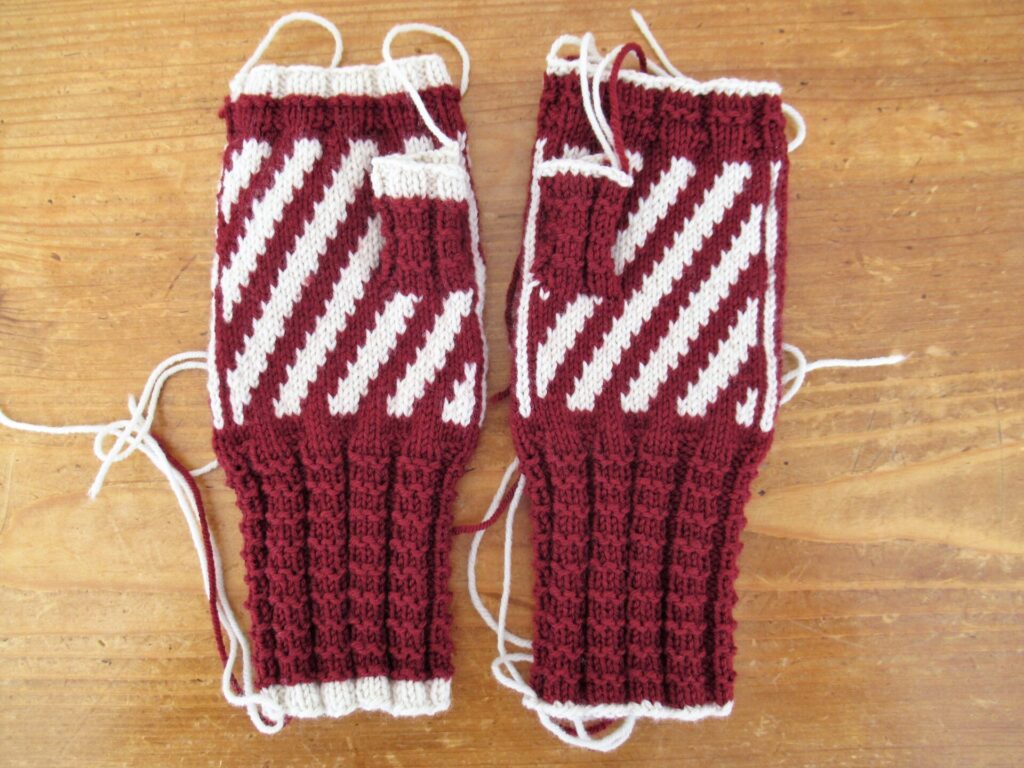
Talking about this burgundy colour reminds me of something else – an unmatched pair of Gazelle Mitts. I knit many of these mitts before I was completely satisfied with the design.
The one on the left is the final version, before I knit the ones that ended up in the pattern. The one on the right is a discarded version that is ever so slightly different. Can you spot the differences?
I think I’ll unravel that and reknit it to make a matching pair. They’ll make a nice December gift.
With that we’ve come to the end of today’s looooong blog post. As always, thank you for reading and have a lovely weekend!
14 thoughts on “Burgundy Cardi”
Pretty cardigan! The older I get, the more I appreciate simple designs with beautiful details, I will check this one out.
I always use mattress stitch for sewing, as backstitch would seem bulky to me, but I’ll give it a try on a rustic yarn. Did you also use backstitch on the sleeve caps?
Yes, also on the sleeve caps. Just make sure to stitch close to the edges and bulkiness won’t be a problem.
Wat is het vest mooi geworden voor je dochter, prachtig resultaat!
Dank je wel!
The cardigan is beautiful, and oh, those burgundy leaves . . .
Thank you! The trees are now suddenly turning colour, too. Beautiful reds and yellows everywhere.
Perfect cardio and in my favorite color. I have eyed that pattern several times and I think you’ve convinced me to buy it.
Backstitching is also really common in sewing, and is less likely to unravel if the thread breaks than mattress stitching (because each stitch is basically covered twice). I have had to unstitch it in a lot of antique quilts and it really resists!
That’s interesting, about the antique quilts. Did you repair them? I hope you’ll enjoy knitting the cardigan as much as I did!
Een mooi vest Marijke!
En een fijne post om te lezen.
Dank je Marieke, en fijn weekend verder!
I had no idea what mattress stitch was, until I googled it. I think it’s called maskstygn in Swedish. I usually choose patterns without stitching, I like to finish the whole garment at the same time.
Lovely color indeed, one of my favorites. And ooh that store!
I get that, that you choose patterns without stitching. It isn’t my favourite passtime either, but I think seams can also give a garment a little more stability.
Such a lovely post! The cardigan is a pretty, classic design. I’ve made the Churchmouse slippers and love that pattern!
Your photographs are amazing, and including the gorgeous foliage growing on that structure, thus tying in the deep, rich shade of the sweater, provides such a visual feast!
Ah, yes, I know those slippers – it’s a very popular pattern, too. The cardigan was a great pattern as well. I’ve enjoyed knitting it very much, and I think it is that which speaks through the pictures. Glad you enjoyed it!