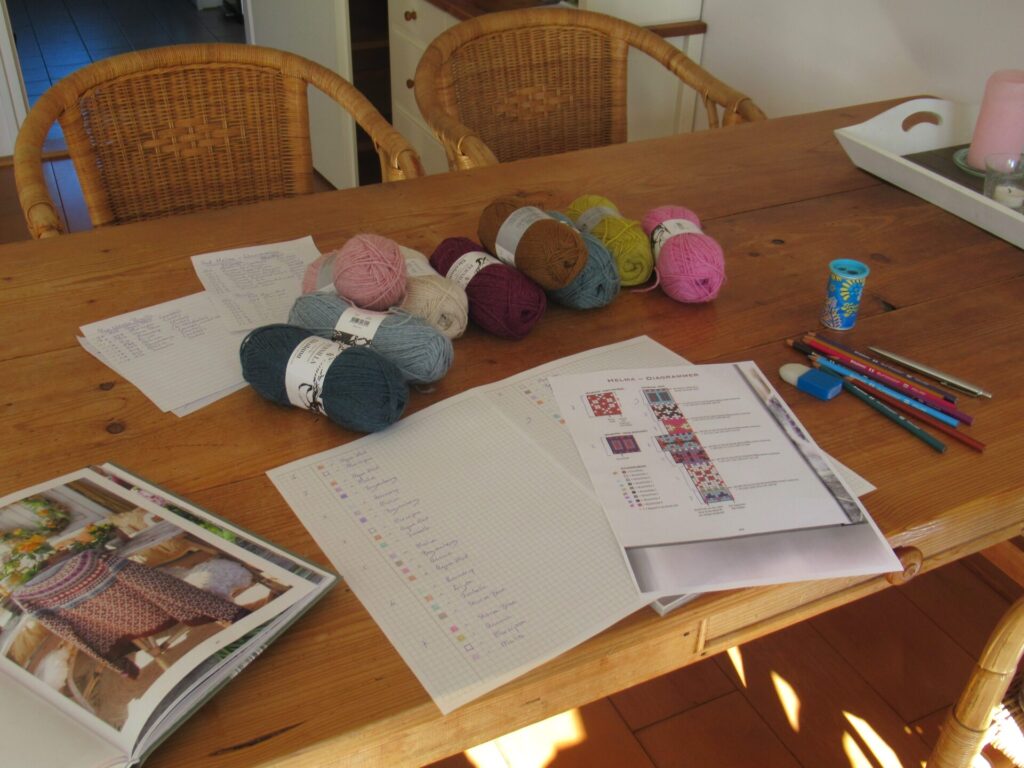
Today I’d like to talk a bit about the swatches I’ve knit for Helma, a cardigan with a stranded colourwork yoke in 9 colours and a 2-colour stranded all-over pattern on the body and sleeves. I hope this’ll be interesting not just for Helma knitters, but also for other stranded-colourwork projects.
I’ve been knitting two kinds of swatches: 1) Swatches to determine the colour distribution, and 2) Swatches to determine the tension/gauge. Let’s start with the first.
1) Swatches to determine the colour distribution Before I even started knitting swatches, I looked closely at the pattern’s colourwork charts to decide which of the designer’s colours I could replace with which of mine. I got out some coloured pencils in order to try things out on paper first.
This turned out to be so time-consuming, however, that I quickly gave it up. (I also have software for things like this, but somehow that didn’t quite work for me either.) By now, though, I had already discovered that simply substituting the same of my colours for the same of the designer’s colours everywhere wouldn’t always work. Because the designer used colours from 4 colour groups, and I chose colours from just 3 colour groups (see this post), there would not always be enough contrast in my version.
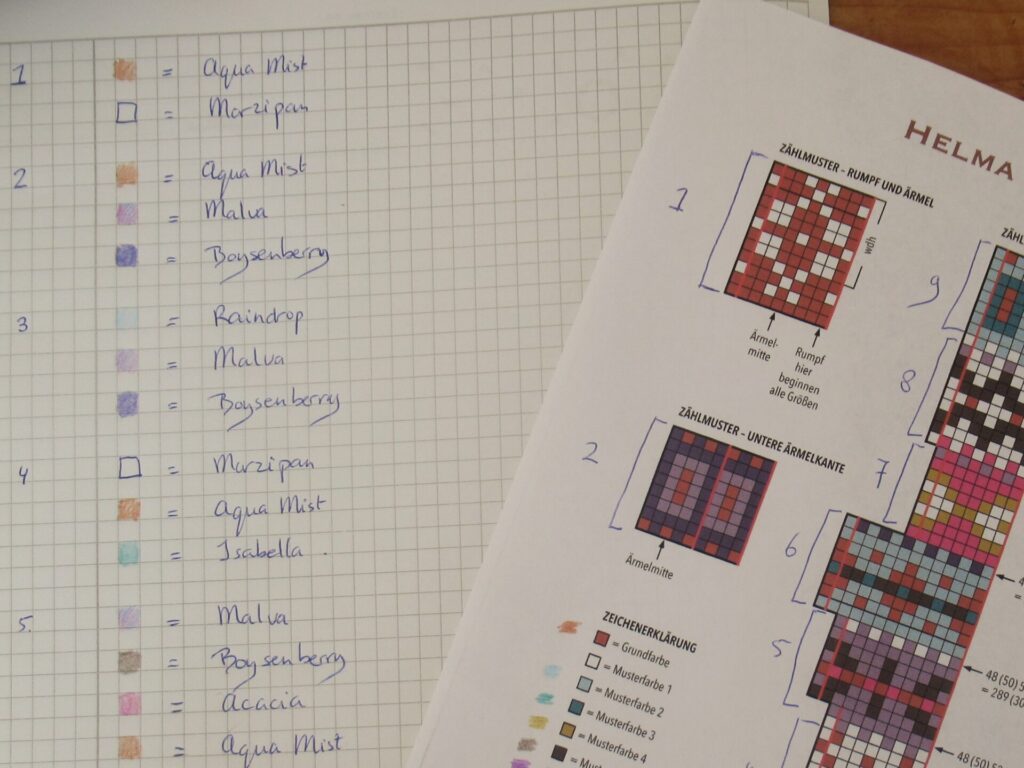
What I did next, was divide the yoke chart up into sections and look at colours for the sections separately.
The rules I set myself were:
Where the designer uses a dark colour, I’ll use a dark colour, too.
Where the designer uses a medium/brighter colour, I’ll do the same.
I’ll use ‘white’ (actually pale beige) in the same places the designer does.
For the designer’s ‘pop’ colour, I’ll also use my colour that pops out (yellow).
I’ll try to distribute my colours evenly over the yoke.
This way, I came up with a colour scheme for each section and wrote it down next to squares I coloured in with the original colours.
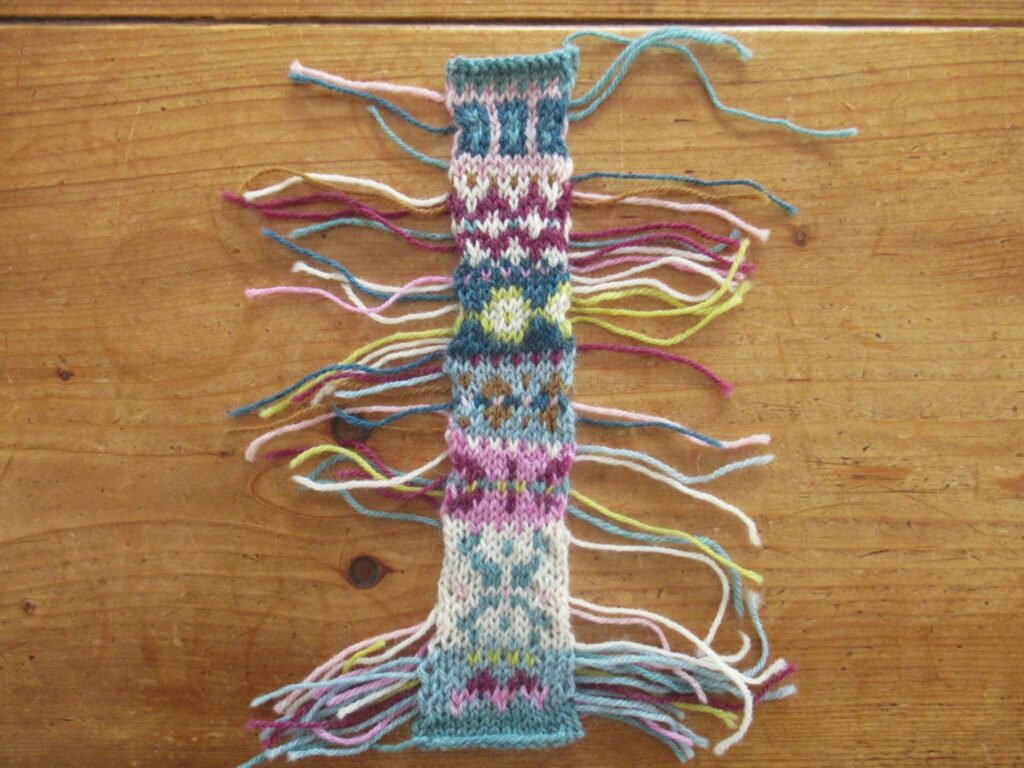
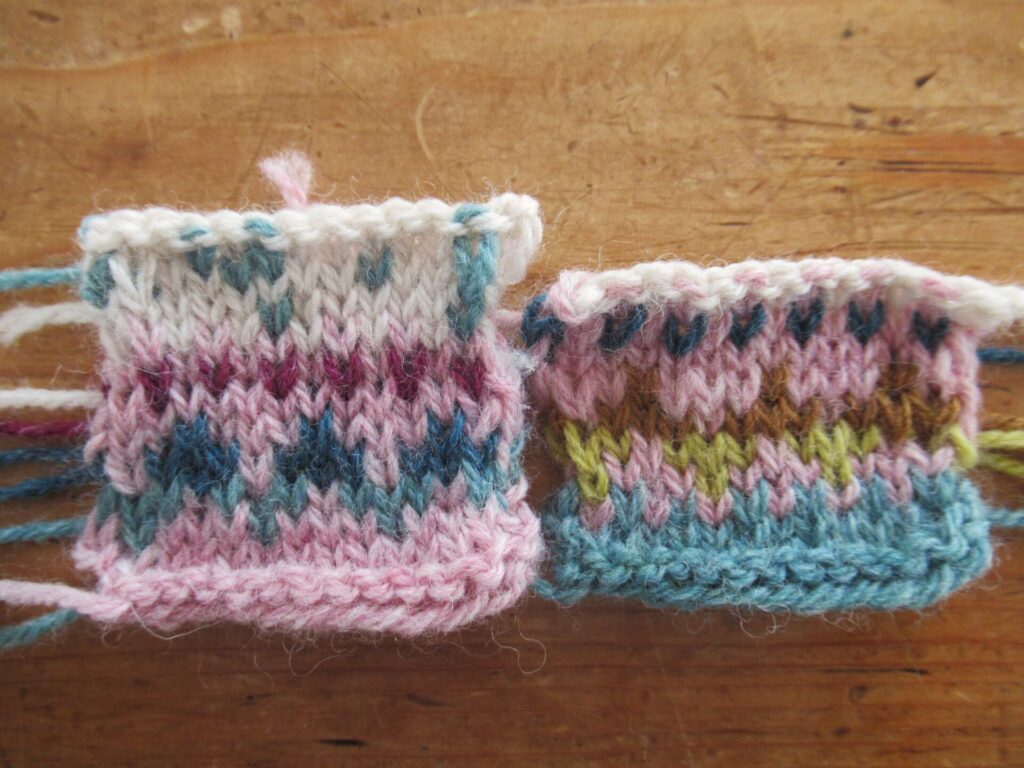
Now I was ready to start swatching. Not wanting to waste too much yarn or time, I made a narrow swatch (13 sts) for the entire yoke sequence.
Reasonably but not entirely happy with the colour distribution, I knit a couple of even stingier swatches for one section (bottom of swatch above).
Hmm, one of them definitely wasn’t an improvement and one of them was. I could also see from the rest of my long and narrow swatch that in some places colours just ‘disappeared’ and would have to be replaced with stronger ones. To solve this, I swapped colours here and there without trying them out, just noting them down on paper. So, that was the colours sorted. Next:
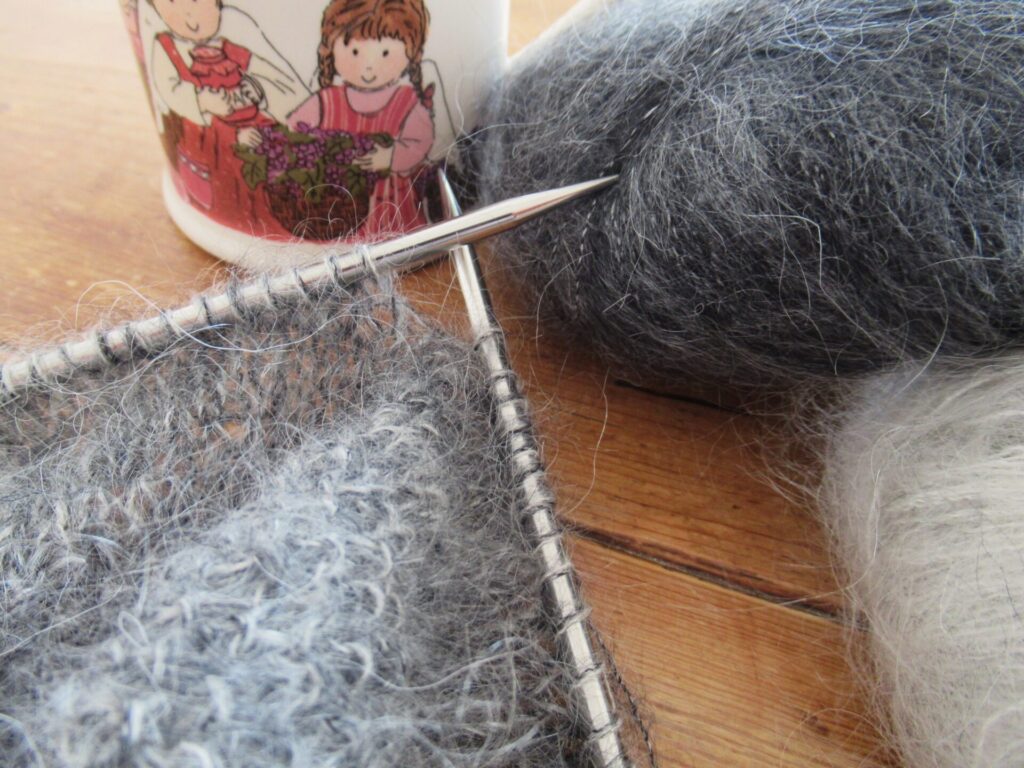
2) Swatches to determine the tension/gauge The cardigan is knit in the round, with only knit rounds (no purling). I’d have to mimic that in order to get a good impression of the gauge. A flat swatch knit back-and-forth wouldn’t work, because the way I knit, purl rows are always slightly larger than knit rows. In other words, I’d have to have all knit rows. As my gauge is always tighter knitting a small circumference (e.g. a sleeve) than a large one (a yoke or body), a small swatch knit in the round would not work either.
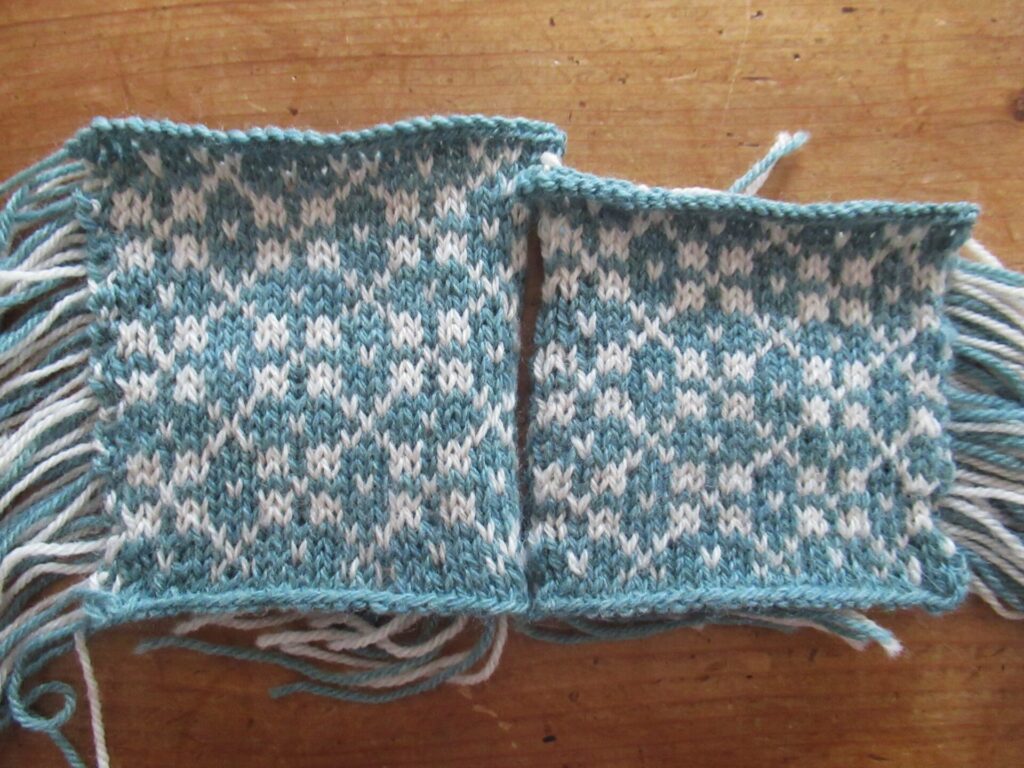
So, what I did was make a flat swatch knitting every row. This means starting every row on the right-hand side, breaking off the yarn at the end of each row and sliding the stitches back to the right needle tip. For me, the gauge of a flat swatch knit this way is similar to large circumference knitting in the round.
(I could have done that without breaking off the yarn, leaving a long float at the back, in order to be able to unravel the swatch and save yarn. Jared Flood calls this circular speed swatching. I find this extremely cumbersome, though, trying to get the floats long enough and not too long.)
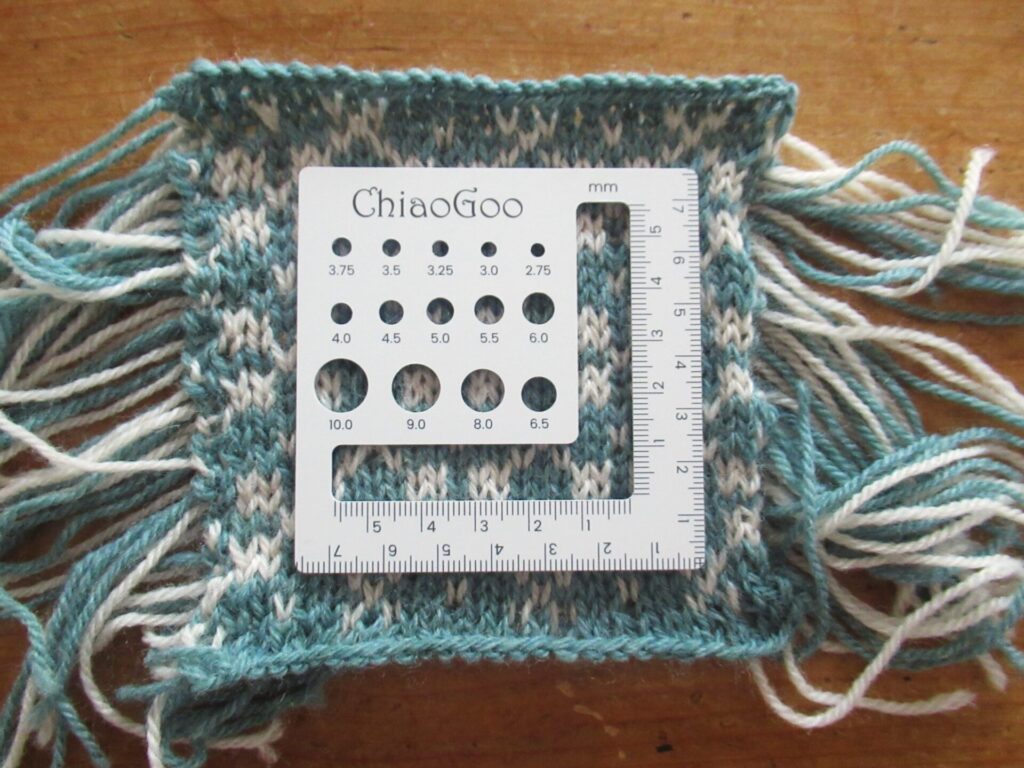
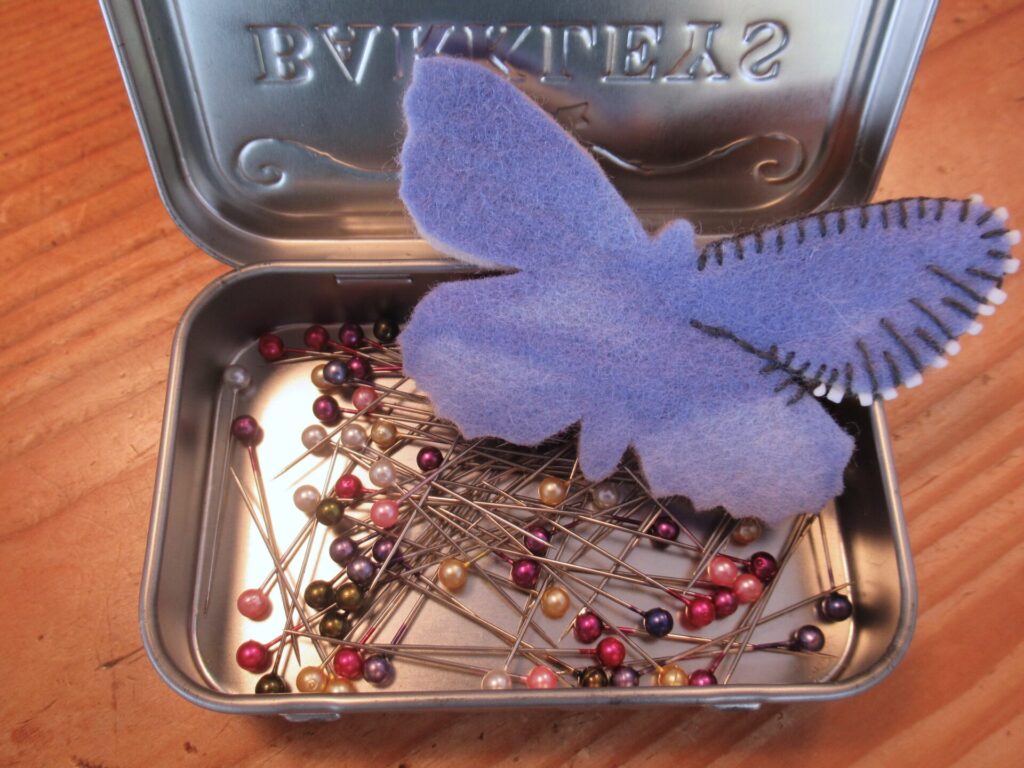
I do not mind swatching, but do not love it either and prefer not to make my swatches too large. In this case my swatch ended up smaller than the standard 10×10 cm/4×4”. As it happened, a dear knitting friend came for a visit last Friday and gifted me just the right tool for measuring small swatches (photo above). Thank you, L, it comes in very handy!
I really liked the fabric of my first swatch, but the gauge was way off. I was aiming for 24 sts to 10 cm/4”, but got 28 sts. That means that if I were simply to follow the pattern for, say, size L, I’d end up with a size S. So, I knit another swatch.
That was 26 sts to 10 cm/4”. Still too small. Going up to even larger needles would give a far too loose and open fabric. What to do now? I think I’ll go for a needle size in between the first and the second swatch to get the fabric I like. I’ll do some maths, and will then follow the instructions for a larger size that will (hopefully) result in a cardigan my size.
Phew! Explaining this concisely was really hard and I hope it all makes sense. Time to finally start on this project! I’ll try to find a less technical and more relaxing subject to write about for next time. Hope to see you again then!
Hello! Last Saturday, my husband was going to study mosses in de Achterhoek. (That’s right, mosses – with our many, varied and sometimes slightly nerdy interests, we’re neither of us ever bored). I decided to tag along – at least to the parking place where he was meeting a group of other moss lovers. There, we split up (only for the day – no worries) and I hopped on my bicycle. I’d brought a map, snacks, lunch and my camera, too, because I thought you might like to join me virtually.
For those of you not familiar with the Achterhoek – it’s a mainly rural region in the east of the Netherlands, bordering Germany. Starting in The Hague, drive 180 kilometres straight to the east and that’s where you’ll end up. It was a grey and chilly morning, and I wished I’d thought of bringing mittens and a hat.
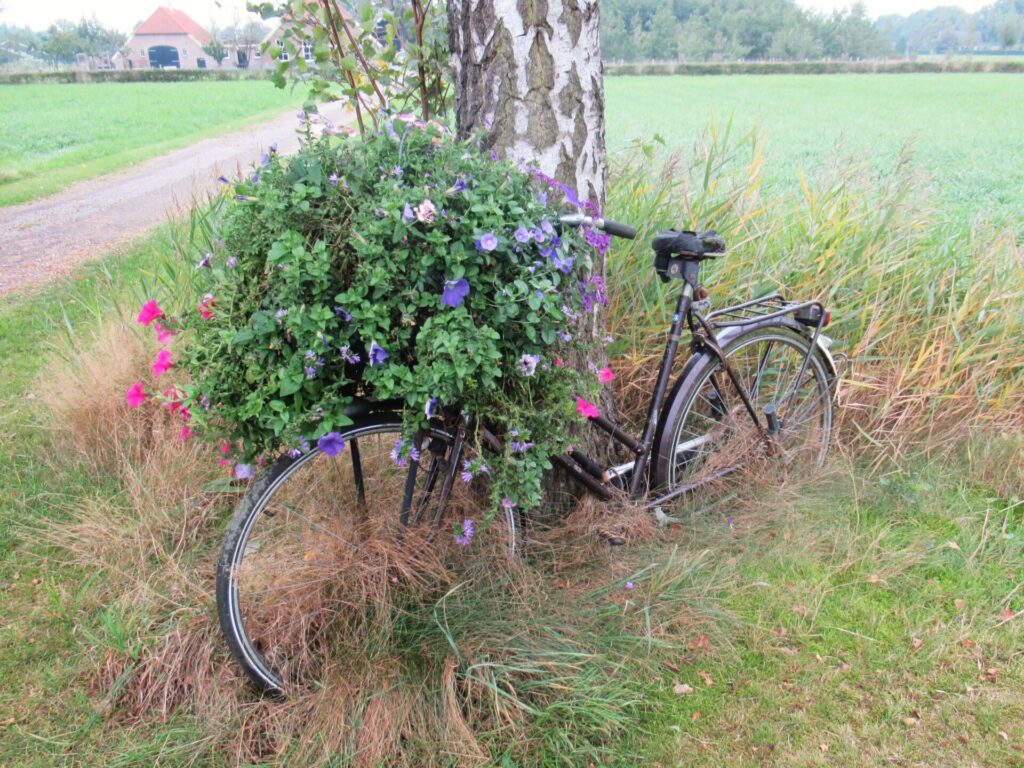
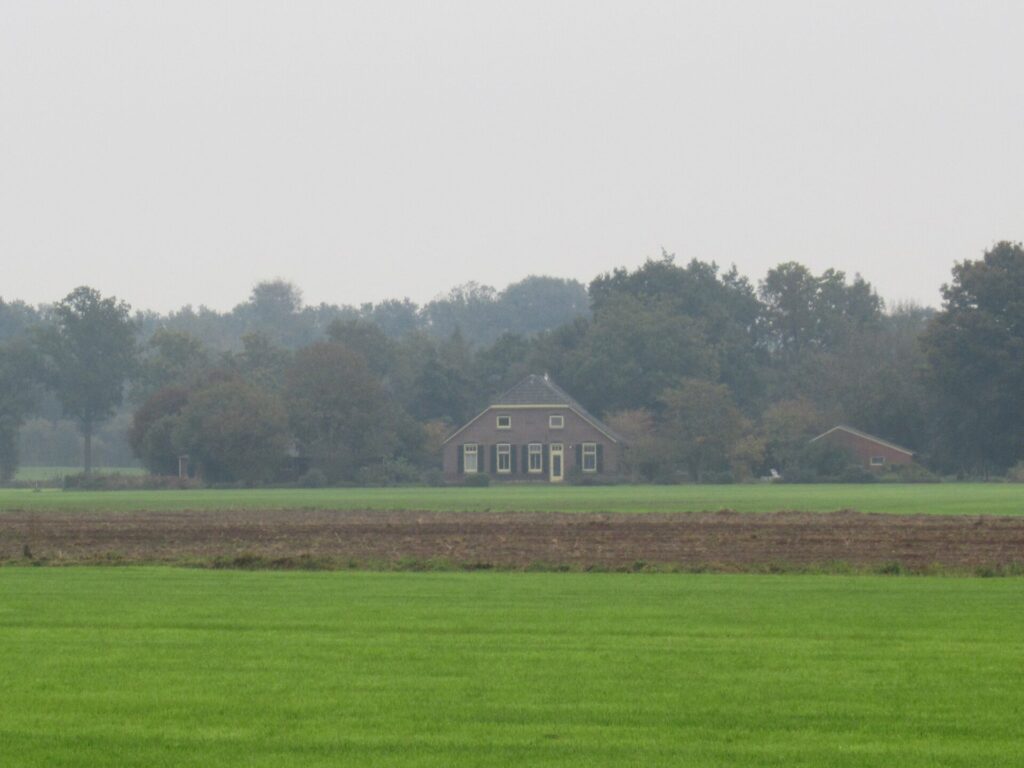
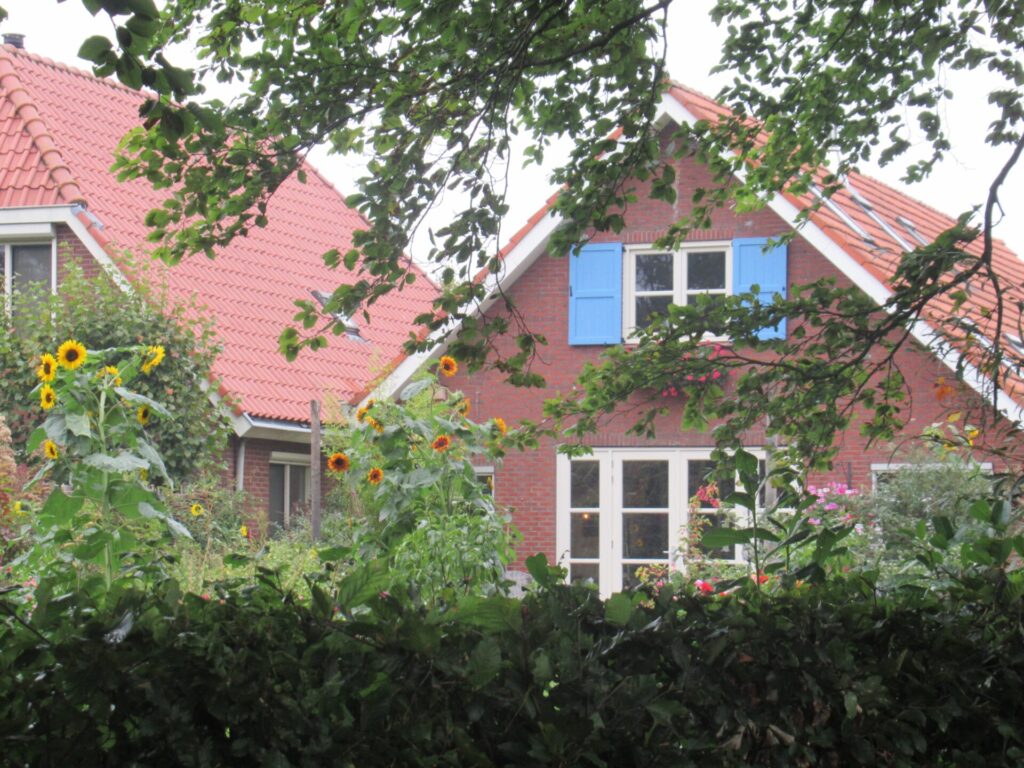
After a little over an hour’s cycling through fields and woods, and passing some lovely homes and gardens along the way…
… I arrived in the town of Borculo.
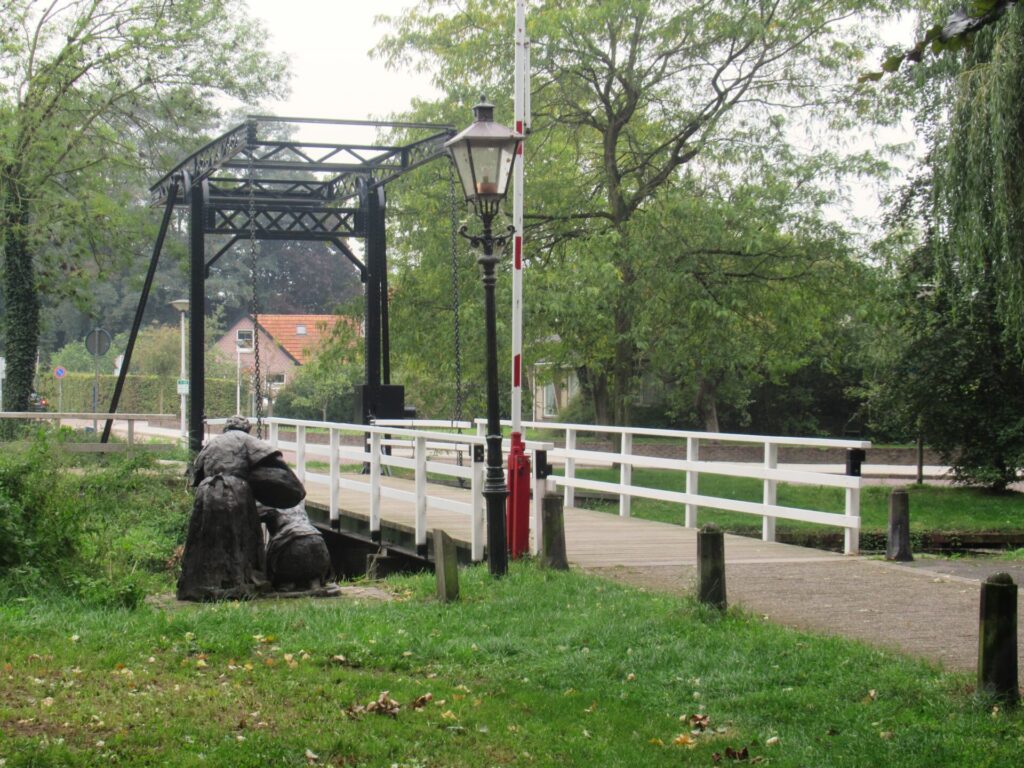
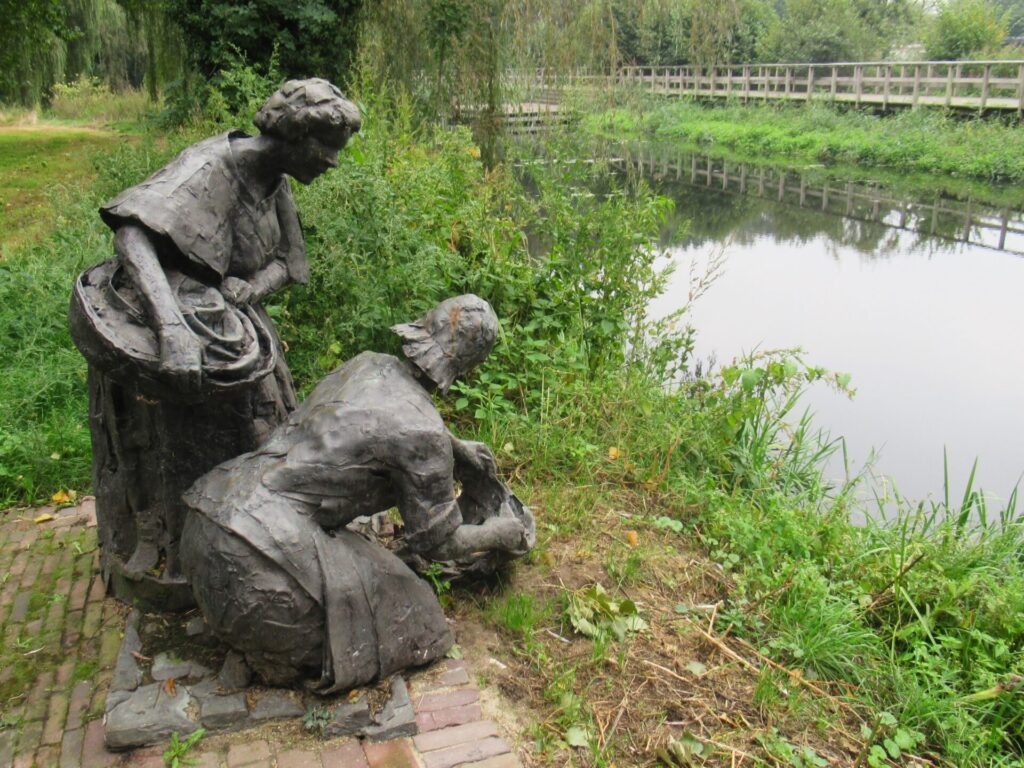
Two (bronze) women were doing their laundry in the Berkel river, next to the Washuisbrug (Washing-house bridge).
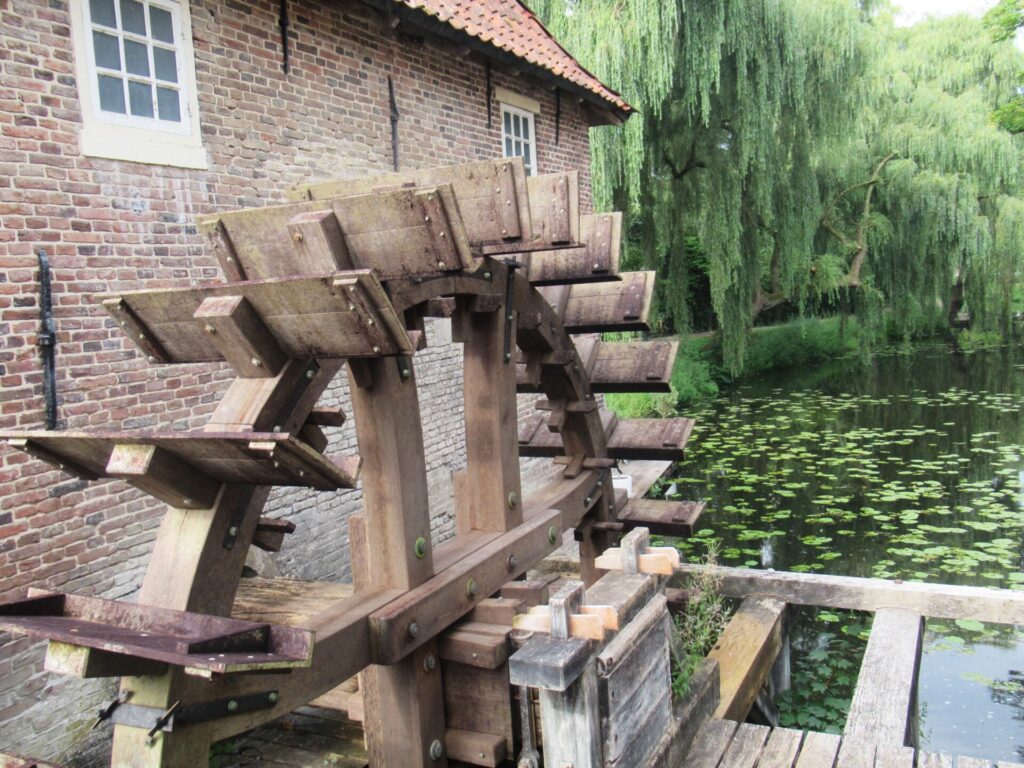
Borculo’s historic centre is really lovely, with an old watermill…
… cobbled streets…
… and – well, well, what have we here?
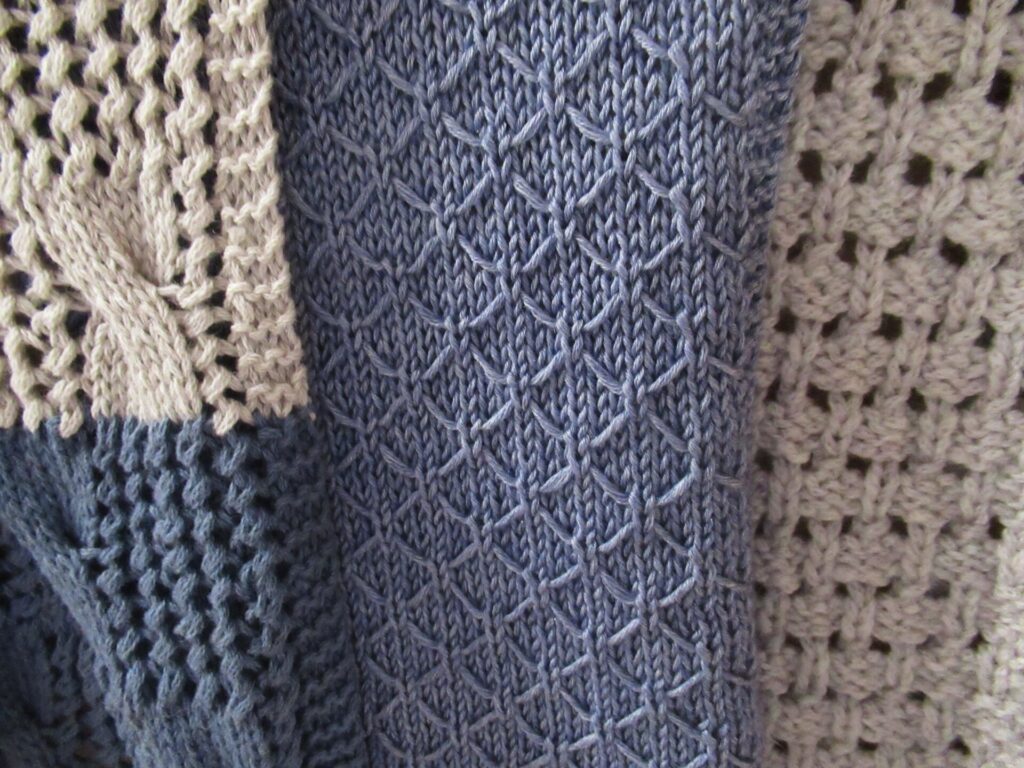
A yarn shop! What a surprise! (Not really – it was totally planned.) Let’s take a look inside. Lots of swatches to get a good idea of the yarns, that’s always nice.
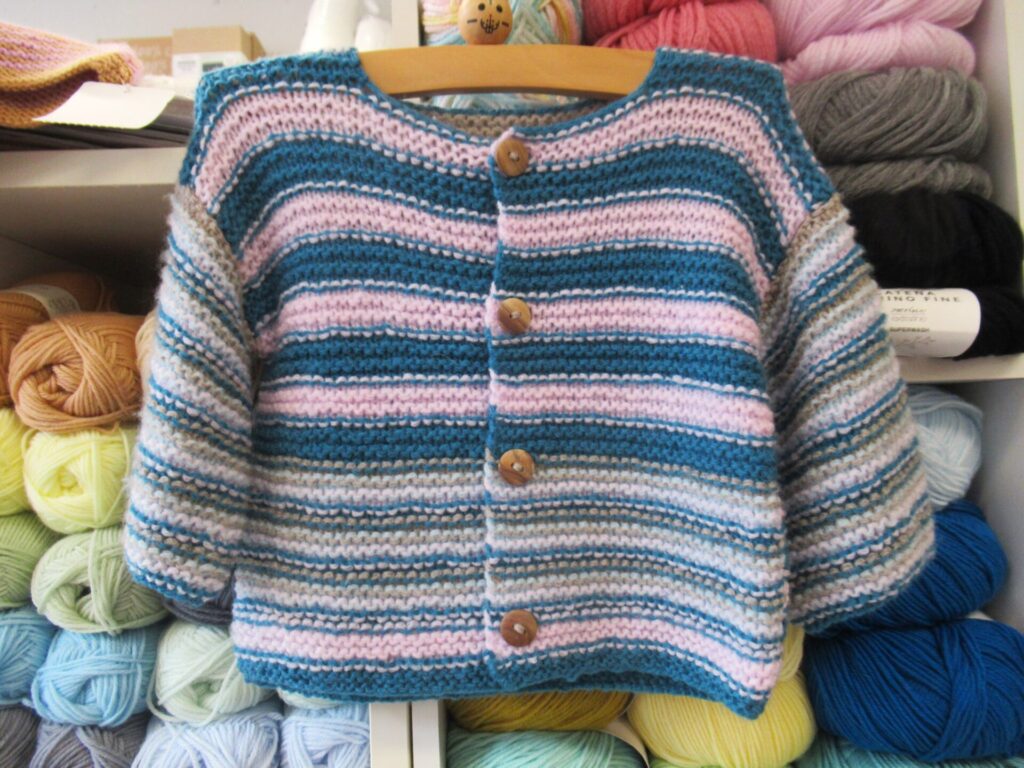
A cupboard dedicated to baby yarns, with some wee garments for inspiration.
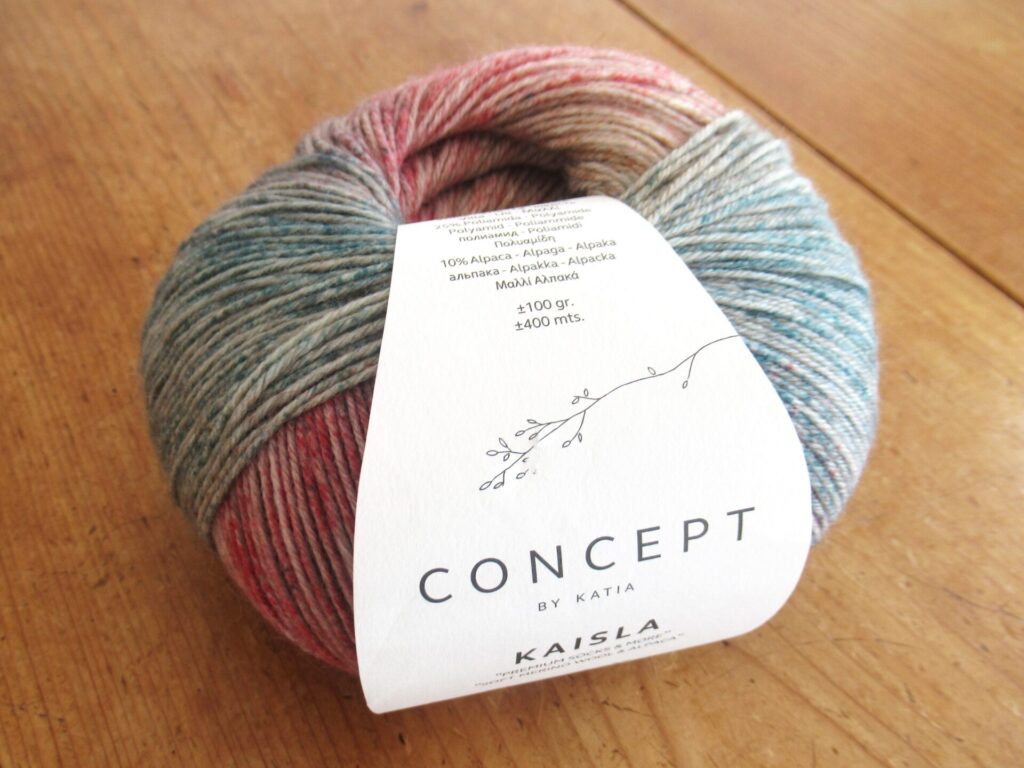
And a good selection of other yarns – sock yarns, a merino DK in many colours, thicker yarns, thinner yarns, cotton, wool, acrylic, alpaca. Something for everyone. What strikes me in this shop is that there are lots of multi-coloured and especially gradient yarns.
Is it just this yarn shop or is it a trend? There was one yarn that was unlike anything I’ve ever seen before. It is called Lopapeysa, comes in 400 gram skeins, and will knit up into a complete sweater with a built-in colourwork round yoke and coloured ribbing on sleeves and body. Sort of like self-striping sock yarn, but then for a sweater. I don’t know if I’d ever use it, but I think it’s amazing.
It isn’t just yarns here, but also fabric and haberdashery. The shop is called Stof & Stuff after all (stof being the Dutch word for fabric).
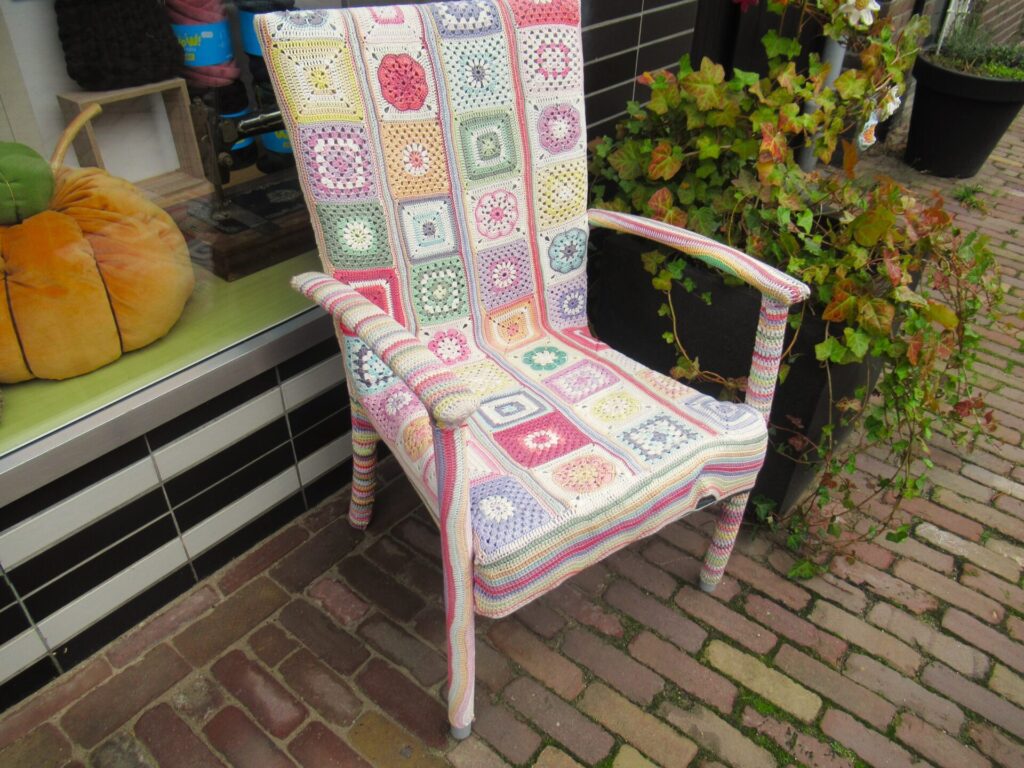
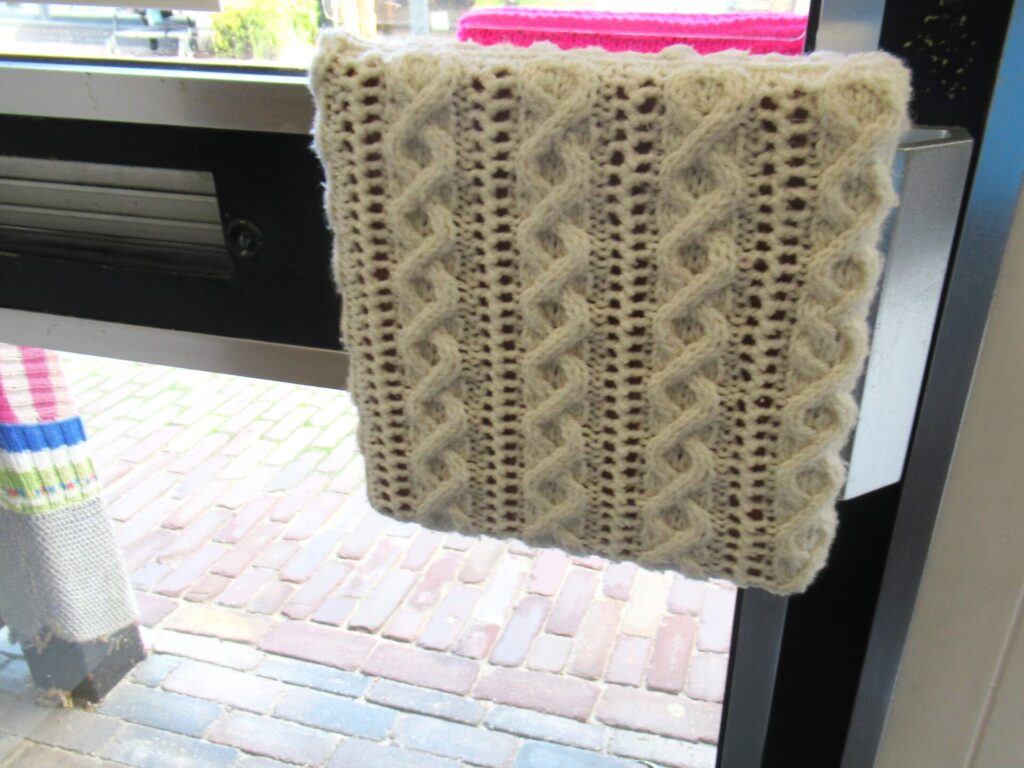
A friendly shop, where even the door knobs both inside and out are covered in knitting.
I left with in some gifts in my bicycle bag. A length of gingham check ribbon with the cutest fox faces on it, that I gave away before photographing it. And a skein of multi-coloured sock yarn for my knitting student’s Birthday. She’s making tremendous progress and has really caught the sock knitting bug.
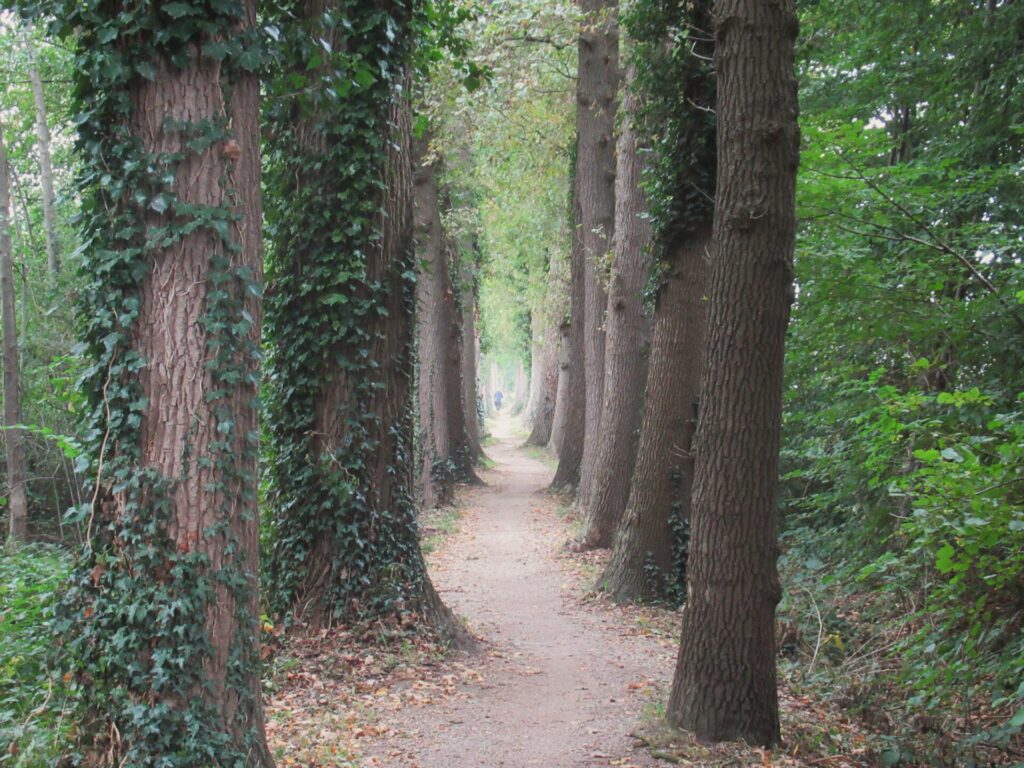
Well, time to cycle back. De Achterhoek has some of the most beautiful stretches of bicycle track I’ve ever cycled on.
Although the leaves on the trees are still green, it smells like autumn. The weather is cooling down and I’m knitting, knitting and knitting. Swatches and gifts, gifts and more gifts. I hope to talk about some of those soon. Bye for now!
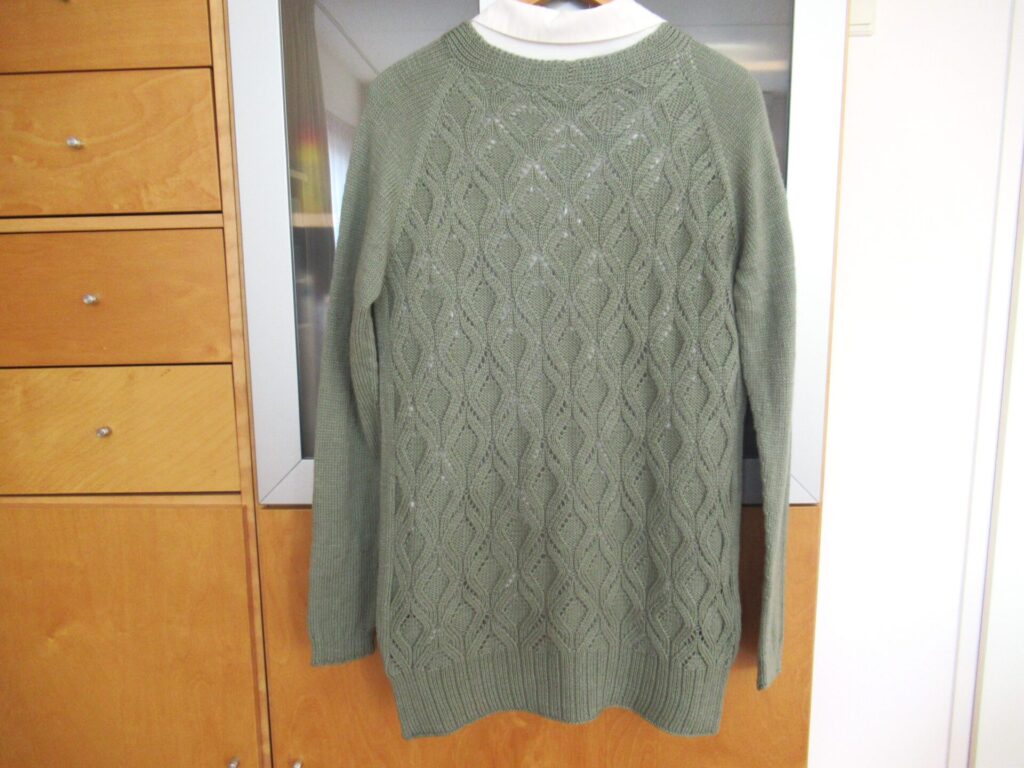
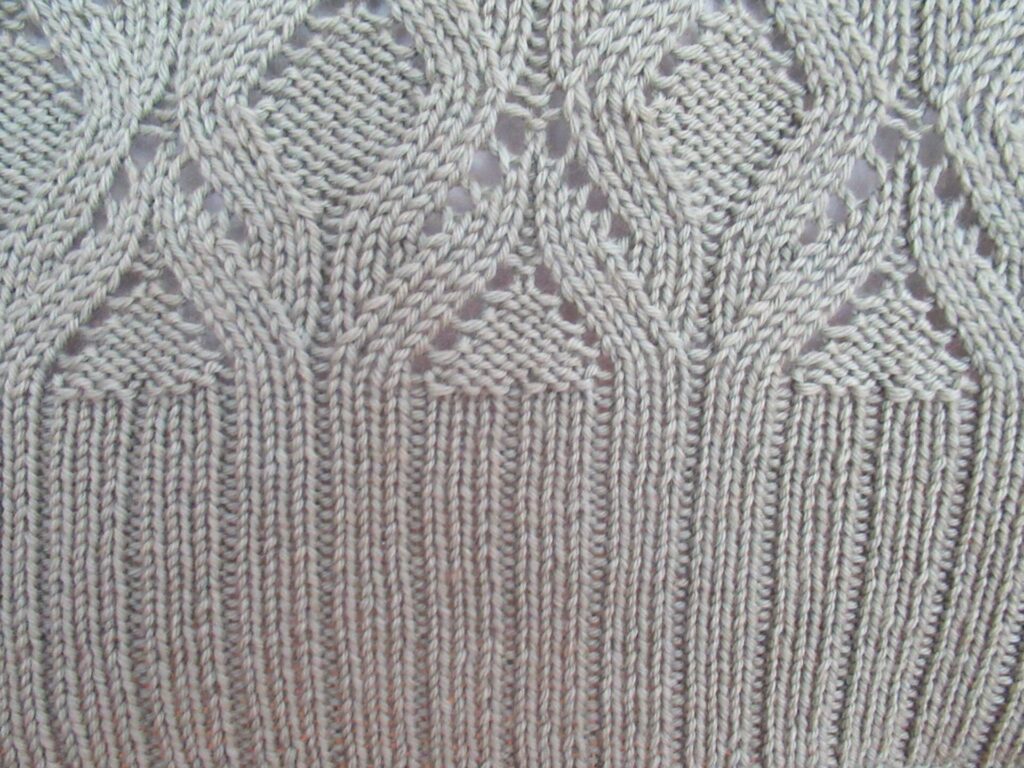
Hello! Last week was a bit of a whirlwind and I didn’t get round to composing a post, but this week things are back to a more even keel. In between everything else, I did manage to finally finish a cardi for our daughter. It’s Matilda Kruse’s Be Mine, a longish cardigan with pockets. Viewed from the front, it doesn’t look very exciting. But just look at the back – ooh là là! C’est joli, non? Isn’t it pretty?
Worked from the top down it was a lovely project that flew off my needles (I knit the body and sleeves in about three weeks). So why did it take me so long to finish? Well, two things: 1) the binding off and 2) the pockets.
First, the binding off. The pattern simply said, ‘Bind off all sts’, so that was what I did. Uh-oh, the ribbings curled upwards – not a nice look. Going onto Ravelry, I saw that several other knitters had had the same frustration. One even frogged all the k3, p1 ribbings and re-knit them in k1, p1. That would solve the problem, but I liked the way the pattern on the back merged into the ribbing too much for that.
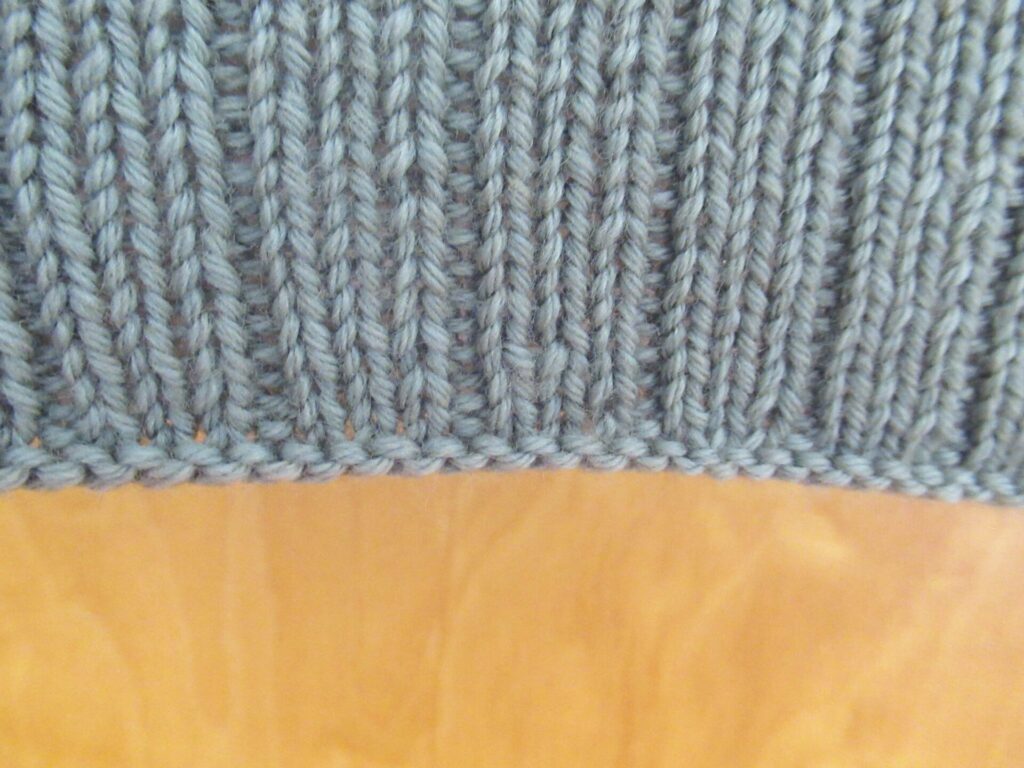
So, I tried out just about every bind-off under the sun. Here are some of them, in case you are as pernickety about this kind of thing as I am:
K3, p1 as per pattern – curls up.
Entirely knit bind-off – even worse.
Picking up loops on the wrong side (video here) – interesting, but gives an unattractive thick welt.
Adding kfb increases (video here) – would be great for toe-up sock cuffs, but gave a wavy edge on this cardigan.
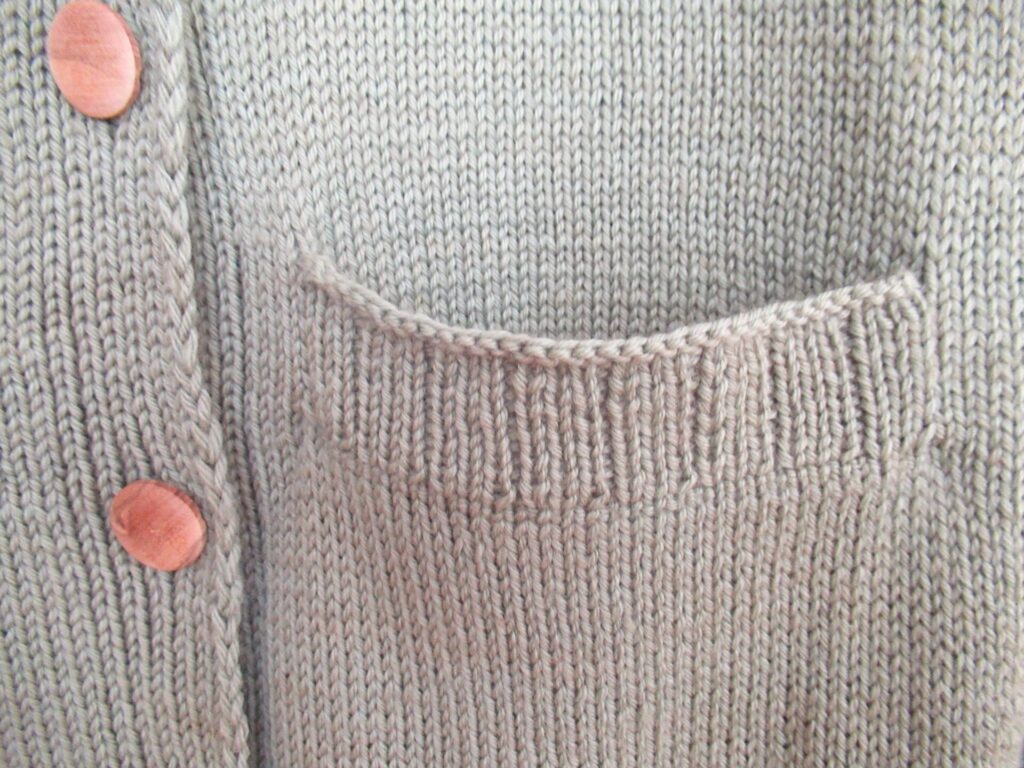
Purl bind-off on the right side – this is what I chose in the end.
Clearly visible, but at least it doesn’t curl up.
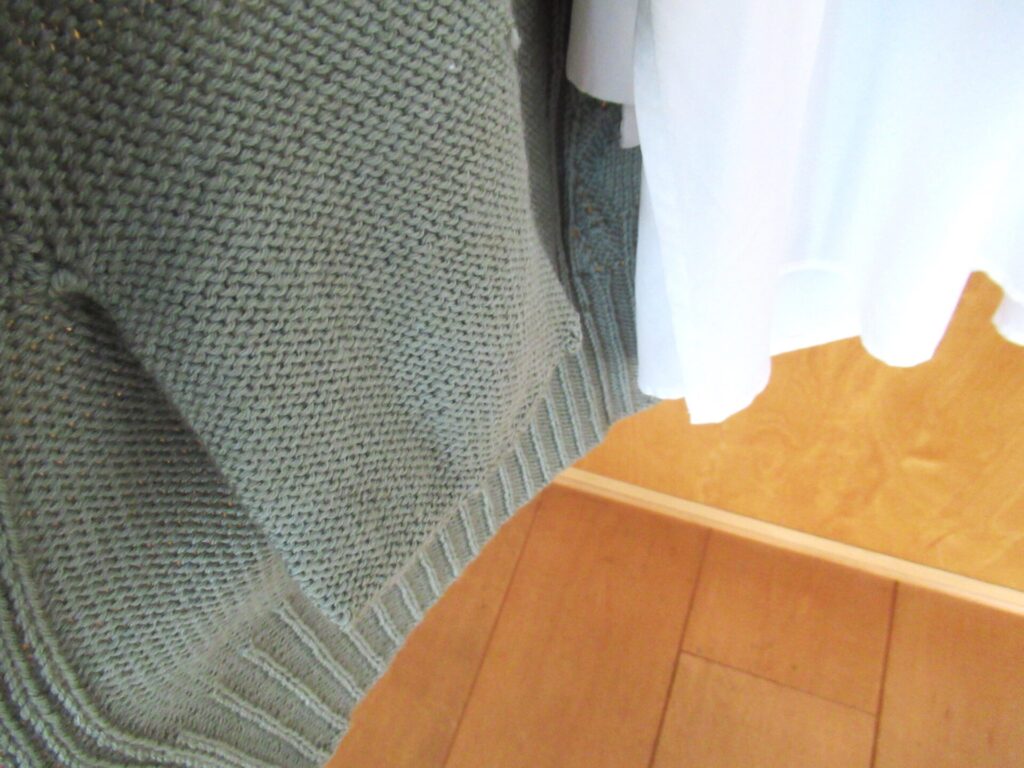
For the pockets I had knit in a piece of waste yarn that had to be unravelled later, with live stitches to be picked up on either side. Scary! What if the entire thing unravels? (It didn’t and was easier than I feared). The pocket is knit in the round and finished with a 3-needle bind-off. This means that it hangs loose on the inside of the cardi – can you see it?
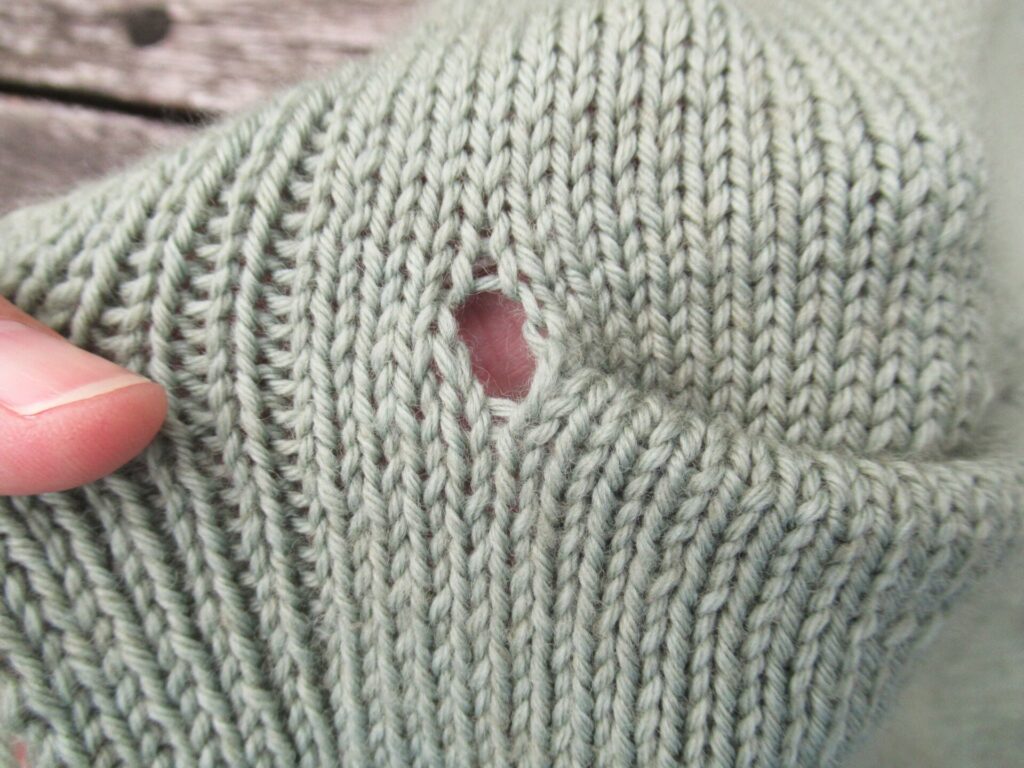
After knitting the pockets, there were considerable holes on either side of them:
How to close those invisibly? Also, stitches had to be picked up for the pocket tops in a straight line, and the pocket tops had to be mattress-stitched onto the fronts. If I botched that, it would spoil the entire cardigan. In the end I just got on with it and am fairly happy with the result.
I hope the pockets won’t pull on the sides of the ribbed tops too much. If they do, I may have to reinforce them somehow on the wrong side.
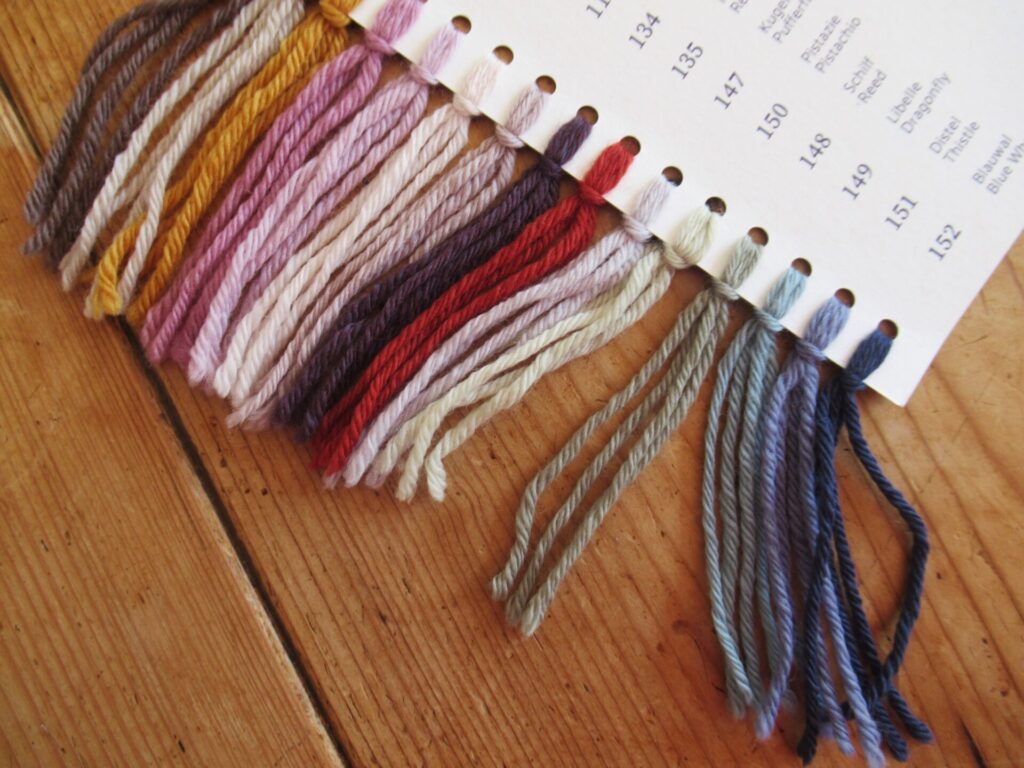
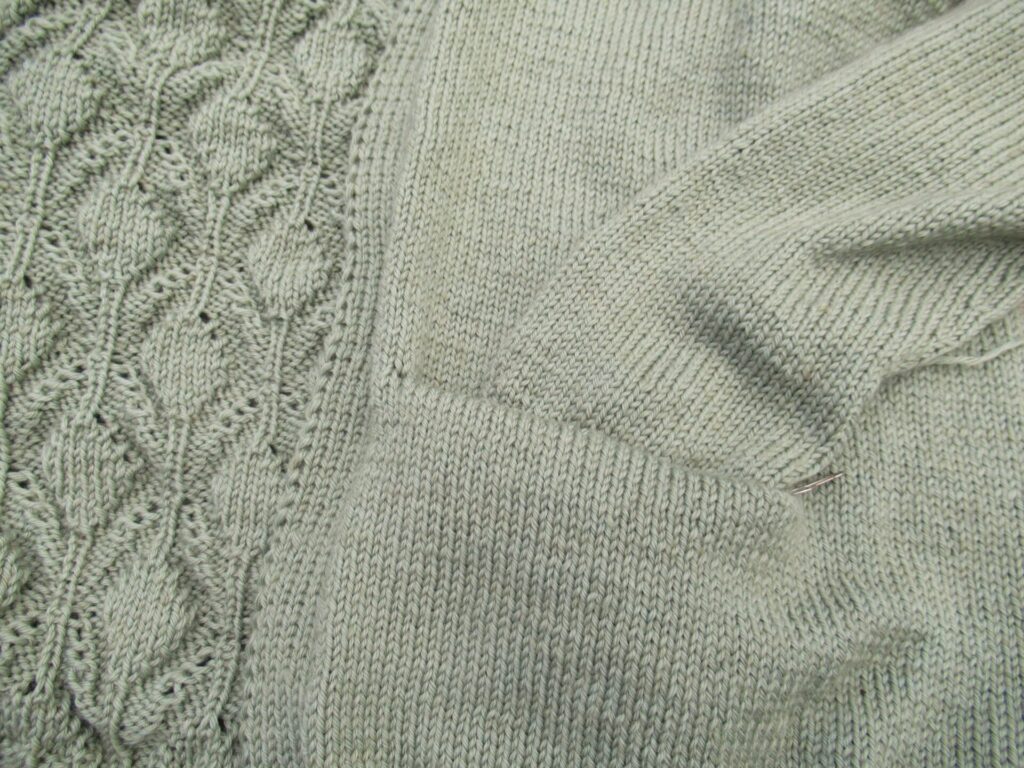
The yarn I used for Be Mine was Rosy Green Wool’s sport-weight ‘Cheeky Merino Joy’ (100% Organic Merino extra fine; 100 g/320 m/341 yds) – finer sister of ‘Big Merino Hug’, which I used for my OXOX XL shawl. Both oh so soft and gorgeous to knit with. The shade our daughter chose is Reed:
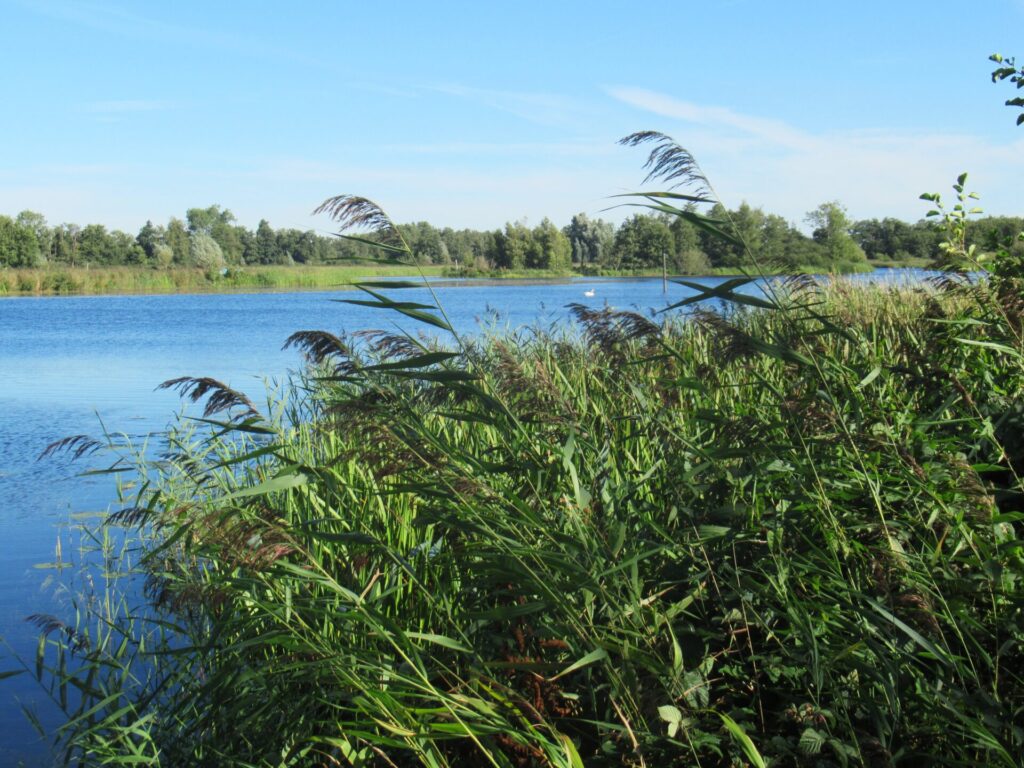
Reed? For this greyish green? Reed, with its feathery plumes, grows in every ditch and along just about every waterway and lake here. There are also extensive beds where reed is grown for roofing material. Reed can take on many colours.
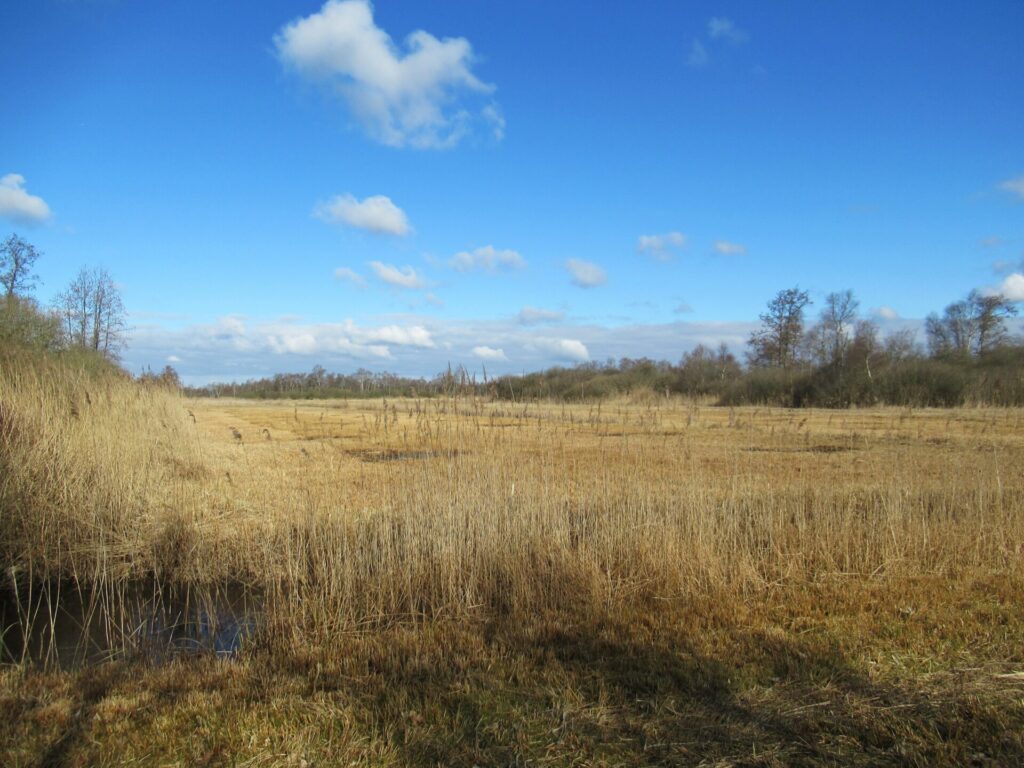
In winter the dried stalks are a pale to golden yellow, depending on light.
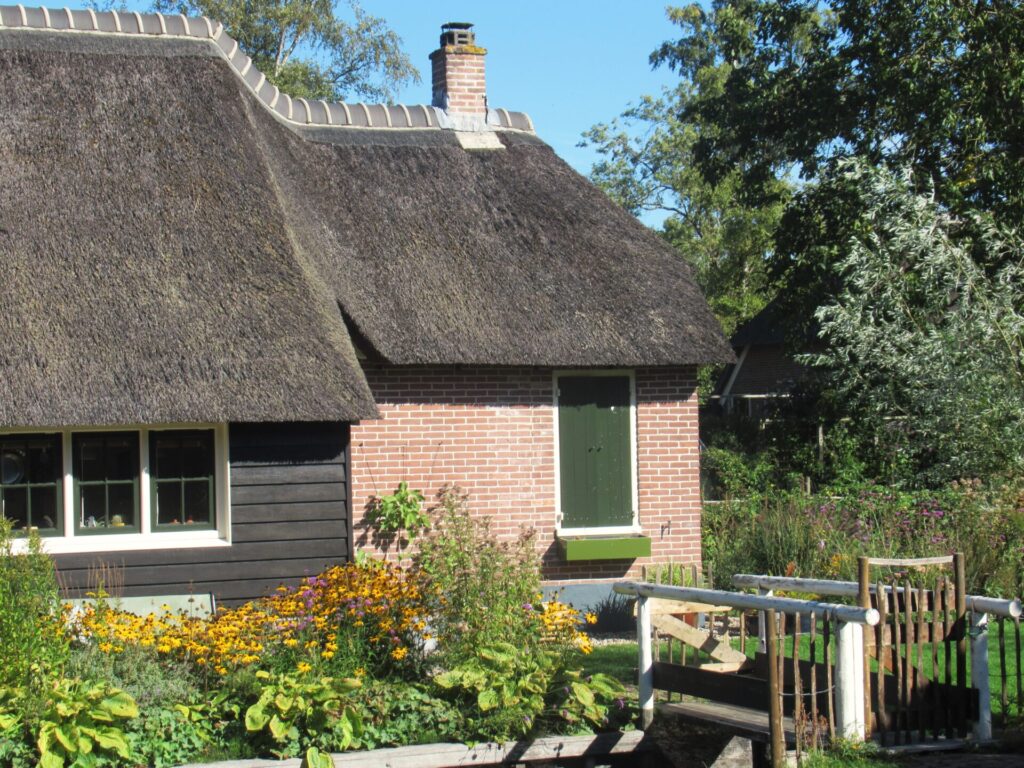
In spring, the young reed leaves are a vivid, fresh green. And the dried reed stalks used for roofing gradually darken to brown.
But the greyish green of the Be Mine cardigan? Never! Well, perhaps in summer when the light is just right it can be said to have a greyish tinge.
Reed-coloured or not, this cardigan was a great knit and I hope it will bring the wearer much joy. I hope there is something on your needles that is bringing you joy, too, and hope to see you again soon. Bye for now!
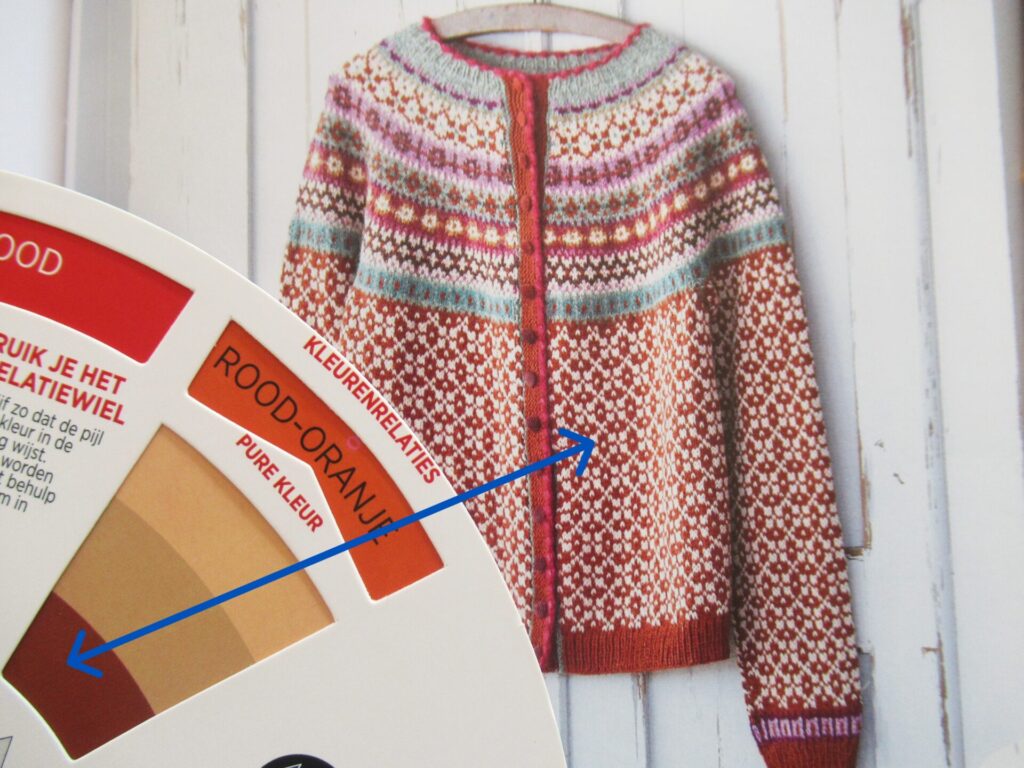
Hello! As I told you last week, I’m going to knit Helma, a stranded colourwork cardigan designed by Kristin Wiola Ødegård (picture above). I think it’s gorgeous – a beautiful all-over pattern on body and sleeves, a stunning yoke and an uplifting and harmonious choice of colours. The only thing is, the colours are not ‘me’. That’s not usually a problem; I substitute colours all the time. Only this time the pattern uses 9 different colours, and that’s a lot trickier than substituting 2 or 3.
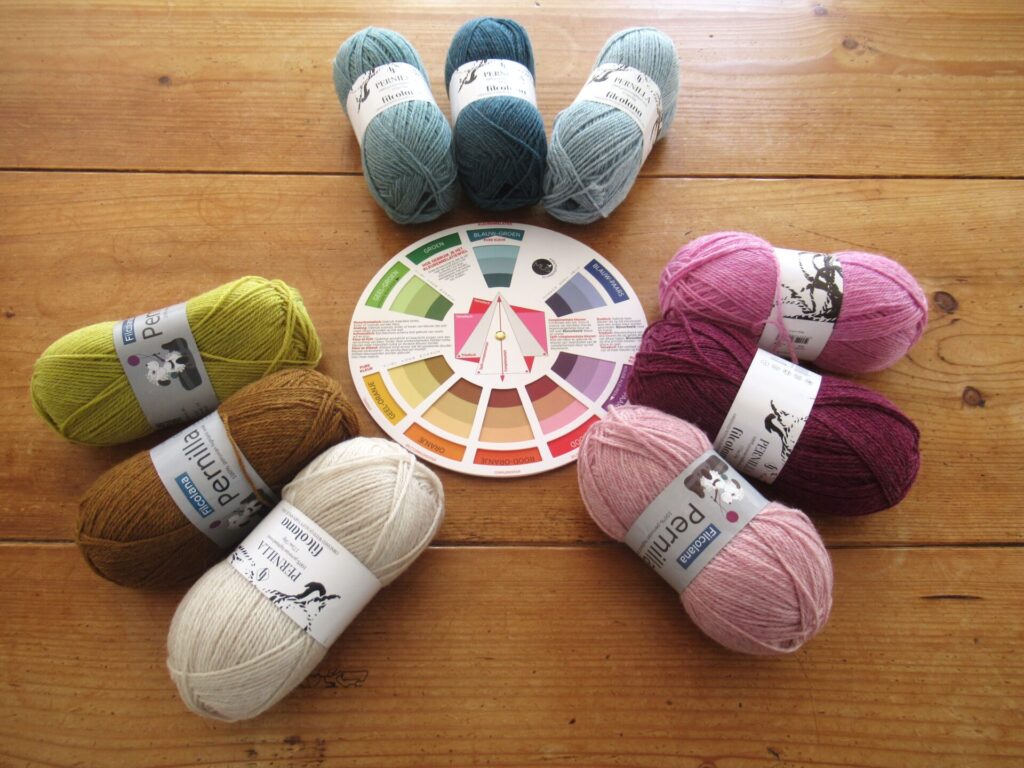
Usually, I choose colours instinctively. For me, the easy way out in this case would be taking a neutral (like dark navy or charcoal, combined with off-white or light grey) as the main colour and throw lots of pinks and purples at it. In colour-wheel terms pinks and purples are analogous colours, i.e. from colour groups next to each other on the wheel.
That would work, but the effect would be totally different from the original. How could I stay closer to the sample using colours I like? To find the answer, I dusted off my rarely used colour wheel in order to analyse the designer’s colour palette. The main colour is easy to recognize – it belongs in the red-orange group on the wheel.
From the same group, there is also a dark reddish brown and a very light kind of beige. But what about the rest? There seems to be some greenish blue, some purple, a yellowish olive. What kind of colour scheme is that?
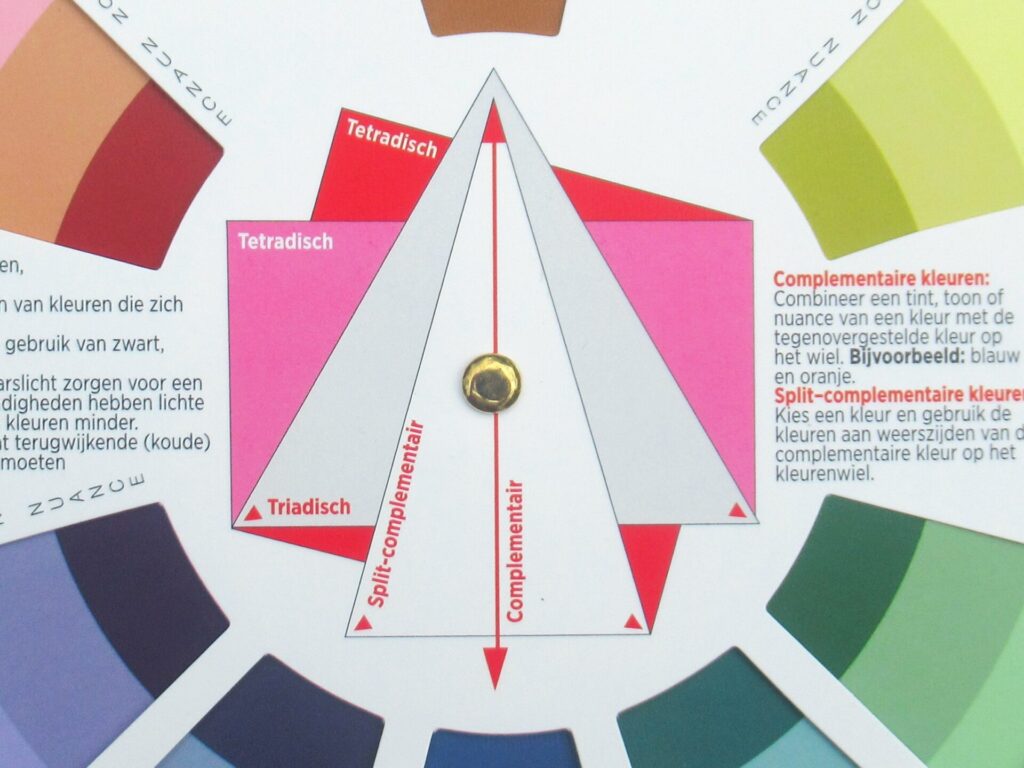
Looking at the centre of the colour wheel (picture below), colour palettes can be for instance analogous (the pinks and purples above). Complementary, combining colours from two groups opposite each other on the wheel like, say, red and green, or blue and orange. Or triadic, with colours from three different colour groups evenly distributed over the wheel (indicated by the corners of the grey triangle).
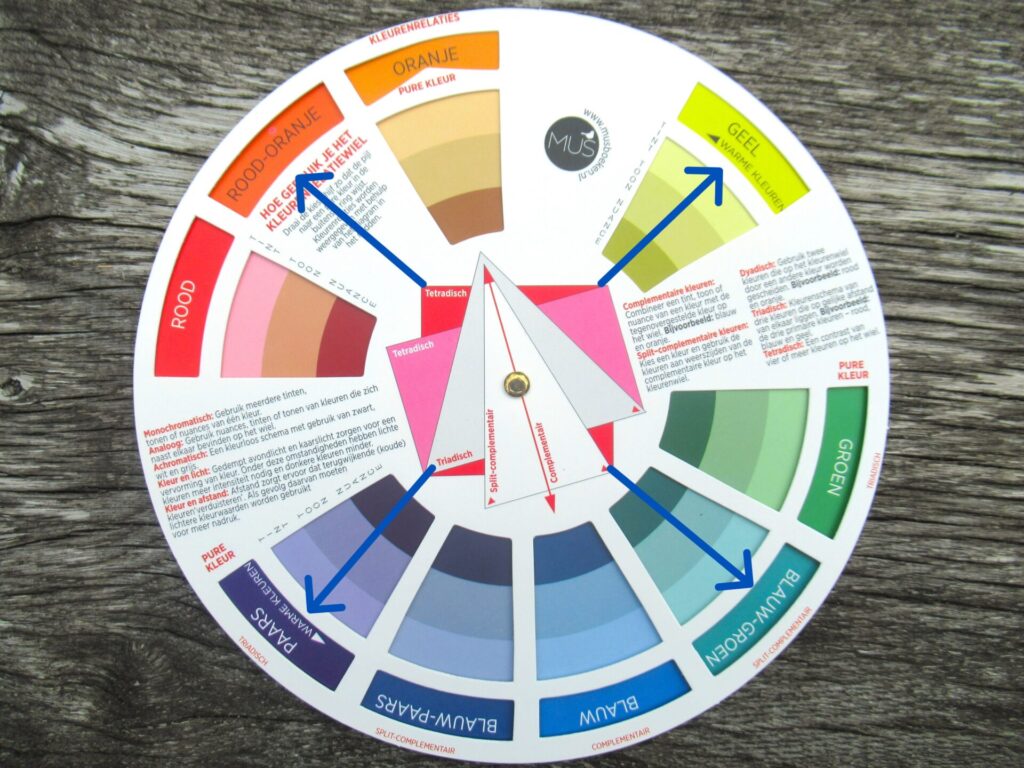
Studying Helma’s colours for a while, I discovered that the designer chose a tetradic colour palette, using colours from four different colour groups – the ones the corners of the red square in the picture below point at (I’ve added blue arrows from the corners outward to the colour-group names):
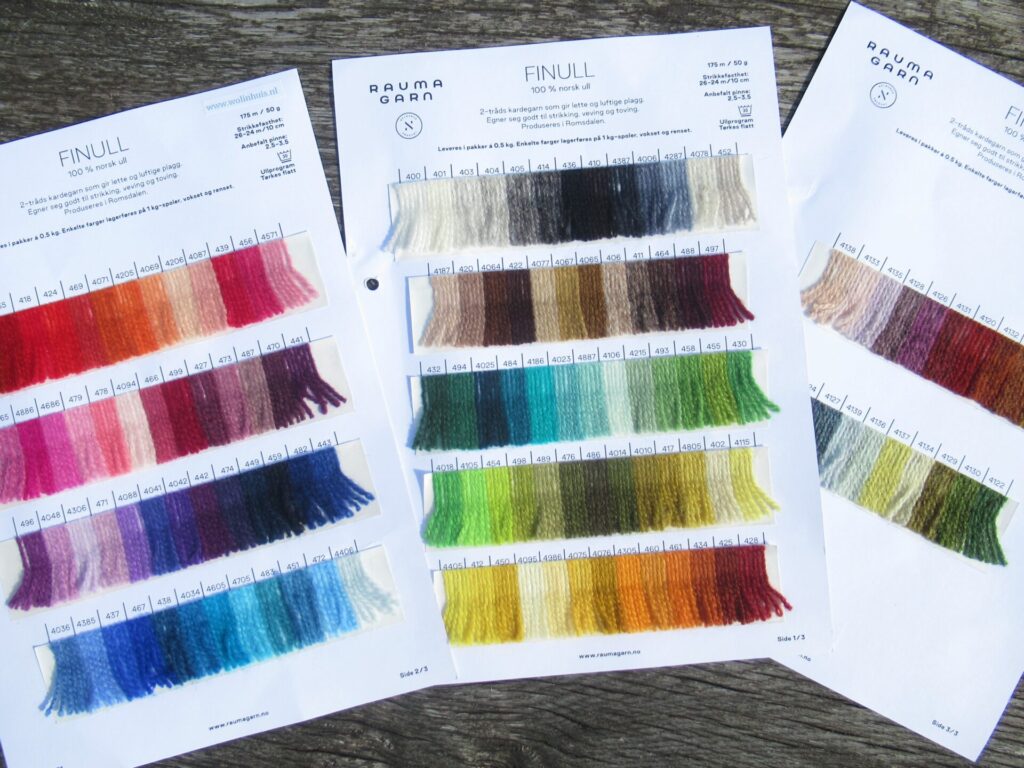
The original Helma has 3 red-oranges, 3 violets, 2 blue-greens, and one yellow. The colours are vivid, and there are 2 dark ones, 2 light ones and 5 of a medium value. All in all quite a complicated colour palette. Would I be able to recreate it in colours I like? I was thinking of using Rauma’s ‘Finull’ yarn and had the shade cards at home.
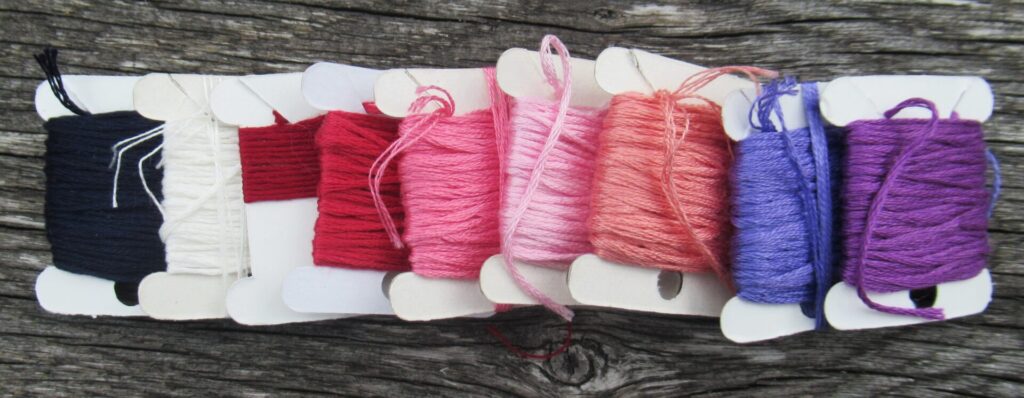
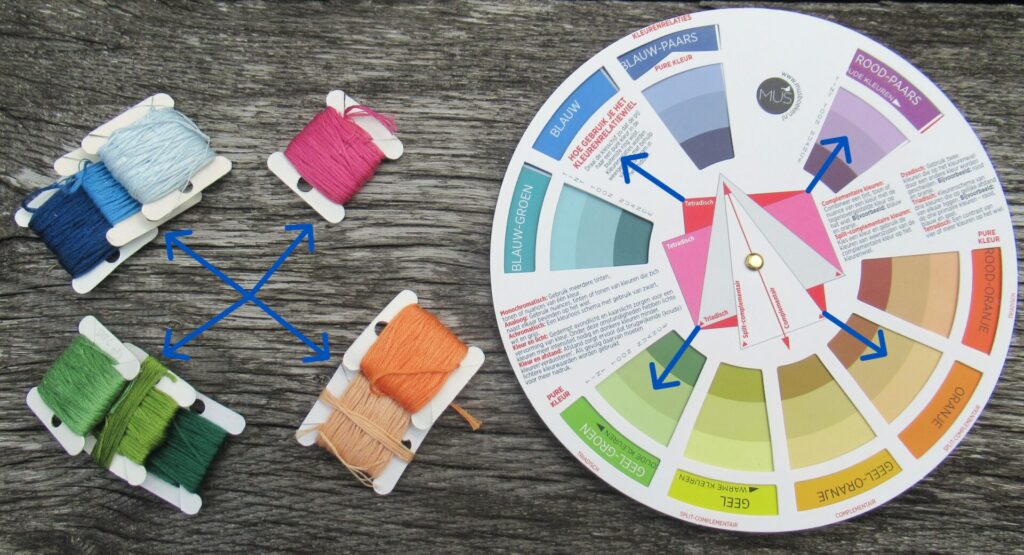
The best approach seemed to me to start with the main colour. Because the Finull yarn was just short pieces glued to the cards, I used embroidery floss bobbins in similar colours to get an idea of the effect. What if I chose blue as the main colour and followed the original Helma’s principles? I’d get something like this:
3 blues, 3 yellow-greens, 2 oranges and 1 red-violet; 2 dark, 2 light, 5 medium. Quite nice actually, but do I want 2 oranges in my cardigan? Not really.
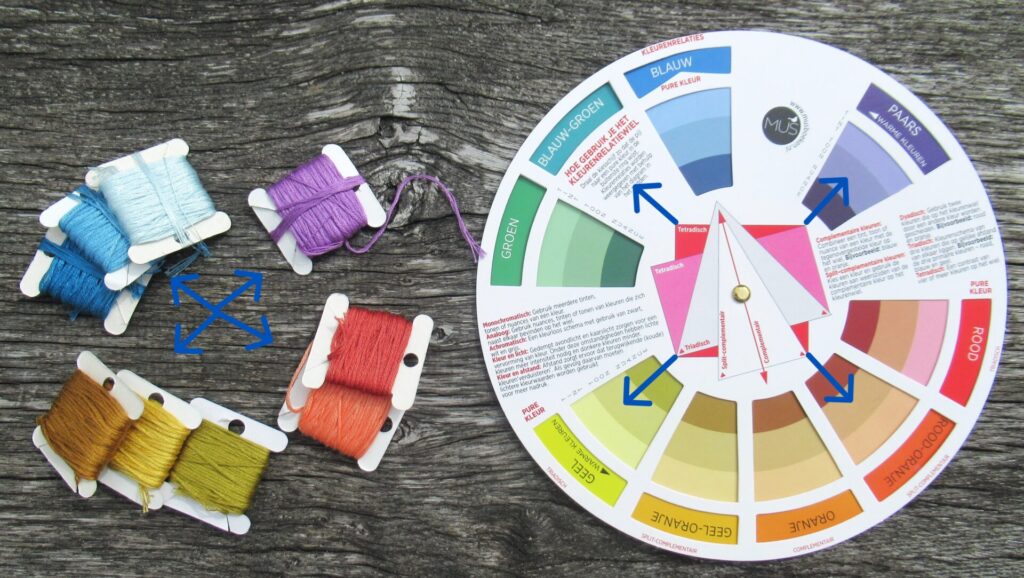
How about starting with blue-green, another of my favourite colours? Following the same principles, this would be my colour palette:
3 blue-greens, 3 yellows, 2 red-oranges, 1 violet. A really interesting colour palette, but do I want a cardigan in it? Nope. And then I asked myself the (for me) hardest question anyone can ask me: WHAT DO YOU WANT?
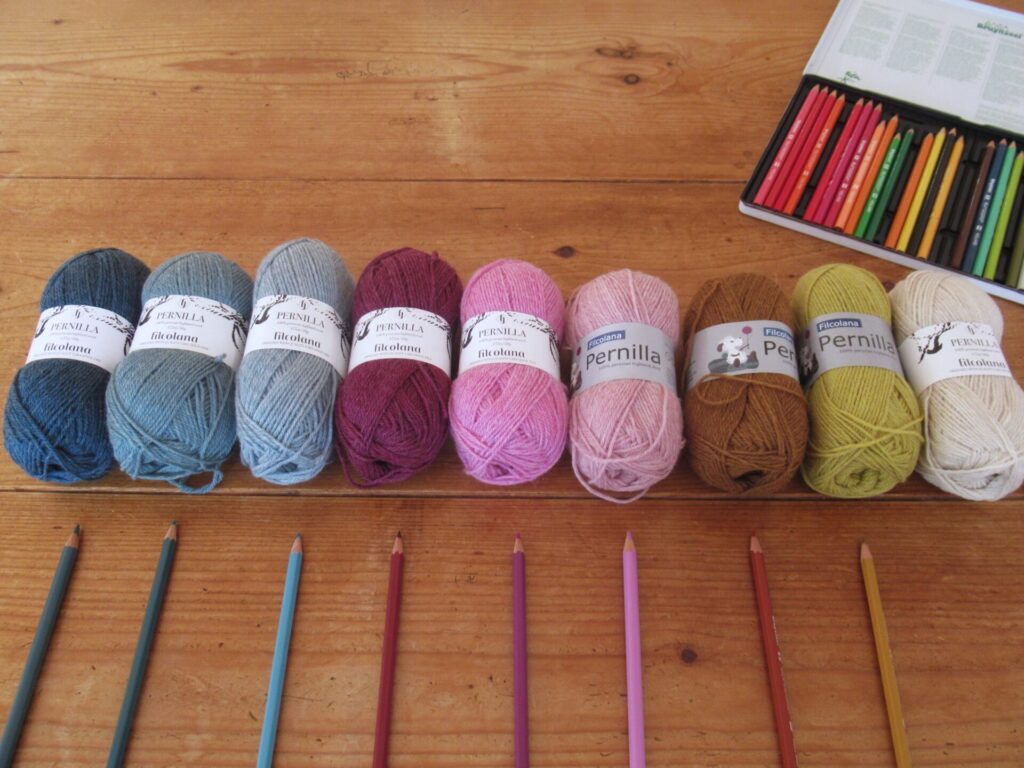
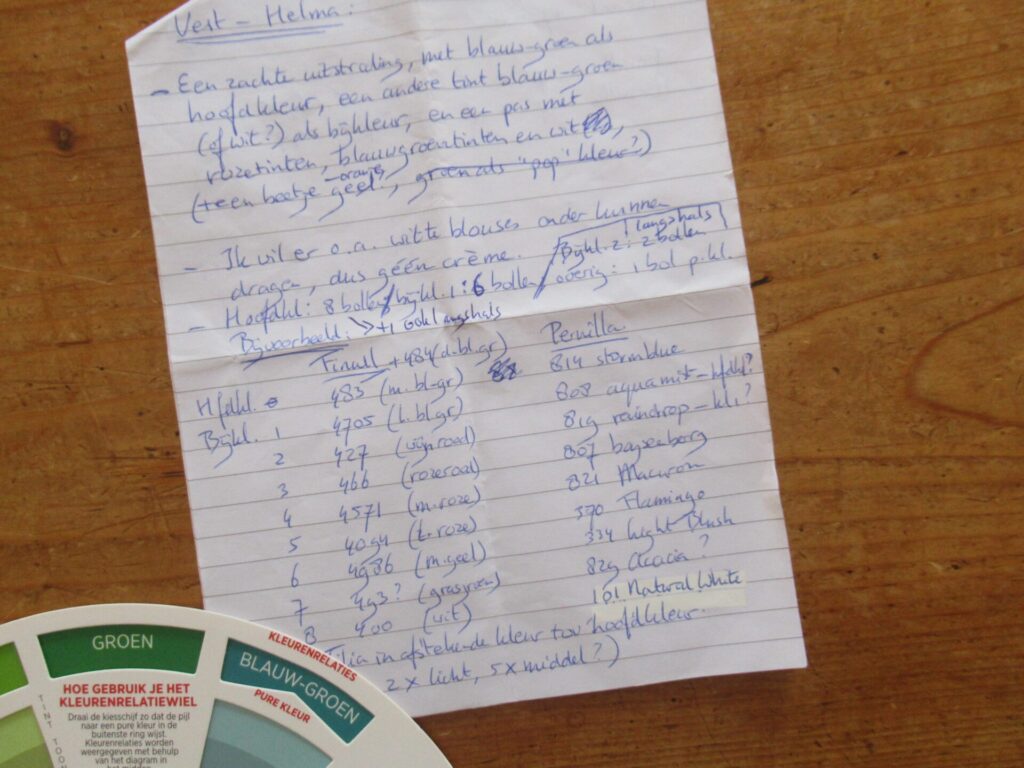
The answer I arrived at was: What I would really like for my cardigan is a soft look, with a blue-green as the main colour, a different blue-green (or white?) as the main contrast colour, and a yoke with pinks, blue-greens and white (+ a little orange-yellow?) The colour palette I came up with turned out to be triadic (using 3 different colour groups), and I made a list of Finull colours that would qualify. Only… the Finull colours were not really soft, but quite bright. So I made another list next to it with similar colours in a different yarn – Filcolana’s ‘Pernilla’.
At the yarn shop, I decided to go for Pernilla, a slightly heathered yarn in softer shades. Seeing the yarns in real life, I partly adhered to my list and also swapped a few colours for different ones. This is my final colour palette:
Well, that was an interesting exercise. Without the colour wheel, I would never ever have chosen the yellow and the brown, but I am really, really happy with them. Used in small quantities in the yoke, I think they will make the overall effect far more interesting and lively than if I’d just picked my usual ‘safe’ colours. As soon as the rest of my main colour arrives (there weren’t enough skeins in stock), I’ll start swatching and knitting. Can’t wait!
If you’ve never used a colour wheel and would like to give it a try – colour wheels are available from artist’s supply shops, and also from most bookshops nowadays. I even saw some at our nearest small book/stationery/giftshop-cum-post office, next to the adult colouring books. I hope this is helpful and all makes sense. If I haven’t explained things clearly or you have any other questions, please don’t hesitate to leave a comment and I’ll try to answer as best as I can.
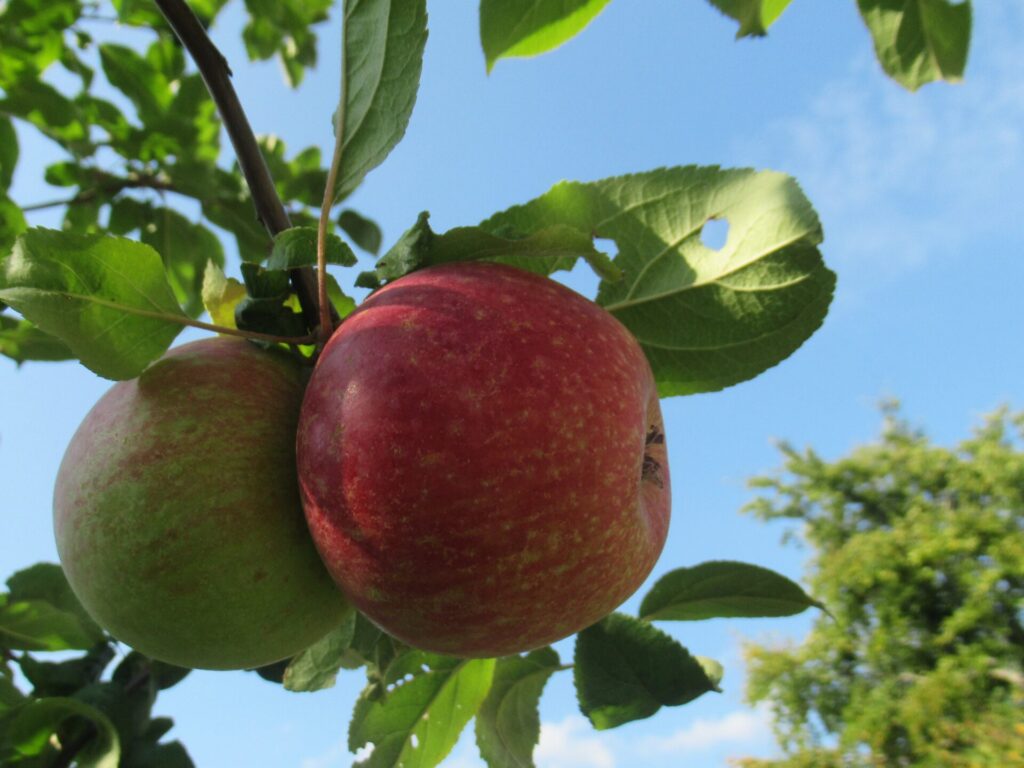
Hello, it’s good to ‘see’ you again and I hope all is well with you. Although it’s still warm and summery here, there are signs aplenty that autumn is around the corner. In our garden, the apples are almost ripe.
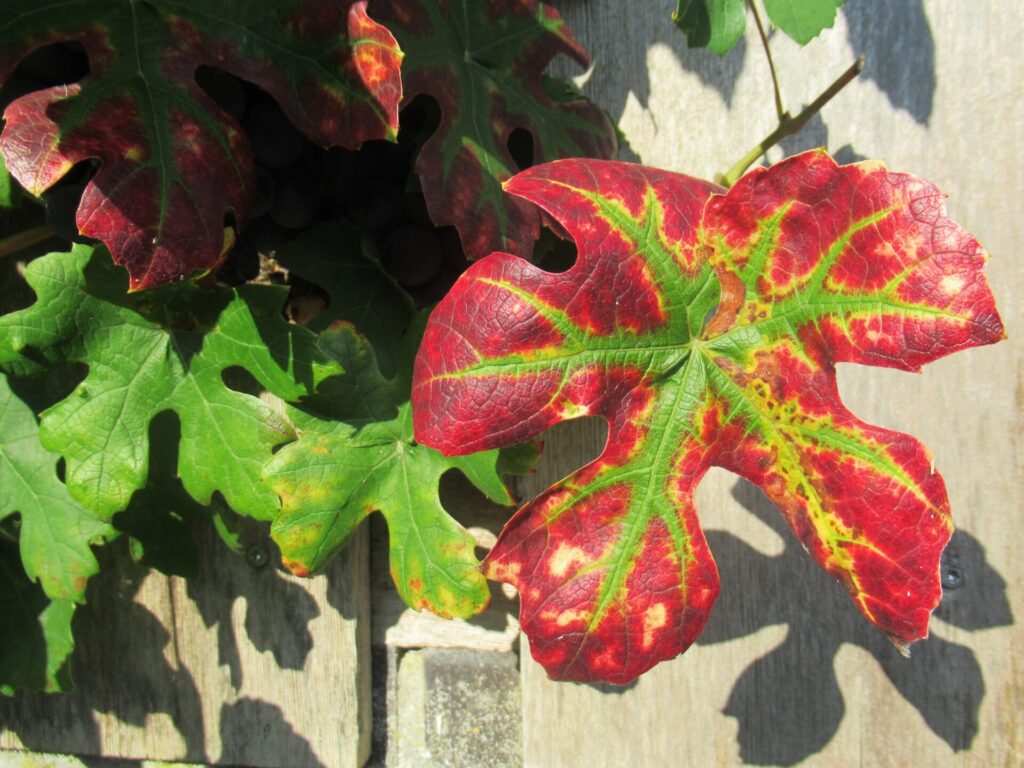
The grapes, too, and some of their leaves are already turning colour.
I feel like I’ve been rather lazy over the past month-and-a-half or so, but someone else called it being ‘creatively dormant’ – a far kinder and more helpful way of putting it.
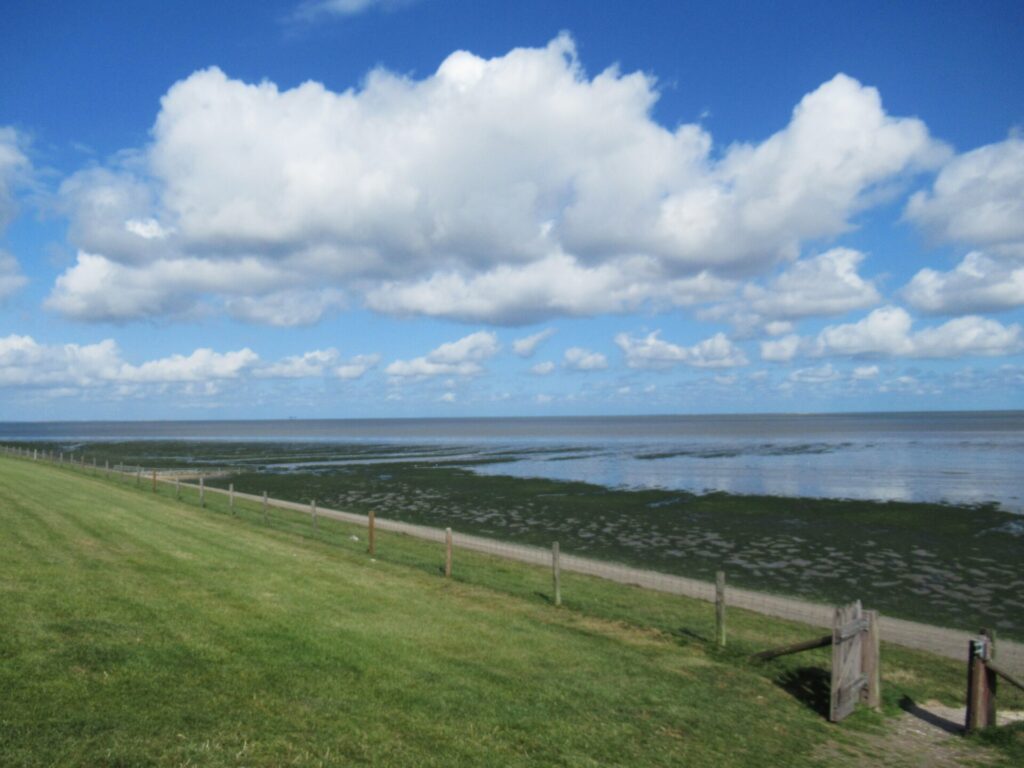
So, apart from knitting several pairs of socks and making a felt butterfly, what did this ‘creative dormancy’ look like? I have not been sleeping the time away (I wish!), but have been walking or cycling almost every day. Usually close to home, but sometimes a little further afield, and one day outside the Wadden Sea dyke. It looks very tranquil in the photo below, but actually there was quite a strong wind.
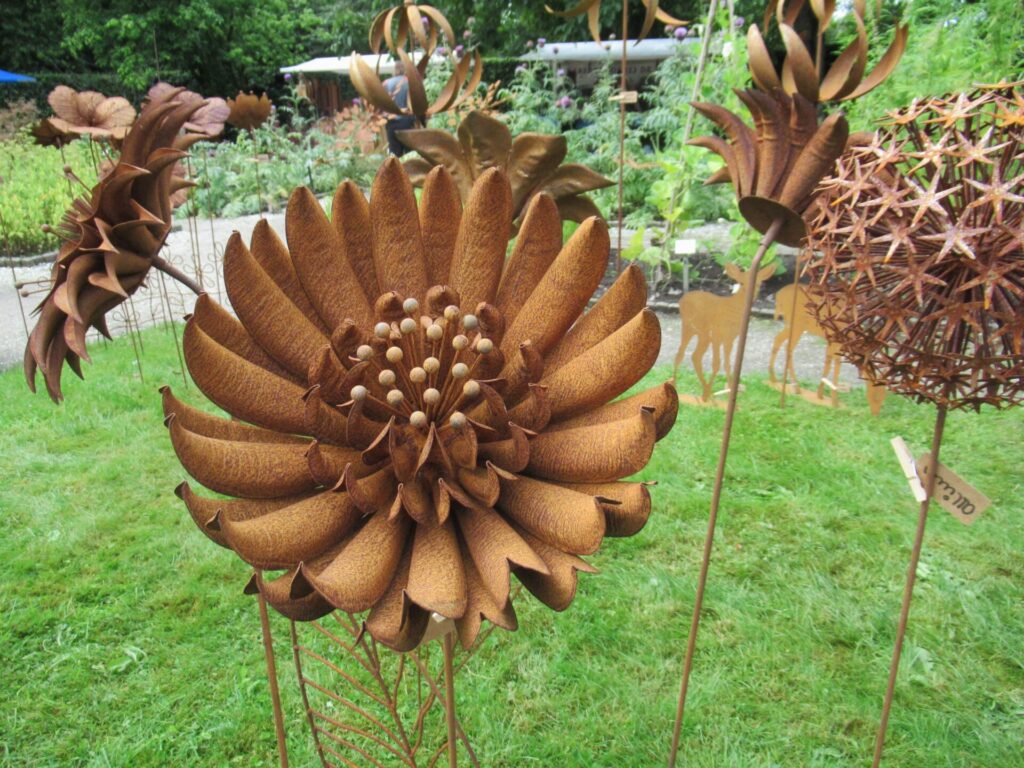
I also visited a couple of lovely markets, one of them in a botanical garden.
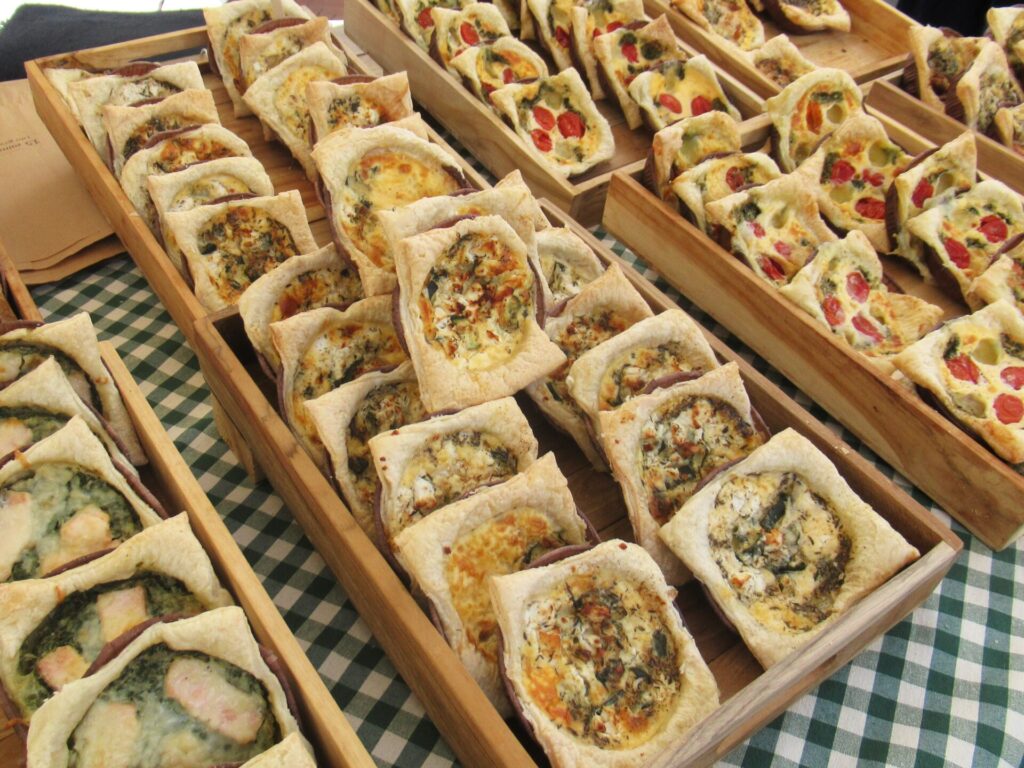
There were some delicious farmhouse cheeses and other tasty foods.
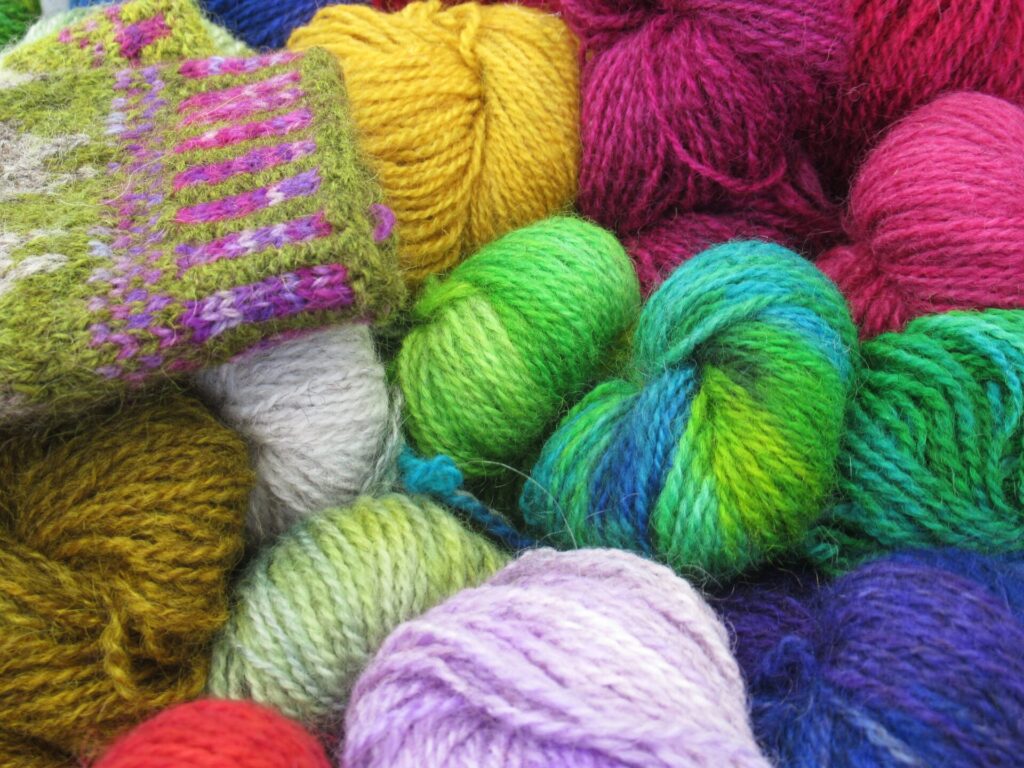
And yarns, too, like these bright hand dyed ones…
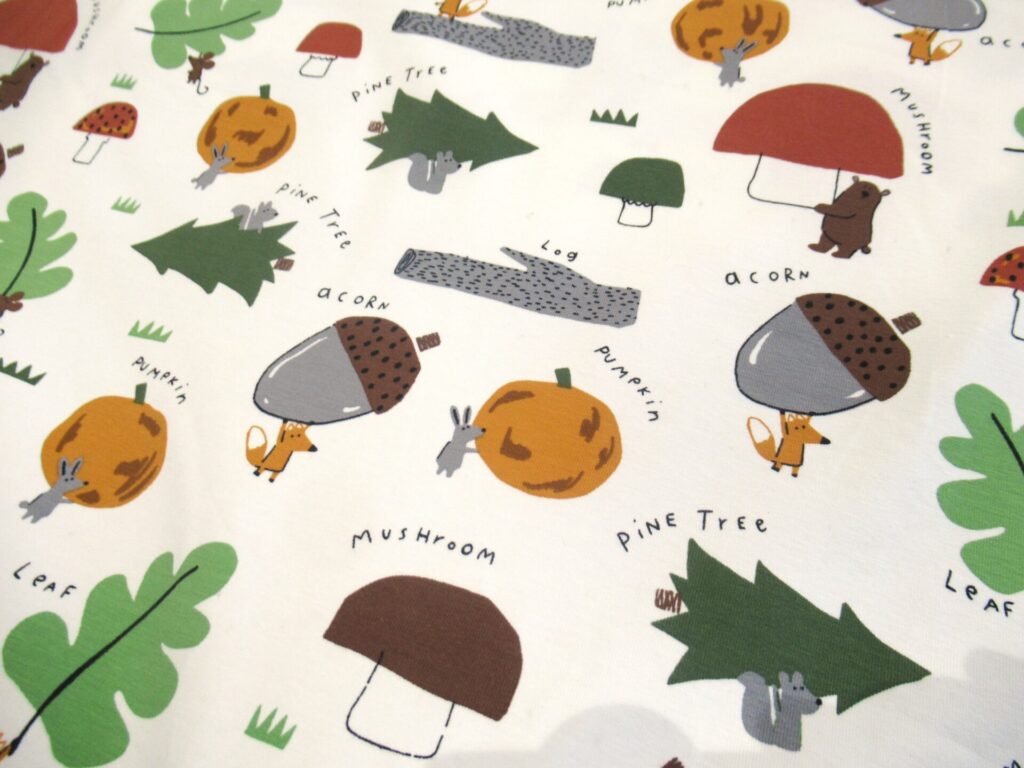
… and this fine tweed, with inspiration for some stranded colourwork.
Lazing about/being creatively dormant for a while didn’t always feel comfortable, but I think it was just what I needed, because now I feel inspired and energized again, full of new plans for things to knit, make and write about.
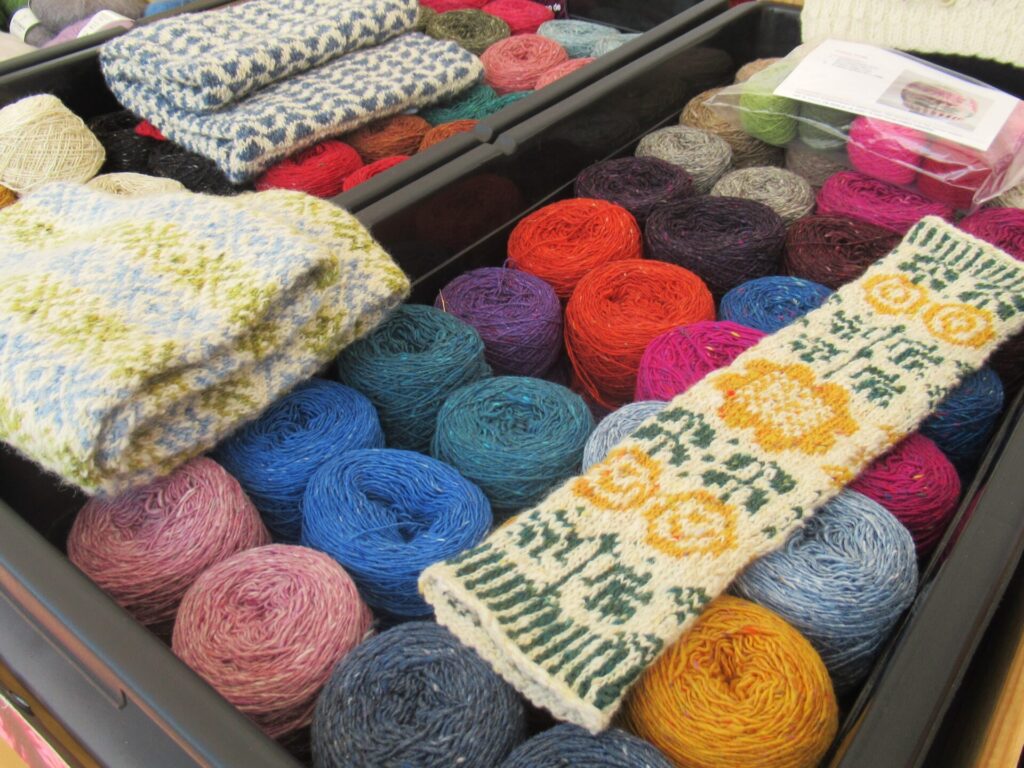
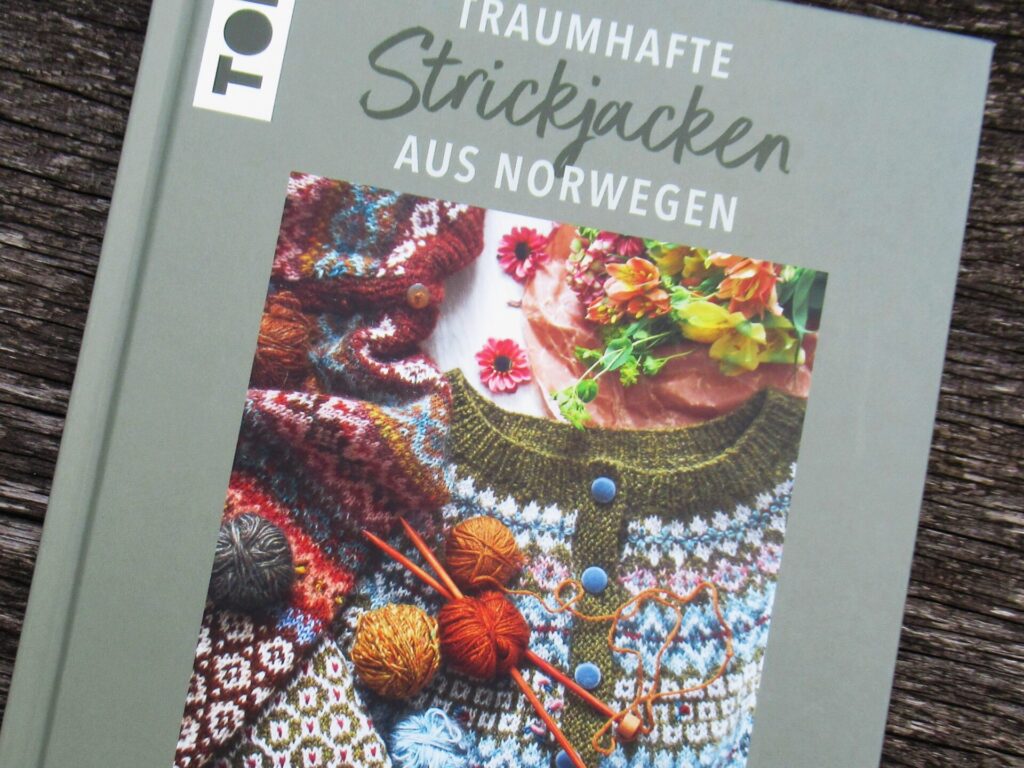
At the top of this post you can see the start of a gift project that I can’t tell you about until it has been gifted because the giftee may be reading this. What I can tell you about is my plan for a Norwegian cardigan. During our May holiday in Germany, I came across a book by Norwegian knitting designer Kristin Wiola Ødegård.
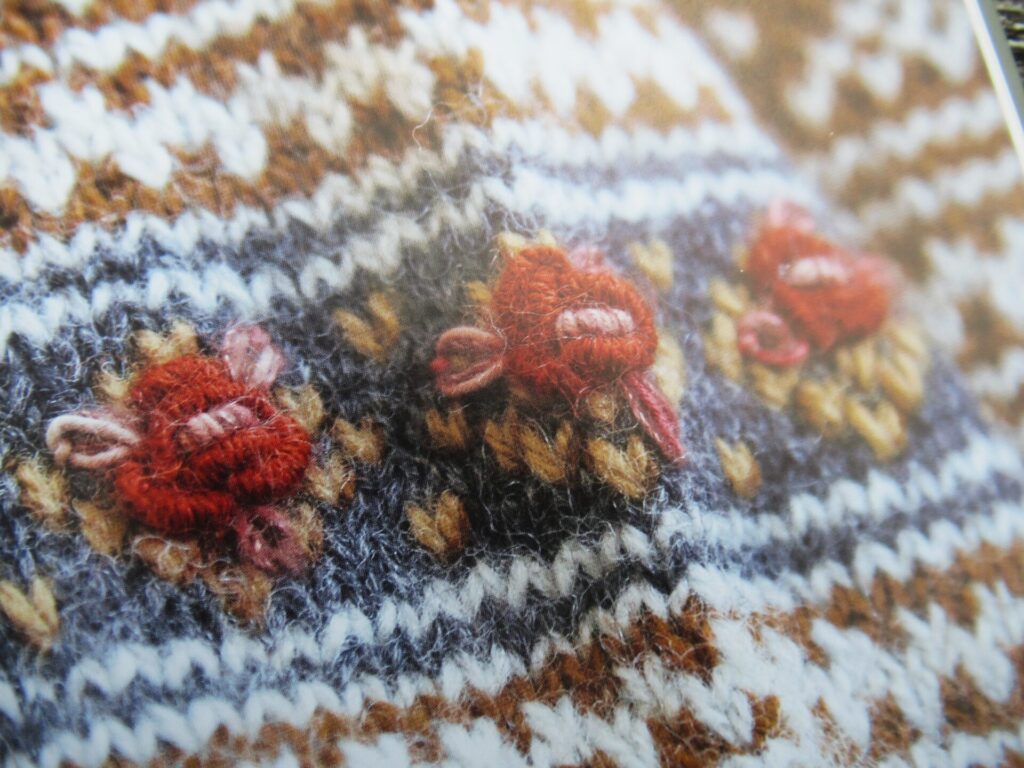
The German title is Traumhafte Strickjacken aus Norwegen, and the original is Ett år med kofter. I took a look at the designer’s website, and saw that there is an E-book version available in English: One Year with Wiola Cardigans. Wiola’s website is really worth checking out – very inspiring. It’s not just the knitting itself that is beautiful, but also the added embroidery and other embellishments.
I bought two copies of the book – one for myself and one for a friend, and we’re both going to knit something from it. My friend is going to make Rakel in a cardigan version (Ravelry link).
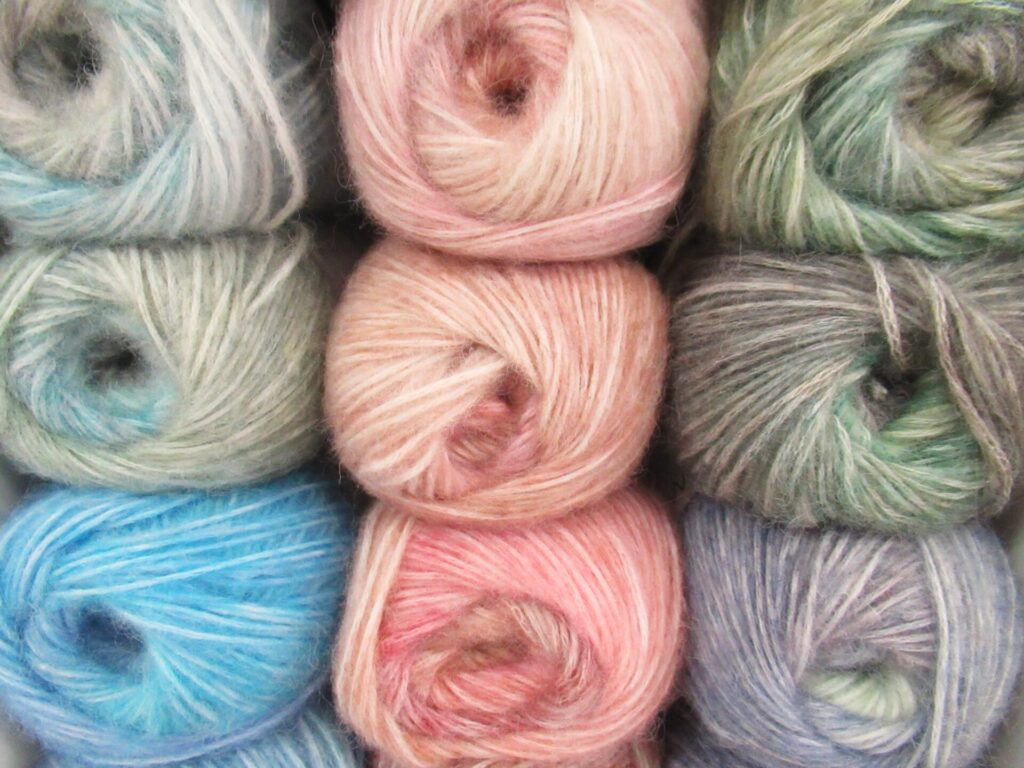
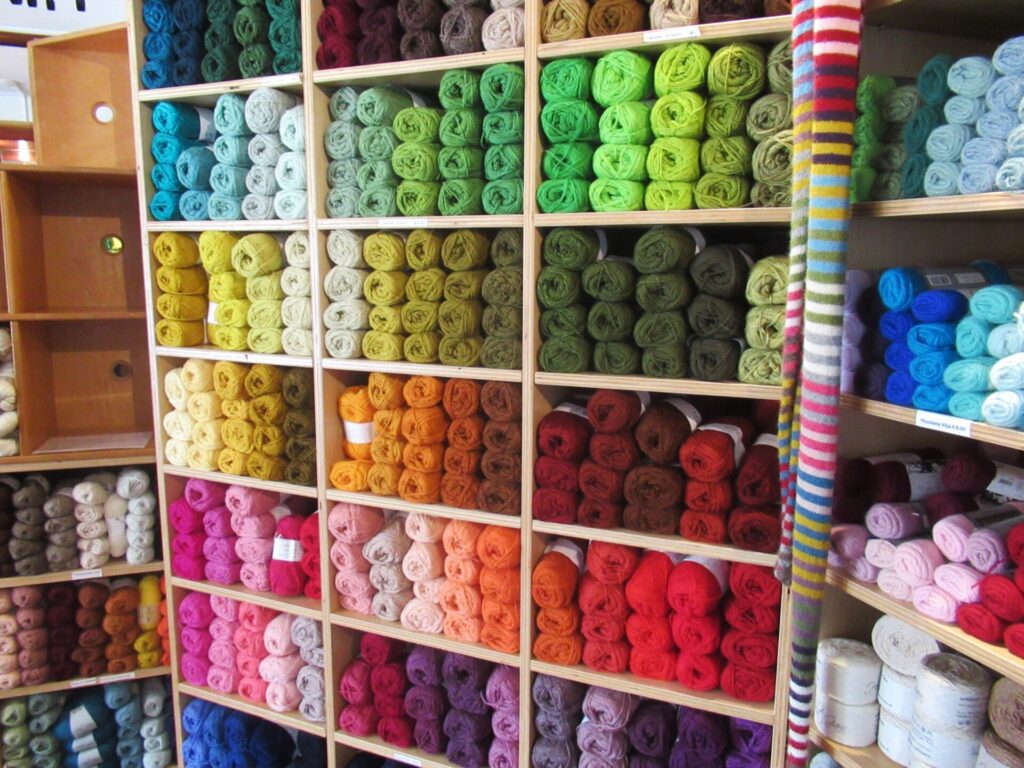
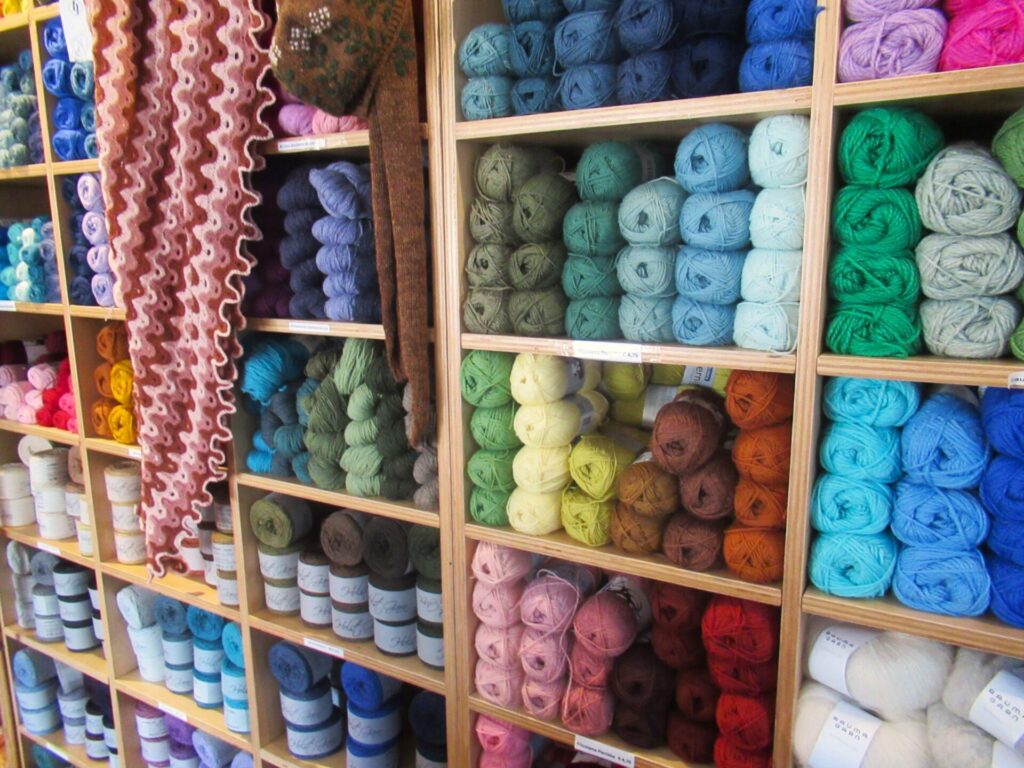
Together, my friend and I drove up to Seldensa last Friday, the yarn shop I wrote about here and here. Choosing wasn’t easy, because how do you choose from all these colours????
Or from these???
It took a while (fortunately shopkeeper Nynke is very patient and even plied us with tea), but we both succeeded in choosing yarns and colours for our projects we’re happy with. I’ve given choosing colours for stranded knitting a lot of thought lately, and hope to tell you a bit about that next week. Hope to see you again then!
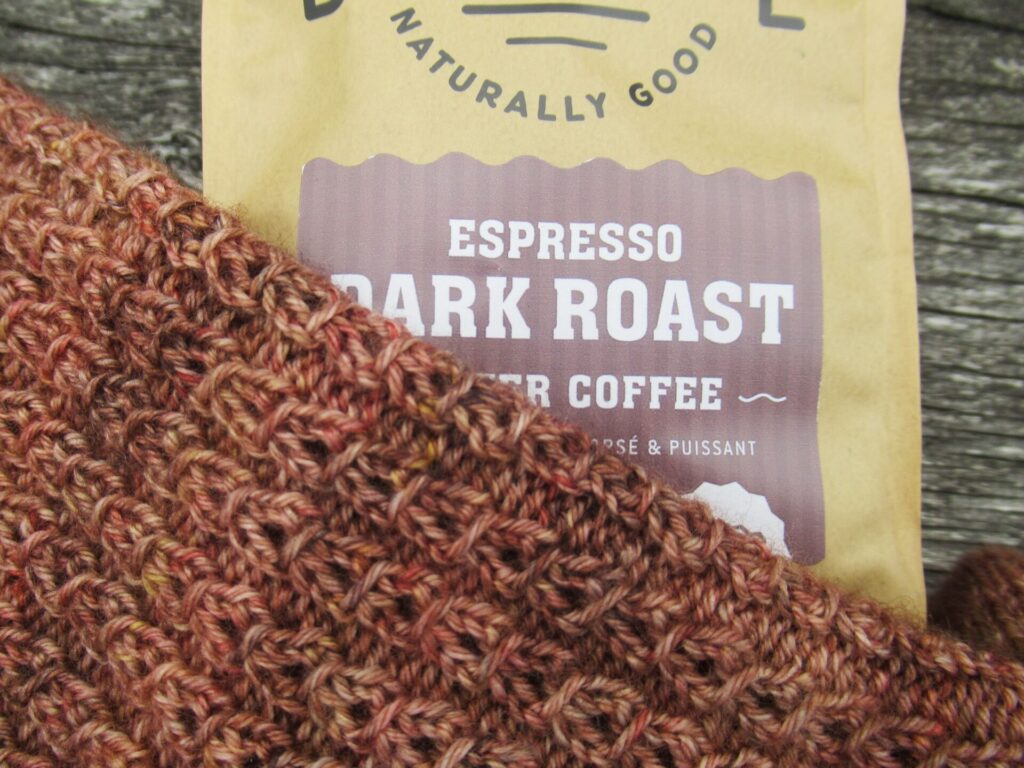
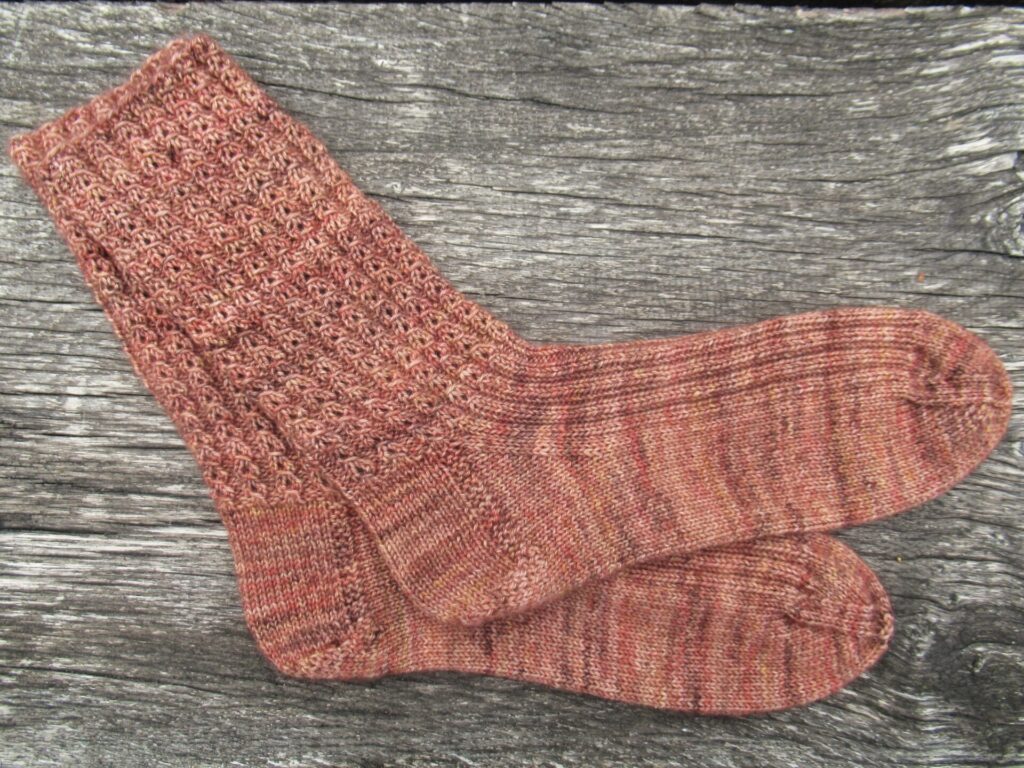
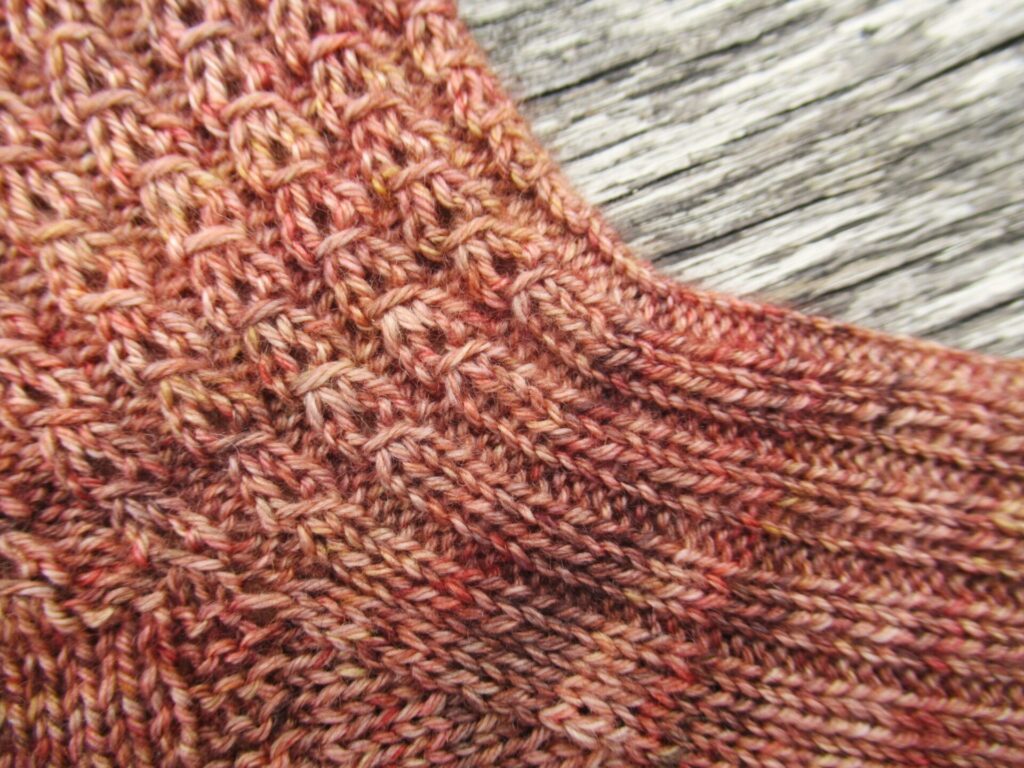
Do you know the saying ‘The shoemaker’s children go barefoot’? I’m afraid it applies to me in the variation ‘the sock knitter’s (grand)children go barefoot’. My daughter’s socks are all completely worn out and I believe I’ve never even knit a single pair of socks for my grandsons. Shame on me! As a start to remedying that, I’ve knit a pair of ‘coffee bean’ socks for my daughter.
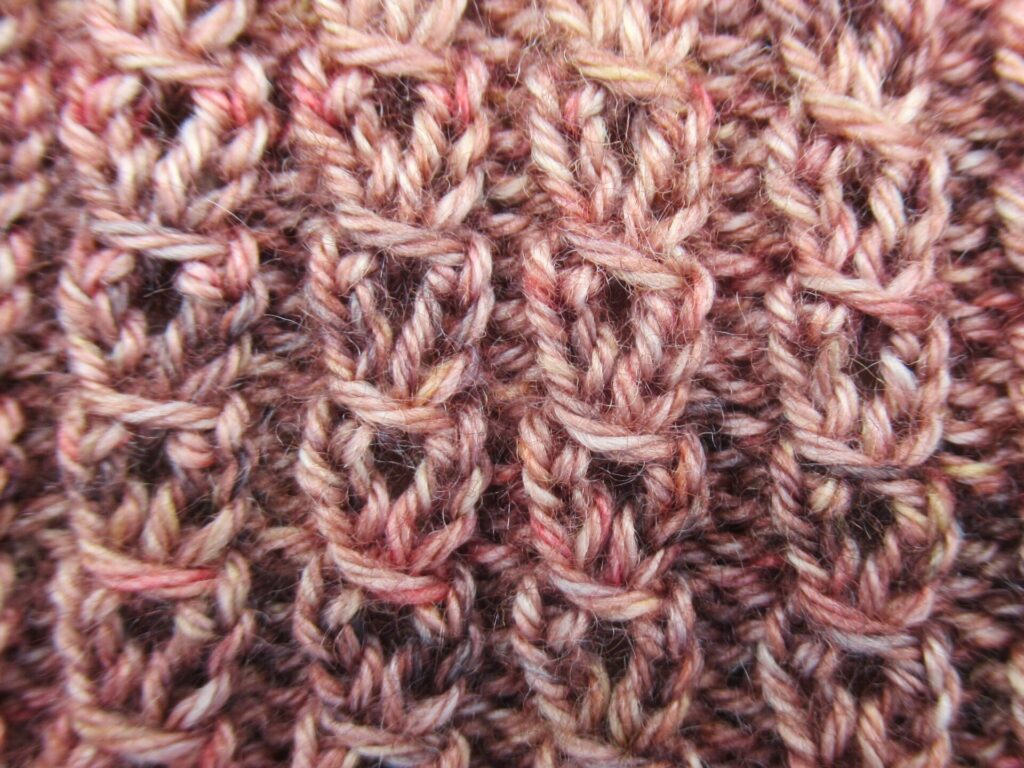
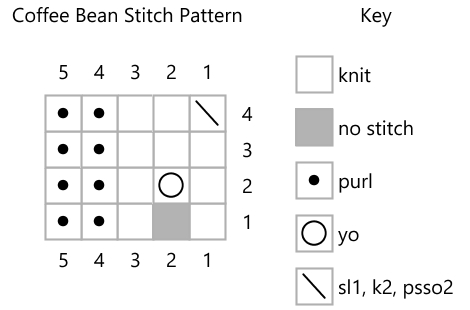
Yarn: Lana Grossa ‘Meilenweit Vintage Socks’, shade 1008 (100 g/400 m/437 yds; 75% merino/25% polyamide). On the leg, I used the ‘coffee bean’ stitch pattern:
Most of you will probably know it. For those of you who do not, it is a nice and stretchy variation on k2/p2 ribbing that is knit as follows:
Coffee Bean Stitch Pattern (knit in the round on a number of stitches divisible by 4) Rnd 1: (k2, p2) repeat to end of rnd. Rnd 2: (k1, yo, k1, p2) repeat to end of rnd. Rnd 3: (k3, p2) repeat to end of rnd. Rnd 4: (sl1, k2, psso2, p2) repeat to end of rnd.
Abbreviations: k=knit; p=purl; psso2=pass slipped st over 2 knit sts; rnd=round; sl1=slip 1 st purlwise; st(s)=stitch(es); yo=yarn over.
On the top of the foot, I let the coffee beans transition into k2/p2 rib:
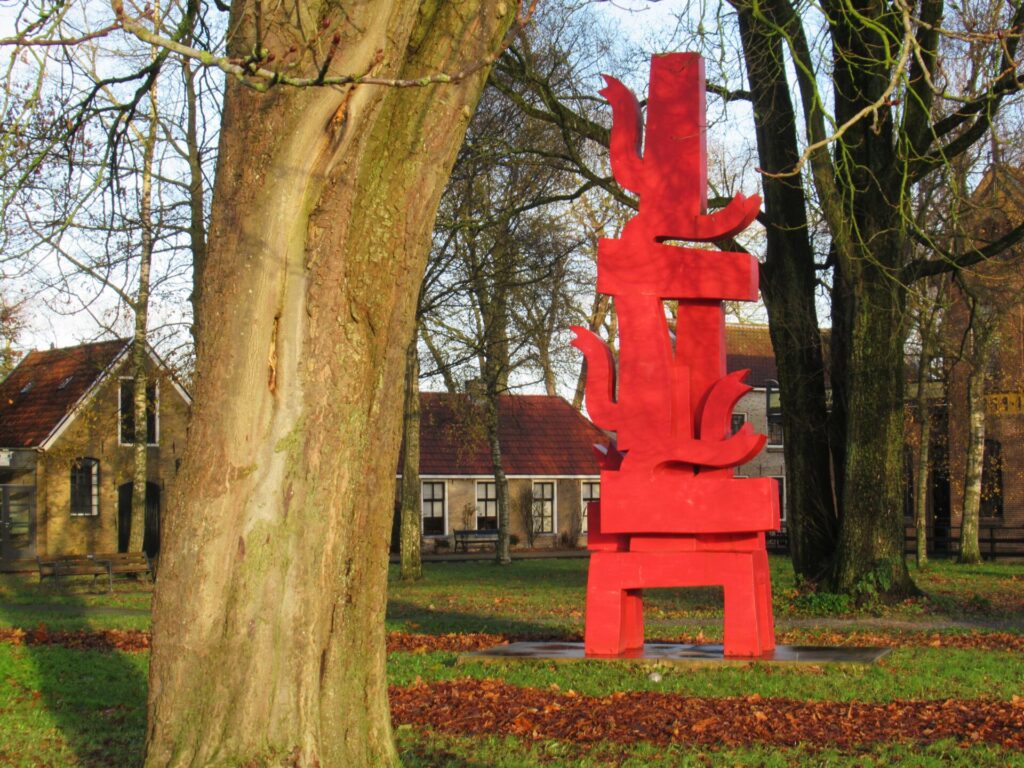
The coffee bean socks made me think of the coffee pot sculpture in the Frisian town of Joure. I photographed it on the way to a yarn shop (where else?) on a beautiful sunny winter’s day.
The sculpture was made by Klaas Gubbels, an artist working in many different media who has spent his entire career focusing on a very limited number of subjects: tables, chairs and… coffee pots.
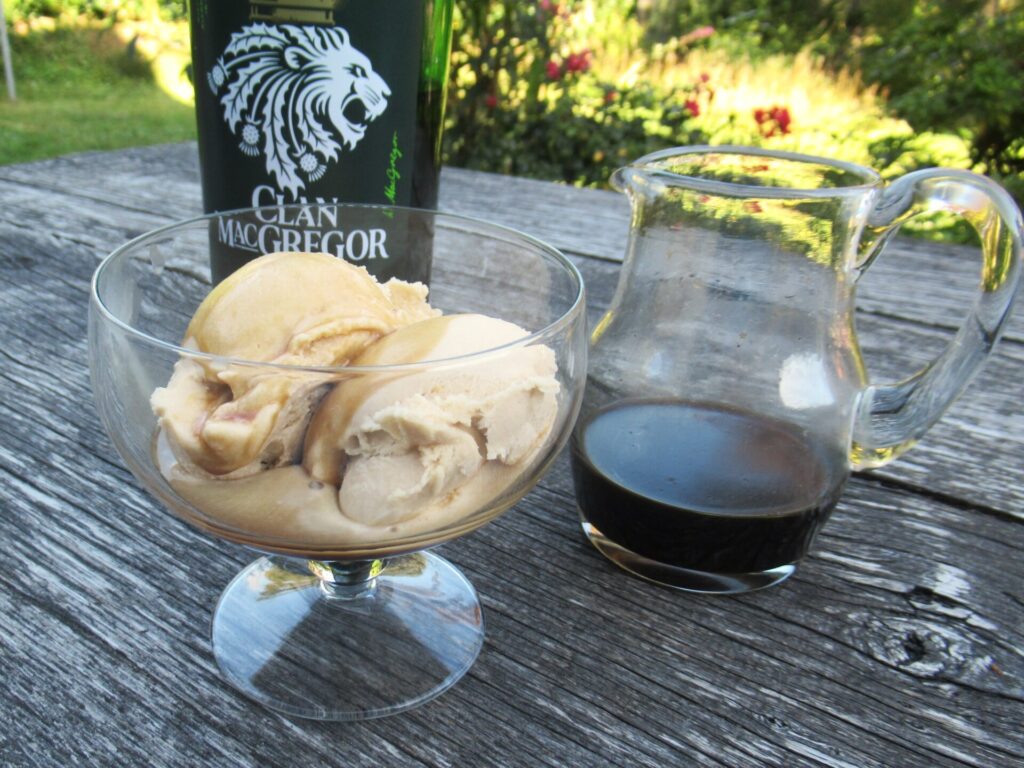
Talking about coffee beans and coffee pots, I am not a coffee drinker at all. My husband is, though, and he has kindly given me permission to publish his coffee ice cream recipe here.
Mocha coffee ice cream
Ingredients:
250 g Whole milk 150 g Whipping cream (30%) 30 g Skimmed milk powder 100 g Caster sugar 60 g Strong coffee, cooled 1 g Guar gum (available online from e.g. baker’s ingredients shops)
Method:
Mix all wet ingredients.
Mix all dry ingredients and stir into wet ingredients.
Leave in fridge for approx. 8 hours.
Pour into bowl of ice cream machine and churn on ‘gelato’ setting for approx. 40 minutes.
For an extra special treat, serve the ice cream with some chilled strong coffee with a dash of whisky poured over.
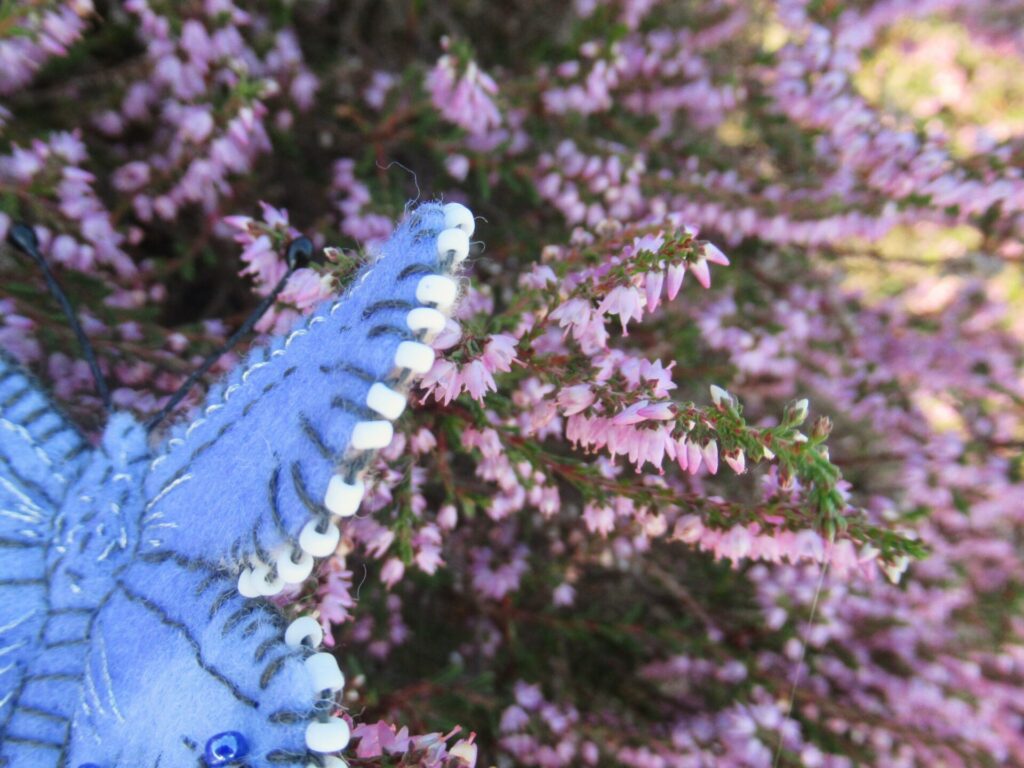
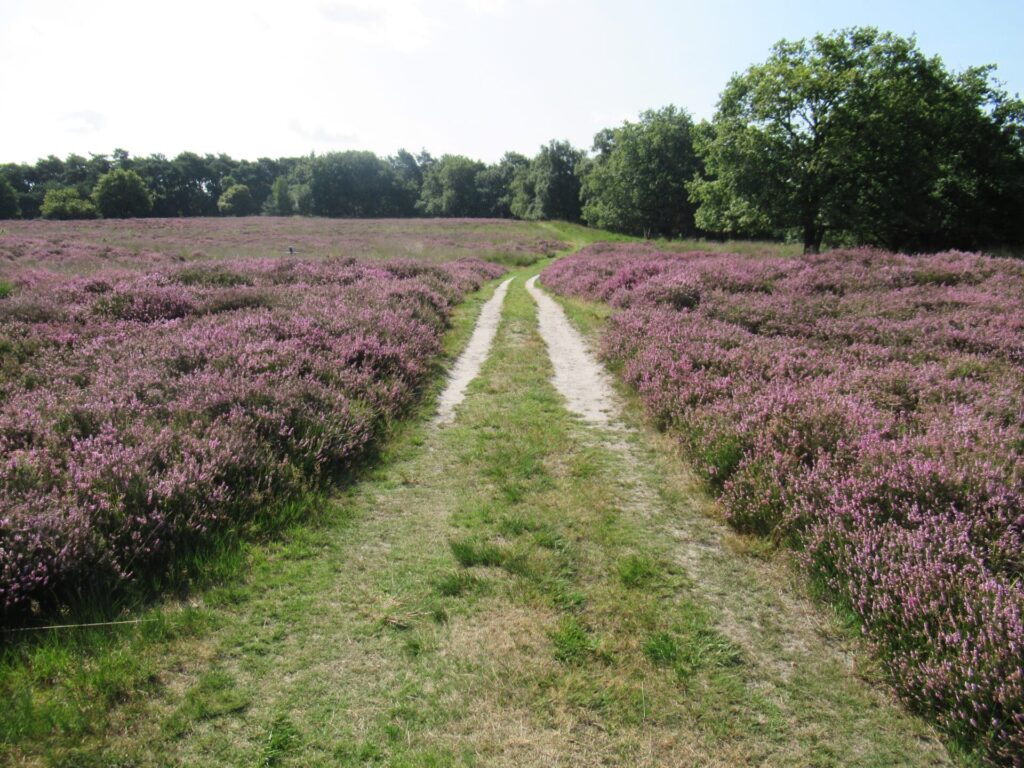
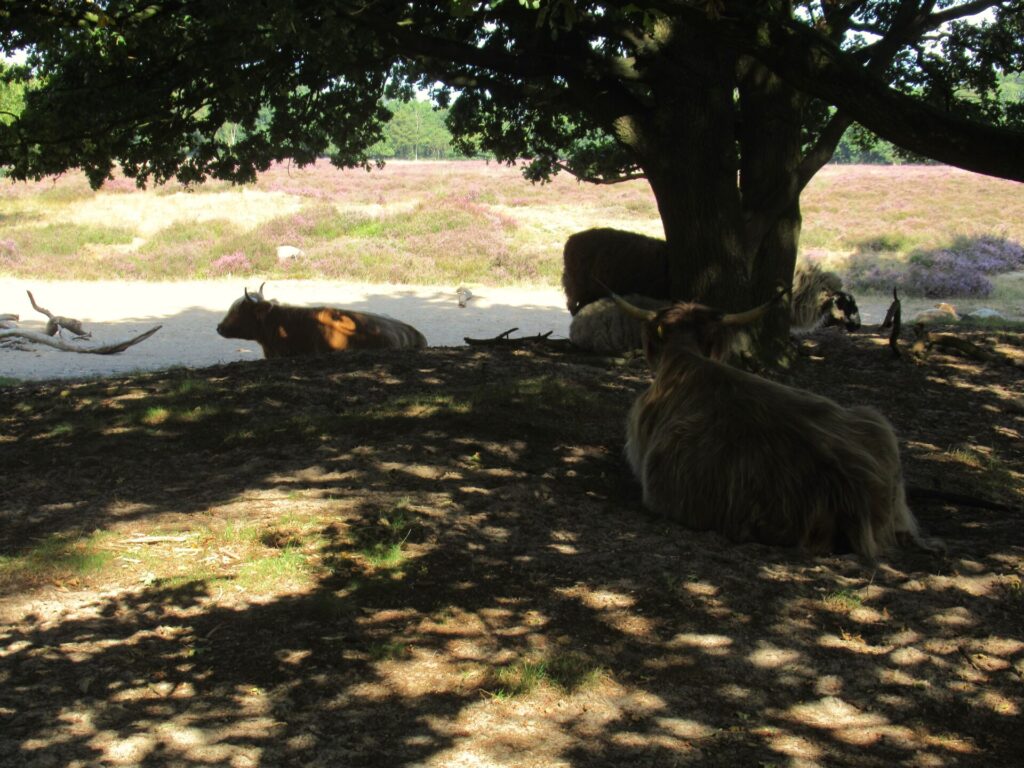
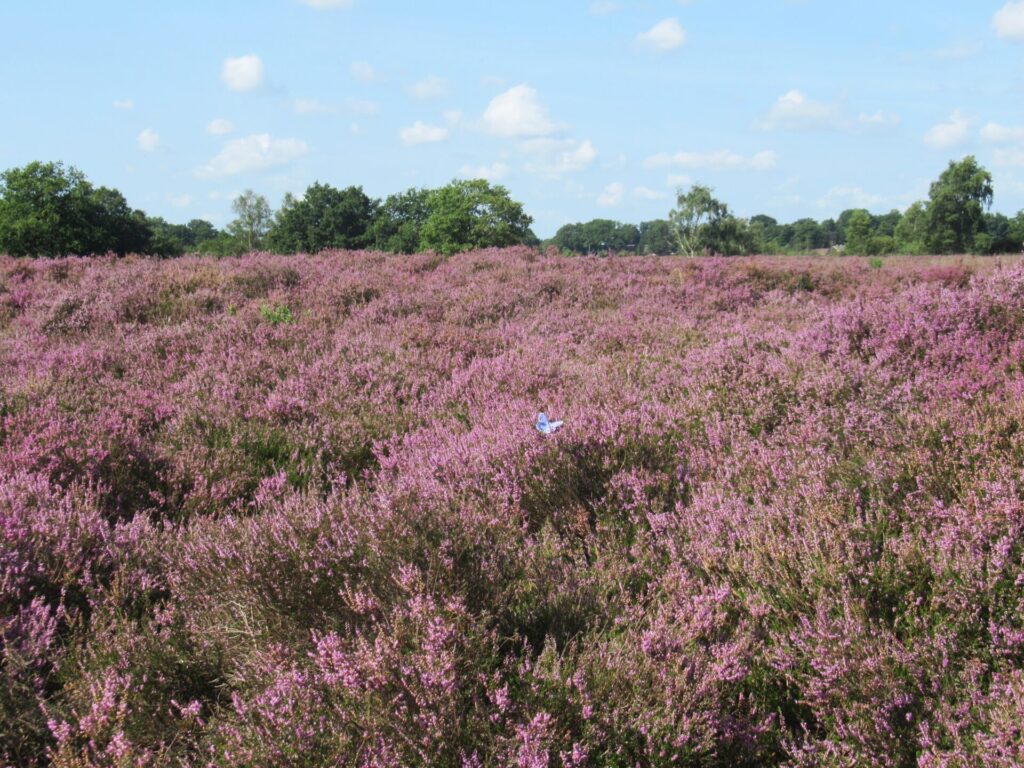
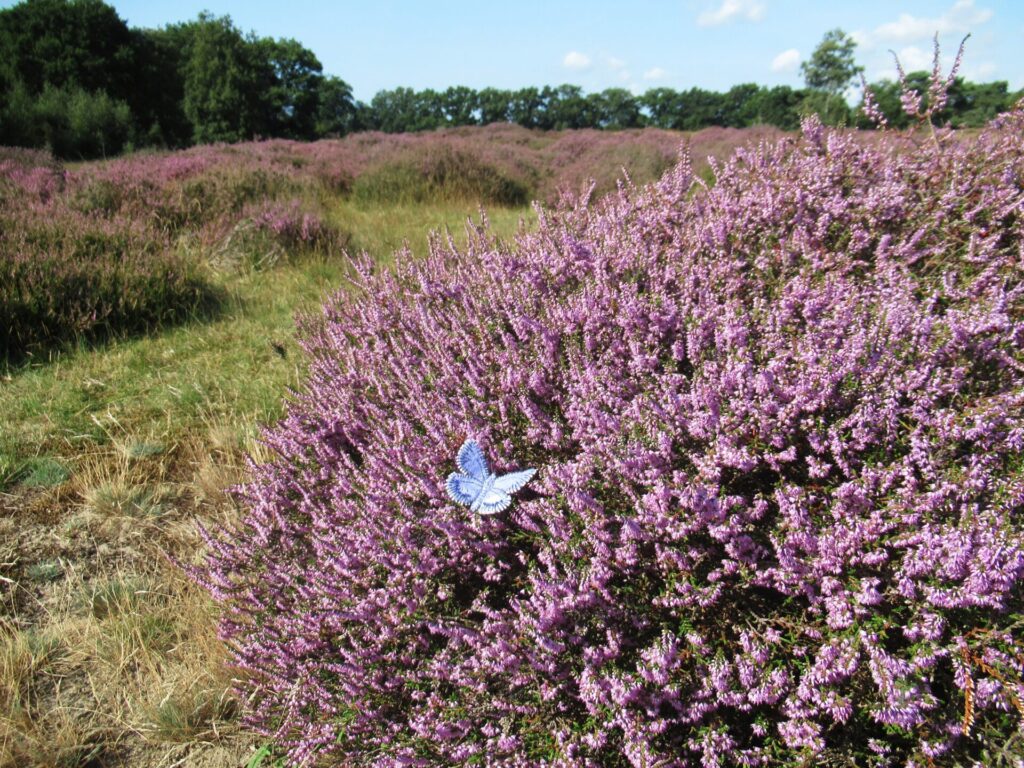
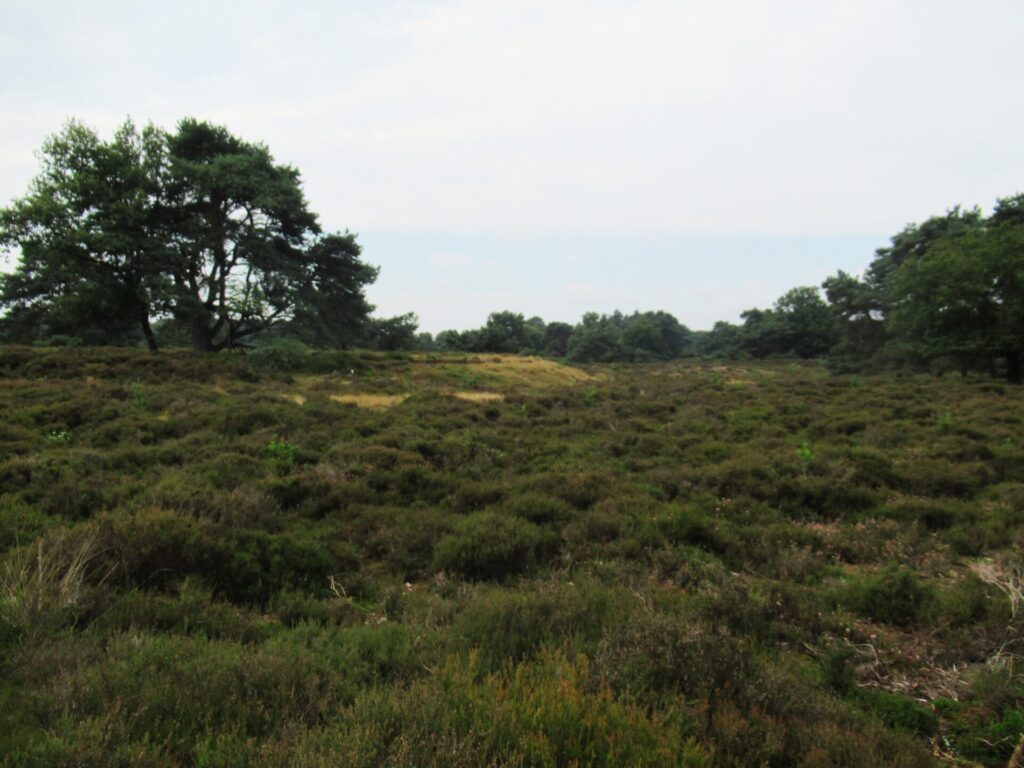
Hello! I hope you’re doing okay and have had a good week so far. It’s heather season here, and as it’s been too hot to even think about knitting this week, I thought I’d just chat a bit about a felt butterfly I’ve made and take you along for a stroll to enjoy the purple gorgeousness.
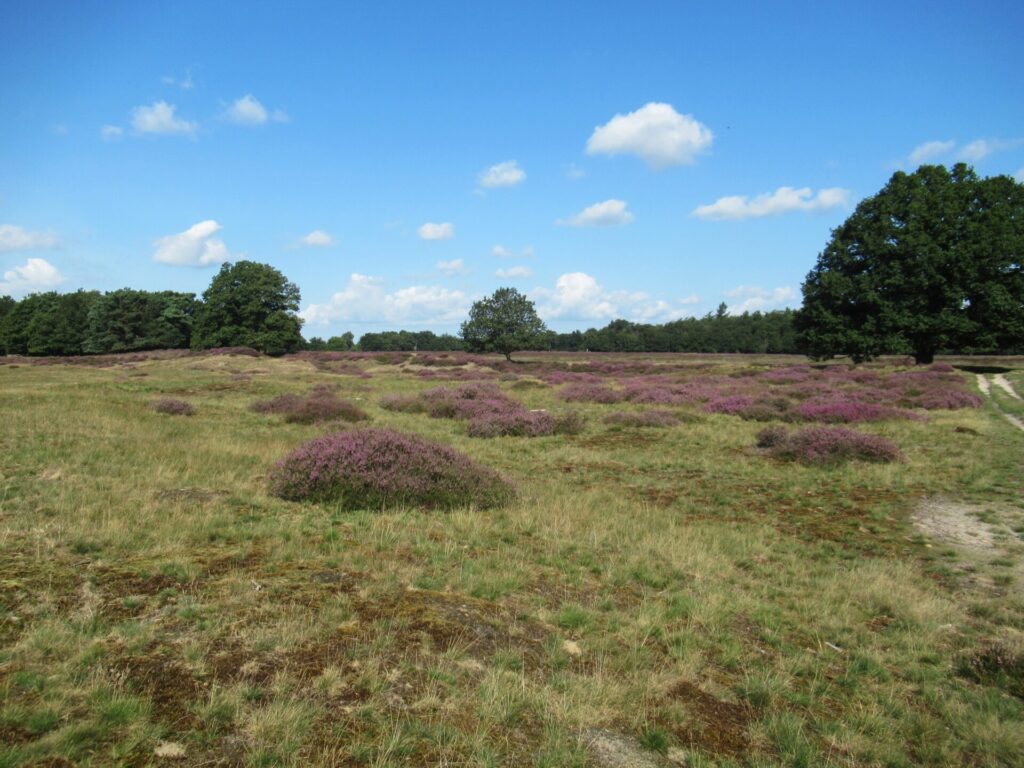
In some places the heather carpets the entire ground, in other places it grows in tussocks.
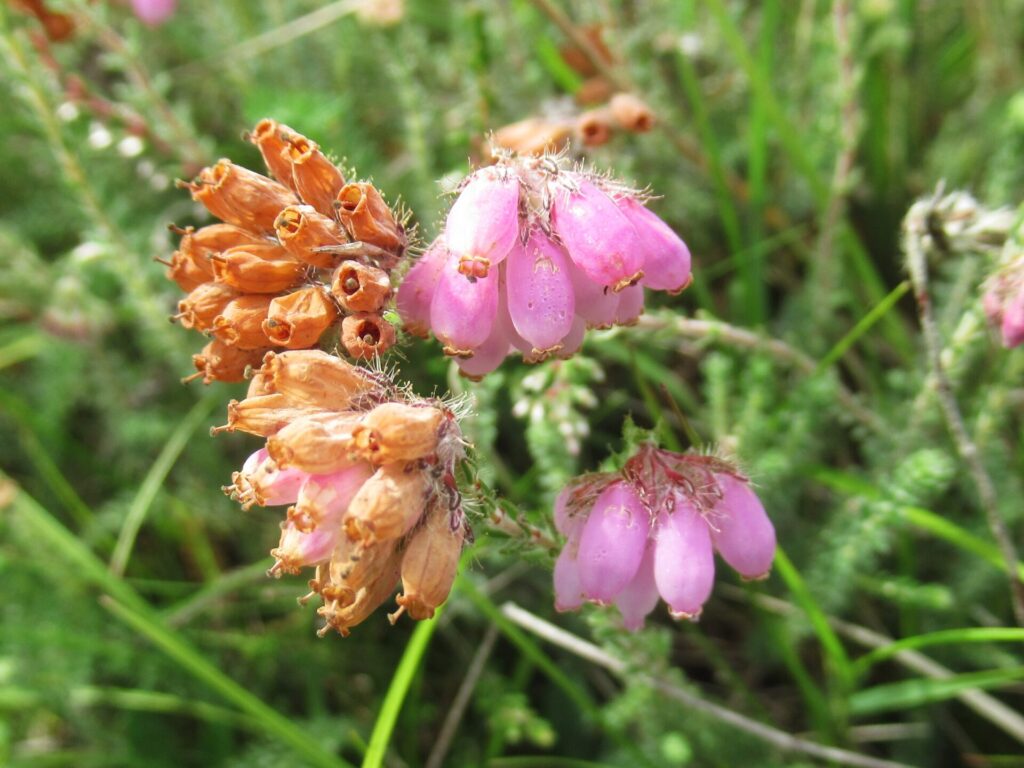
Most of the heather here is common heather, or ling, but there is some erica as well.
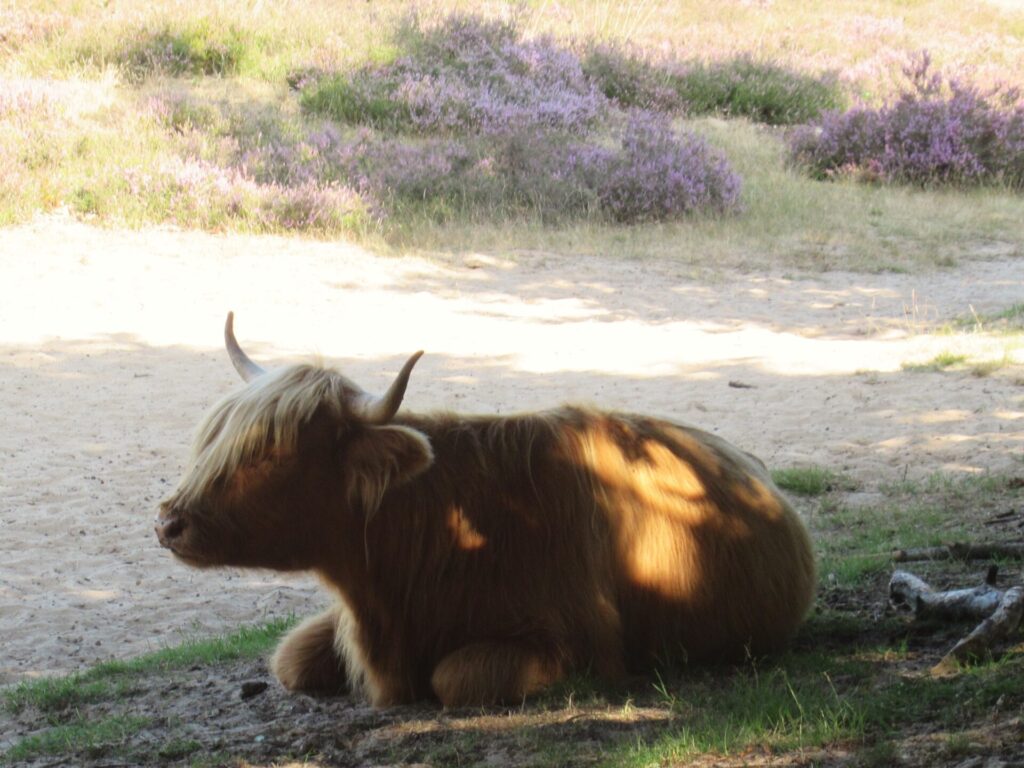
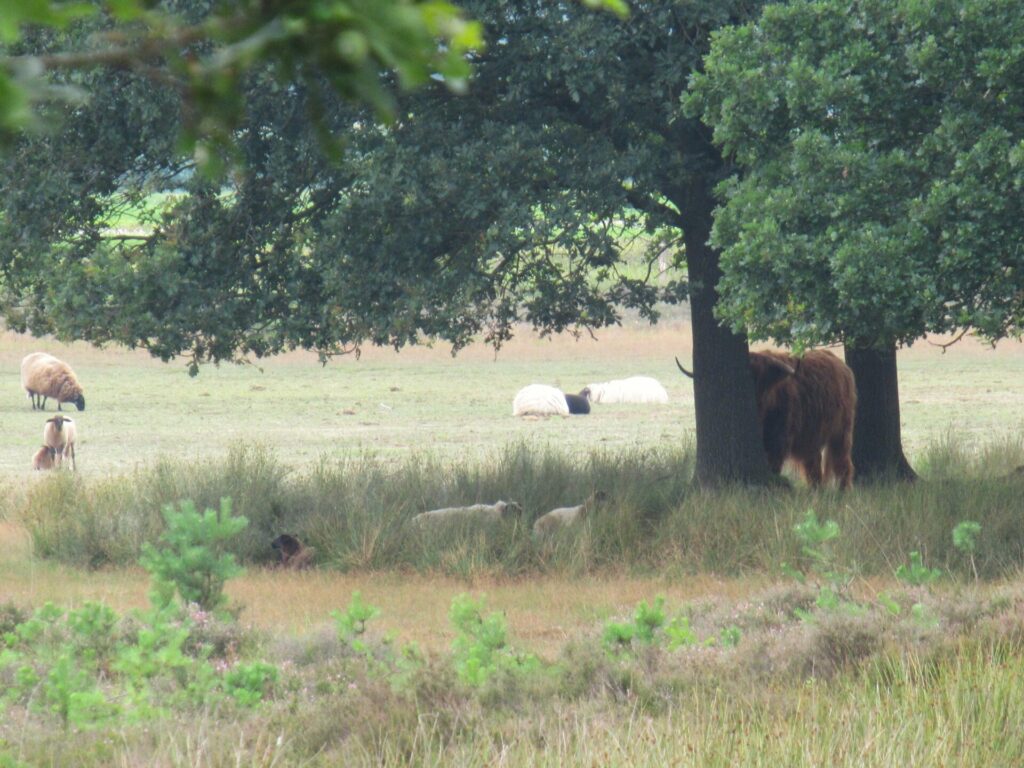
Even though it’s still morning, the highland cattle that have been hired to keep the heather free from encroaching trees and purple moor grass have retreated to a shady spot.
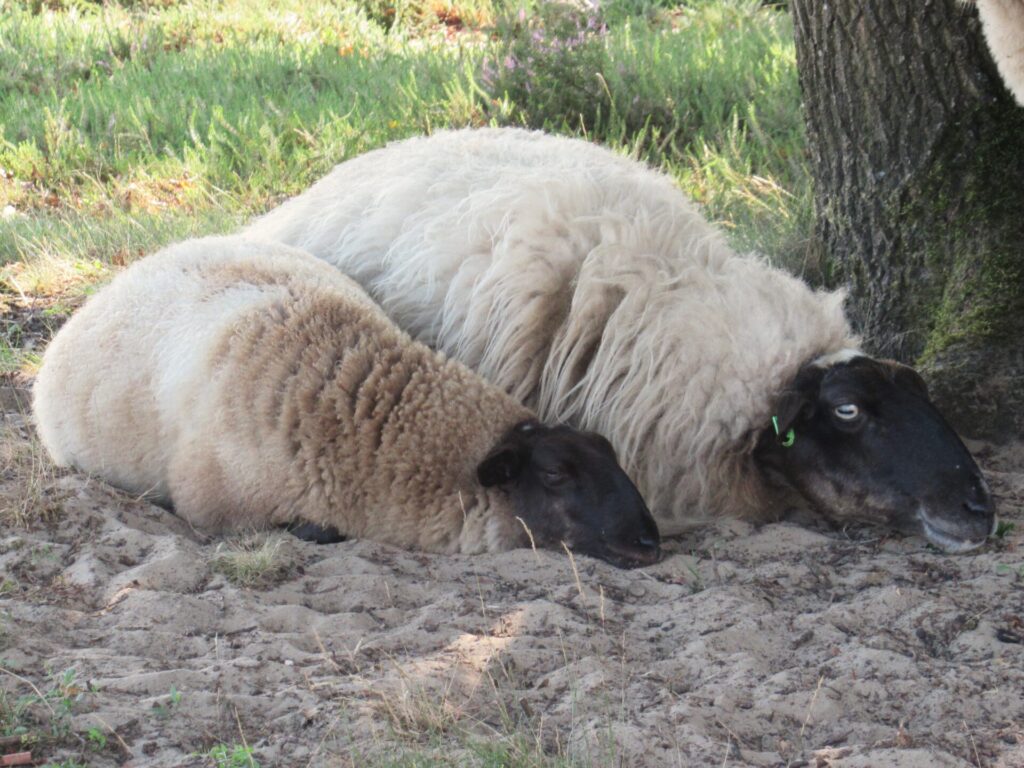
The sheep with the same job description can stand the heat better but they, too, prefer to laze about in the shade today.
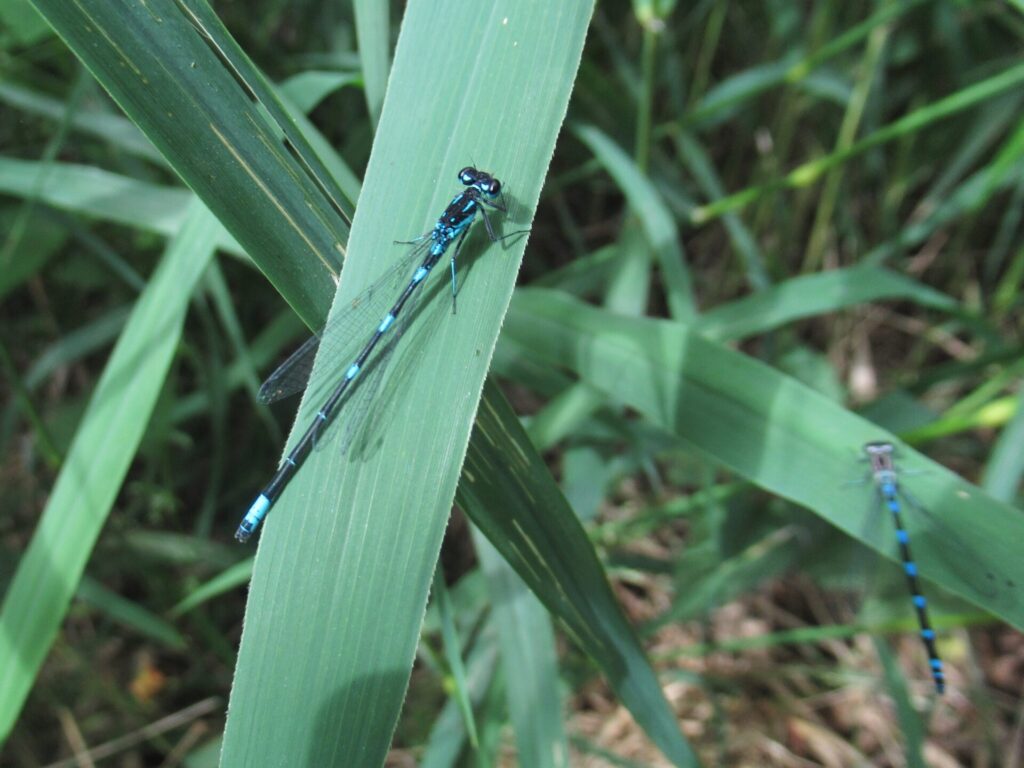
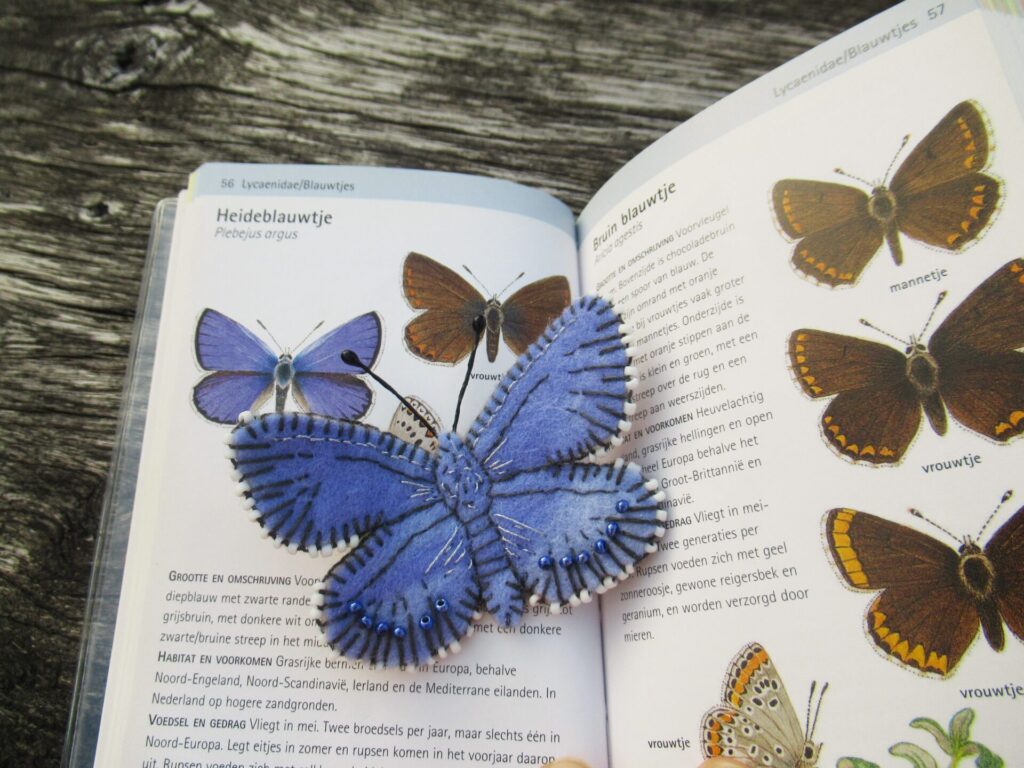
The bees love the heat, though, and the entire heath is abuzz with them. The butterflies fluttering about are mainly cabbage whites. It would be great to see a silver-studded blue, known as heideblauwtje (heather blue) in Dutch. As it’s a red list species chances are slim, but hold on, what’s that blue speck?
Yes, it really is a silver-studded blue,
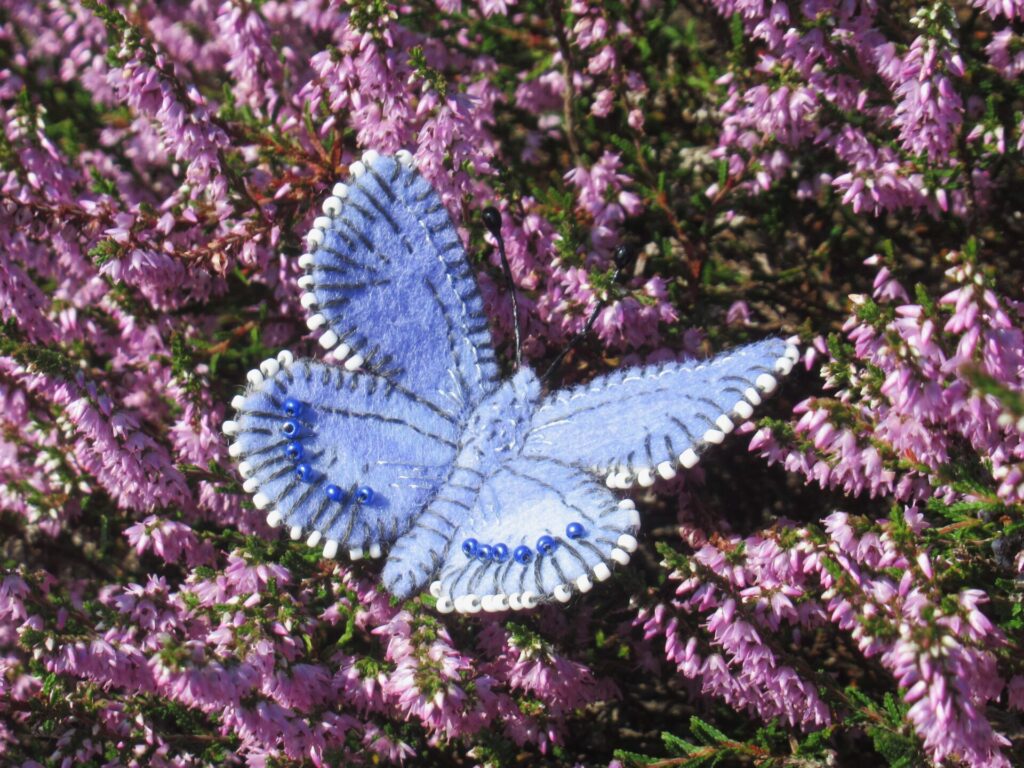
only it’s made of felt, with embroidery and beads.
Designer Marianne of Lindelicht has captured its essence really well. My stitches are not as neat as those on the shop sample, and I had to replace the tiny blue beads with slightly larger ones because I dropped the original ones in the garden and was unable to retrieve them all, but still my butterfly is also clearly recognizable.
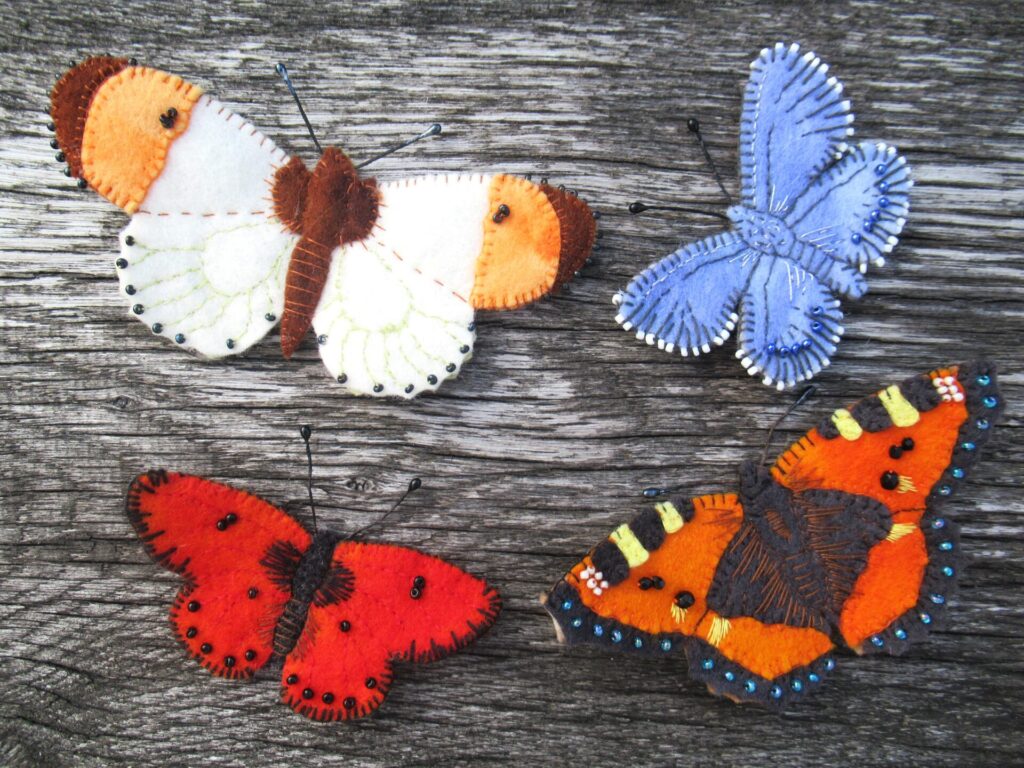
This is the fourth of her butterflies I’ve made so far – lovely little summer projects.
Writing this reminds me that I also have several hanks of Marianne’s beautiful hand-dyed yarn in my stash. Maybe it’s time to knit some of those up into a shawl or scarf. But first I’ll finish the socks and the cardigan that are still on my needles. Perhaps there’ll be something to tell you about one of those next week. Hope to see you again then!
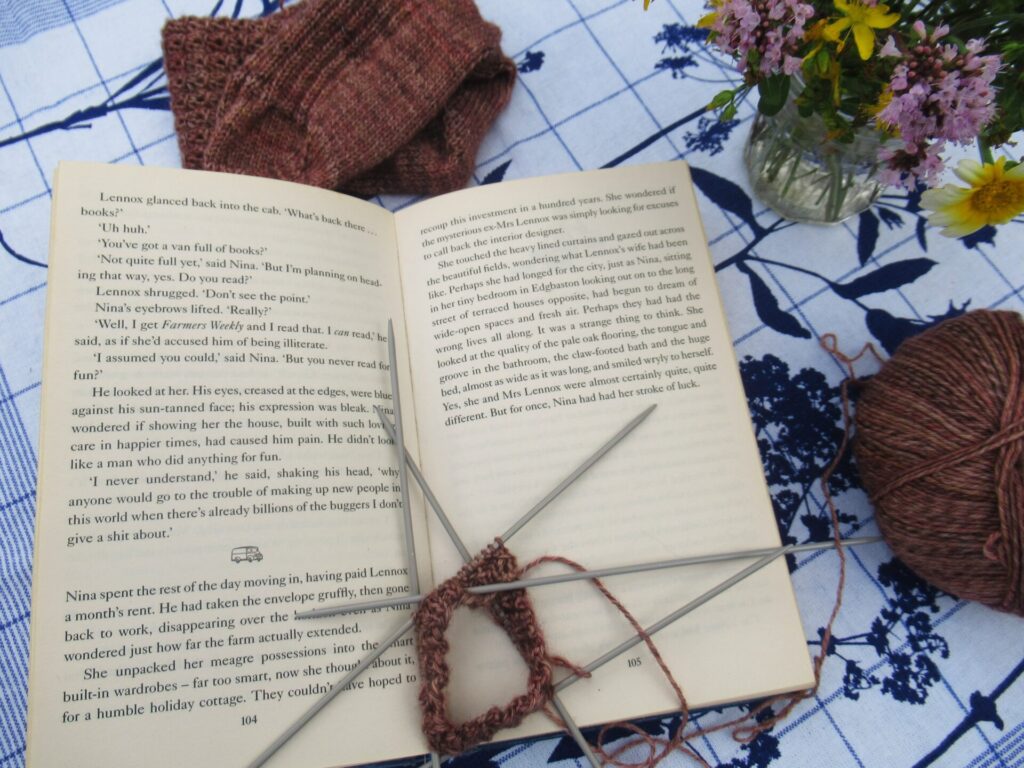
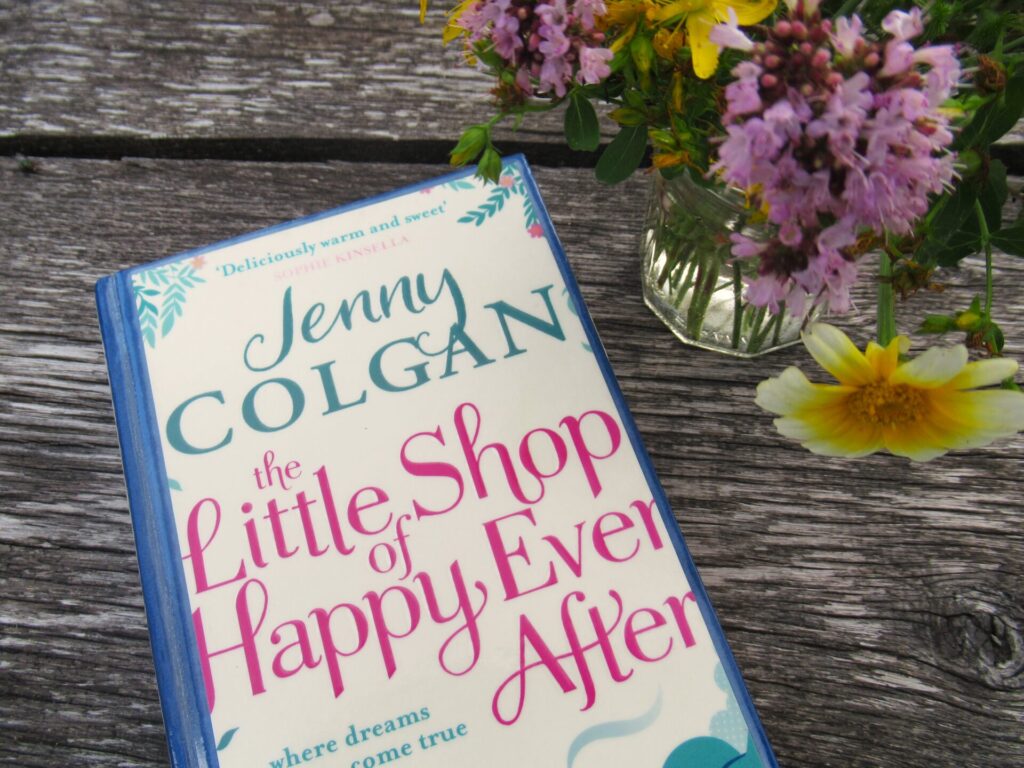
‘Let us read, and let us dance; these two amusements will never do any harm to the world.’ With this quote from Voltaire my current library book starts. It’s Jenny Colgan’s The Little Shop of Happy Ever After. A cringe-invoking title if ever there was one, but I could do with some light reading. And it’s about books. In a nutshell, librarian Nina loses her job, buys a van, moves to Scotland and starts a mobile bookshop.
I haven’t finished it yet, but I can already tell you that it’s totally unrealistic and fluffy, and also warm and funny. Yes, let us read! But I’d rather substitute something else for the dancing. I can think of lots of other amusements that meet Voltaire’s criterion:
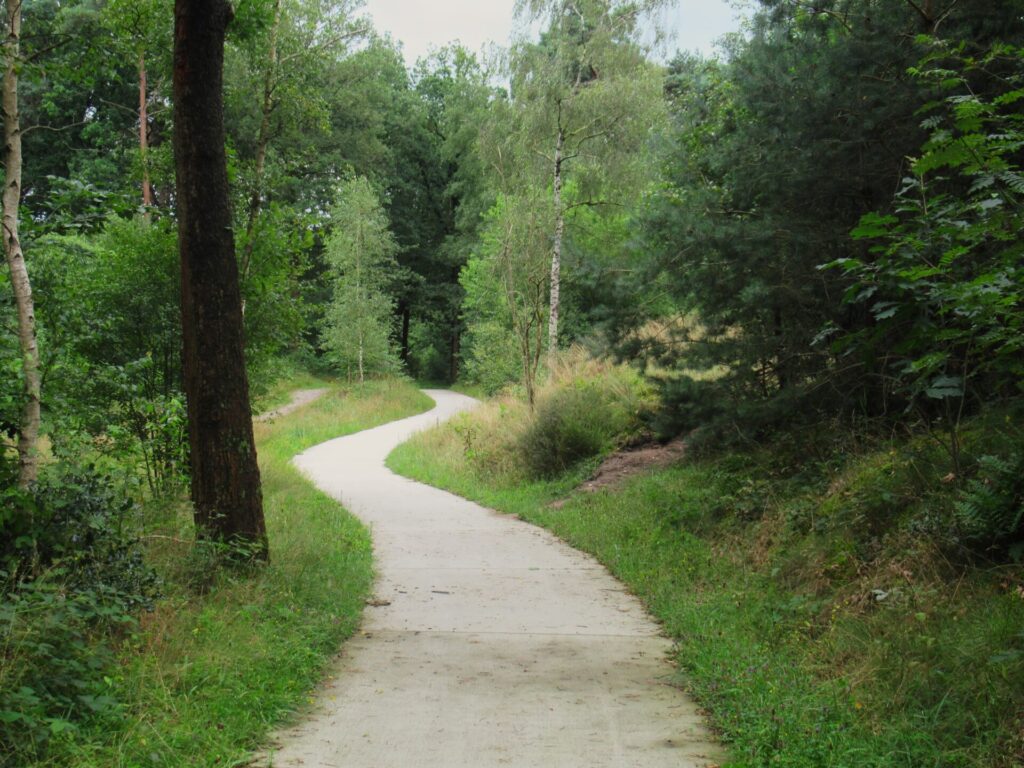
☑ Walking and cycling This is one of my favourite stretches of bicycle track, part of one of my short weekday close-to-home cycle routes:
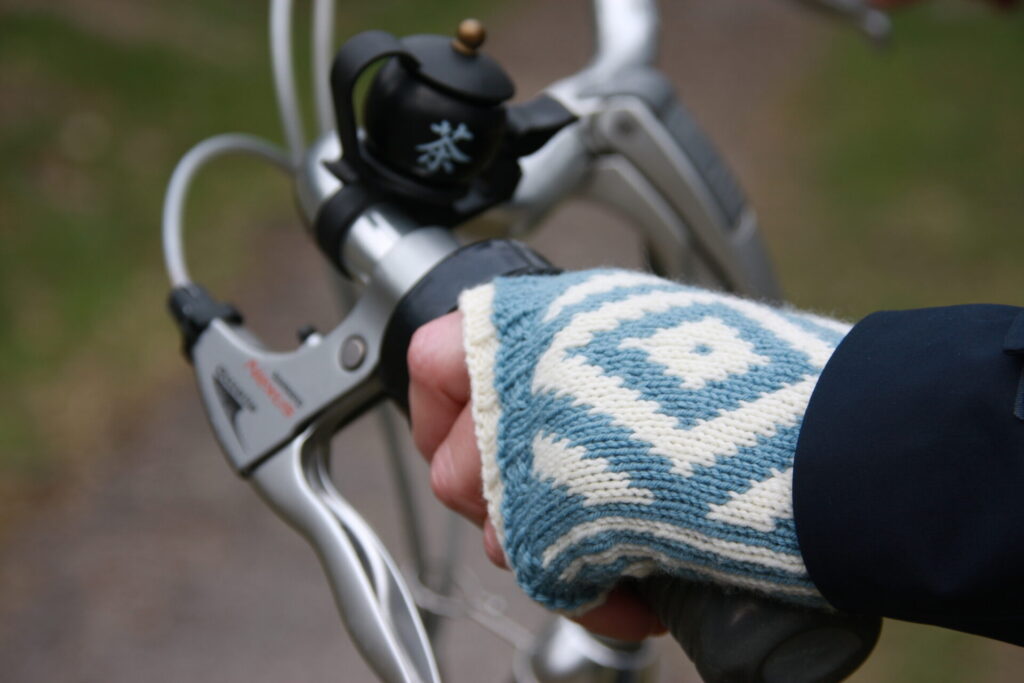
It was here we took the photos of my Gazelle Mitts. I’m looking forward to the time I’ll be needing mitts and mittens again.
☑ Making felt butterflies With blanket stitch two layers of felt are sewn together – short stitches, longer stitches and some beads along the edges.
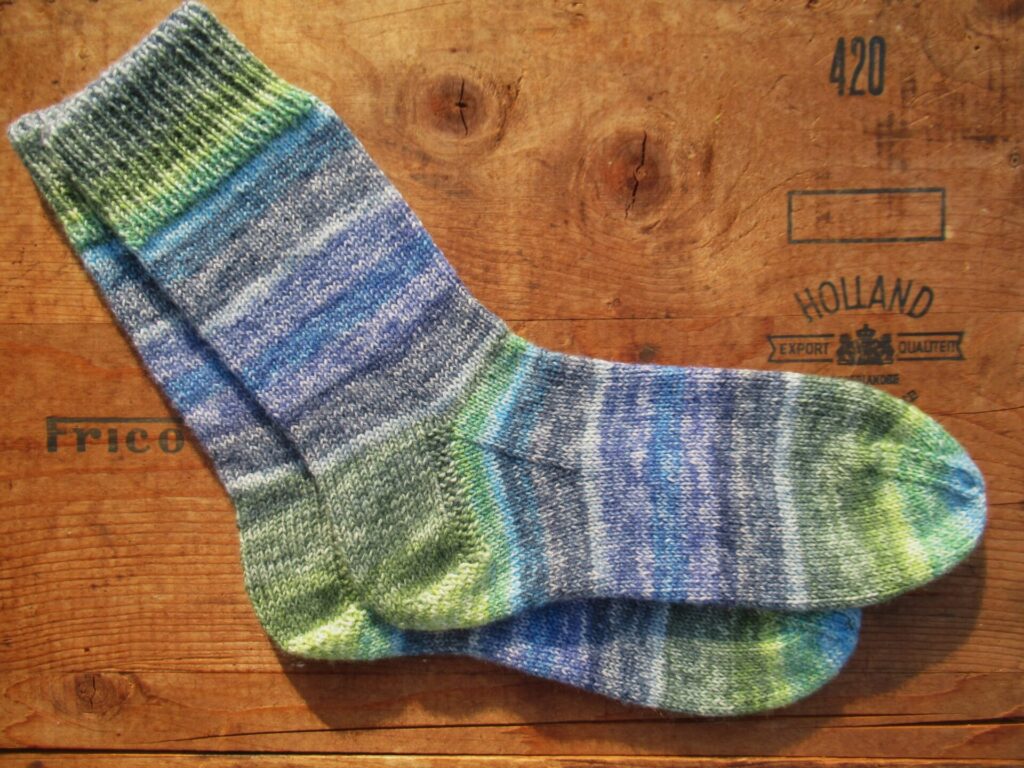
☑ Knitting I’ve just finished a pair of socks from Meilenweit ‘Cosima’ (100g/420 m/560 yds; 75% Merino extra fine, 25% Polyamide). The yarn is very soft to the touch, yet so strong that it can’t be broken by hand. I wonder why one sock yarn is far stronger than another with exactly the same wool and synthetics percentages. Trying to get two matching socks and to make the cuffs and heels coincide with the colour changes in the yarn was a fun game.
I’ve come to call these my Dutch landscape socks, because they have a typical Dutch heel and, well…
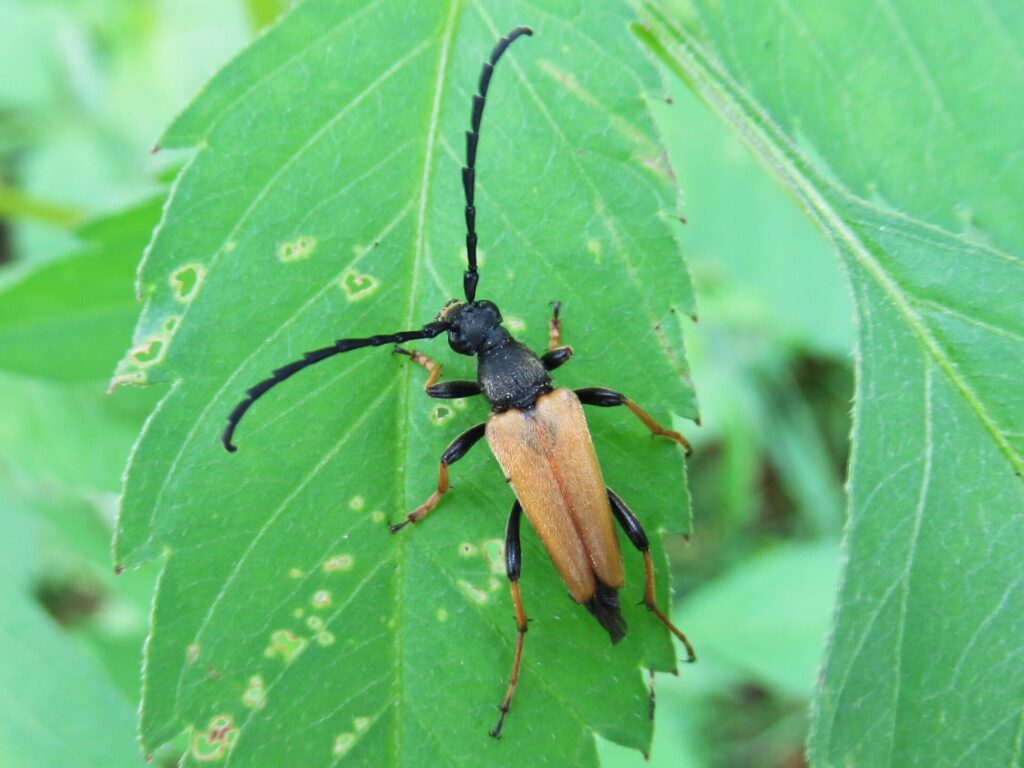
☑ Photography With my small and simple camera, I wouldn’t call myself a photographer. But what I love about taking pictures is how it opens my eyes to things and creatures I would otherwise never have noticed. Just imagine wearing a pair of feelers your own length once again on your head all day every day.
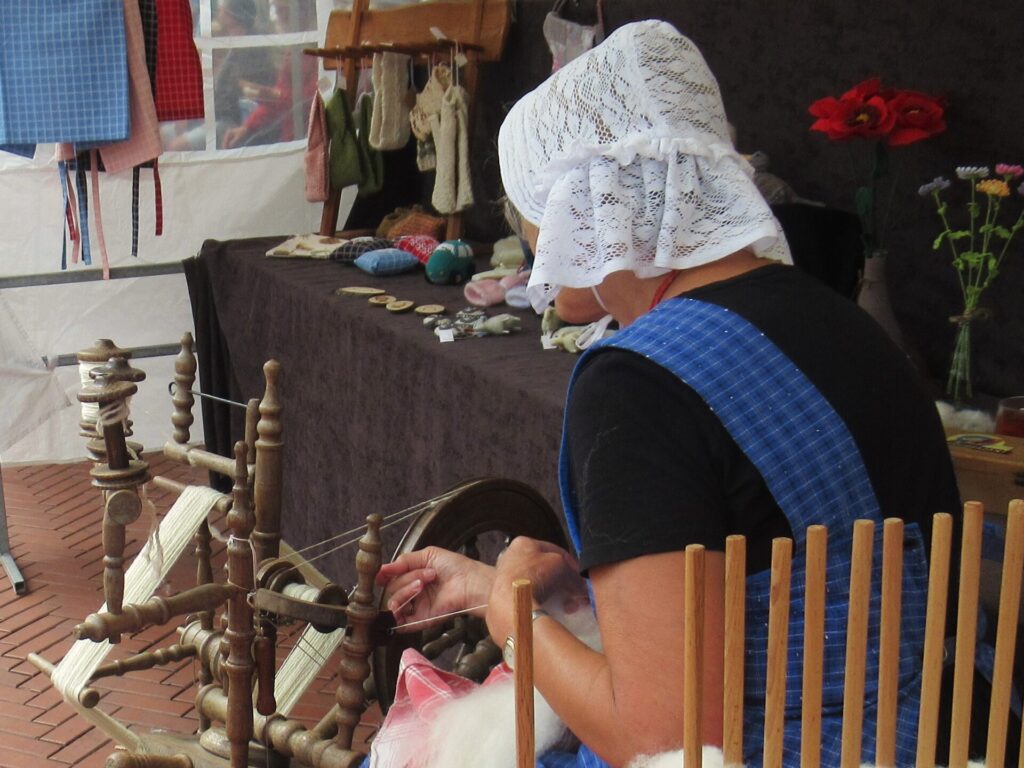
☑ Spinning My own spinning hasn’t progressed much since last week, but I met a wonderful spinner at a market on Wednesday. She doesn’t have a website to link to – just call me Reny, she said.
At the back of her stall there was a washing line with hanks of wool in beautiful colours.
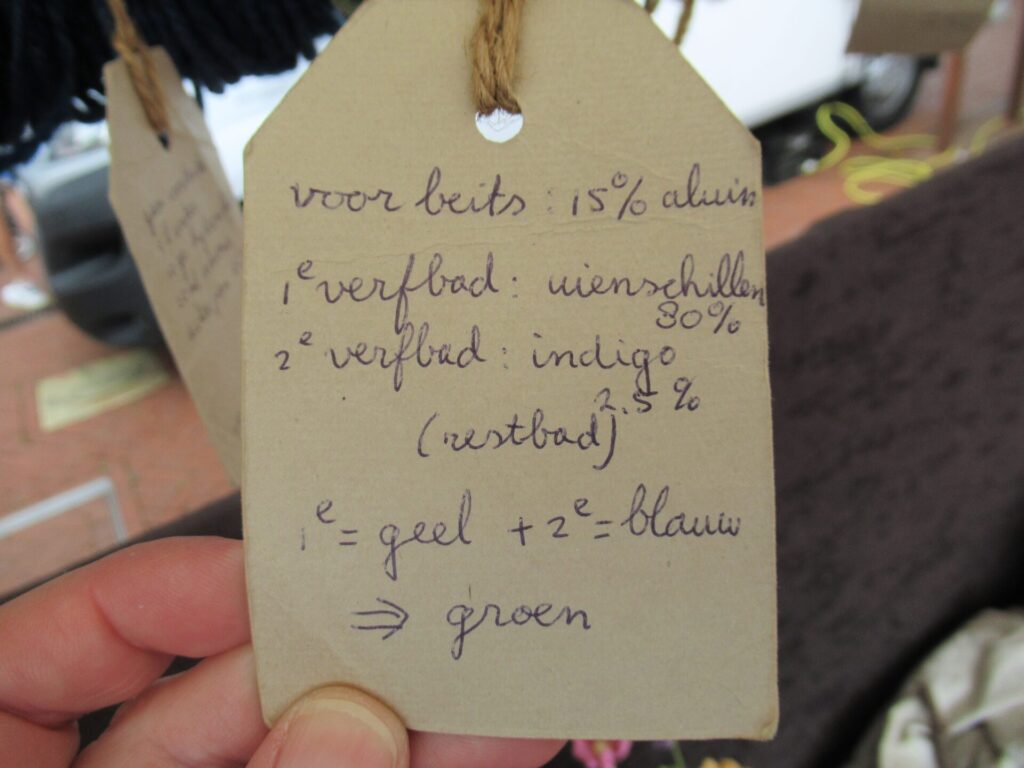
None of them for sale – all hand spun and plant dyed they were priceless. Instead of price tags, they had tags with recipes. This one was for the second skein on the left (the green one): mordanted with alum, first dyed with onion skins, then overdyed with indigo.
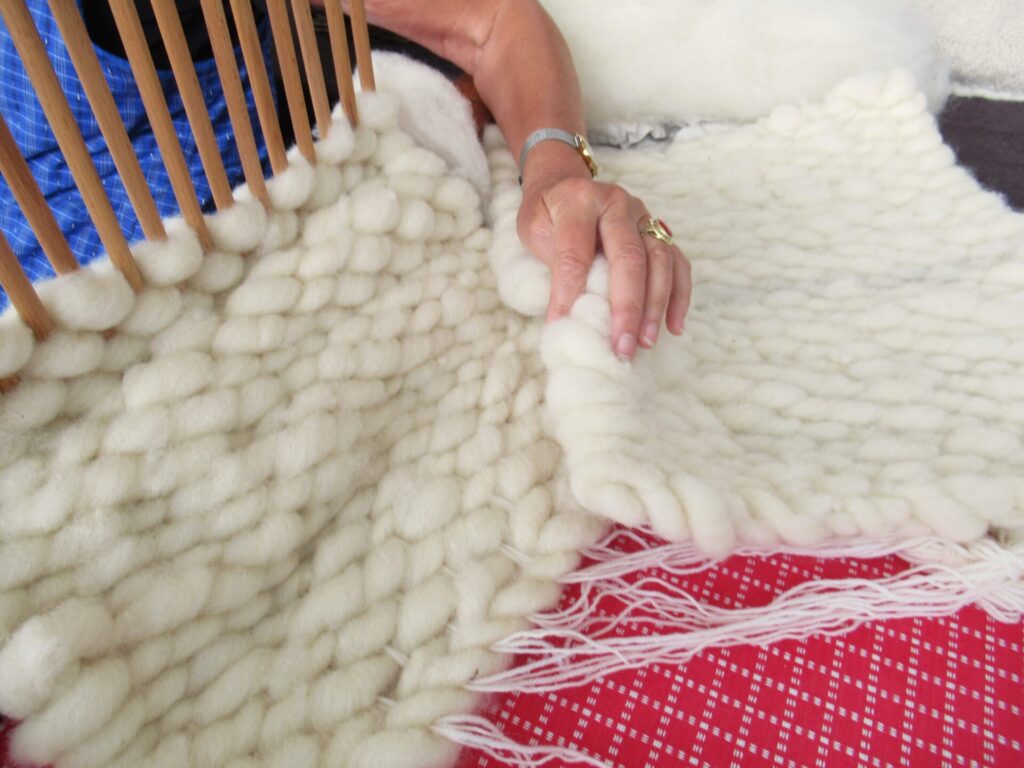
What she did sell were knitted birds and small sheep from unspun wool, as well as these peg loom woven sitting mats. They look wonderfully soft and warm.
I have the feeling that Reny wasn’t really there to sell things, though, but rather to share her passion for her woolly ‘amusements’.
Watching the news and reading the paper, I often feel sad and powerless. What can we do? Engaging in ‘amusements that will never do any harm to the world’ at least will not make things worse. That’s something. And they may just add some warmth and beauty to the world as well. I could think of many more such amusements, but am signing off for now. Hope to share some pictures of a finished butterfly and blooming heather next week. Bye!
Hello, and thank you so much for last week’s thoughtful comments. Taking your advice on board, I’m telling myself that it’s okay to be less productive for a while. Focusing on small and simple knitting projects for the time being seems like the best thing to do. Socks, and perhaps a small scarf or a pair of mittens – thank you for your ideas. And I hope to finally get round to some other crafts projects that have been patiently waiting.
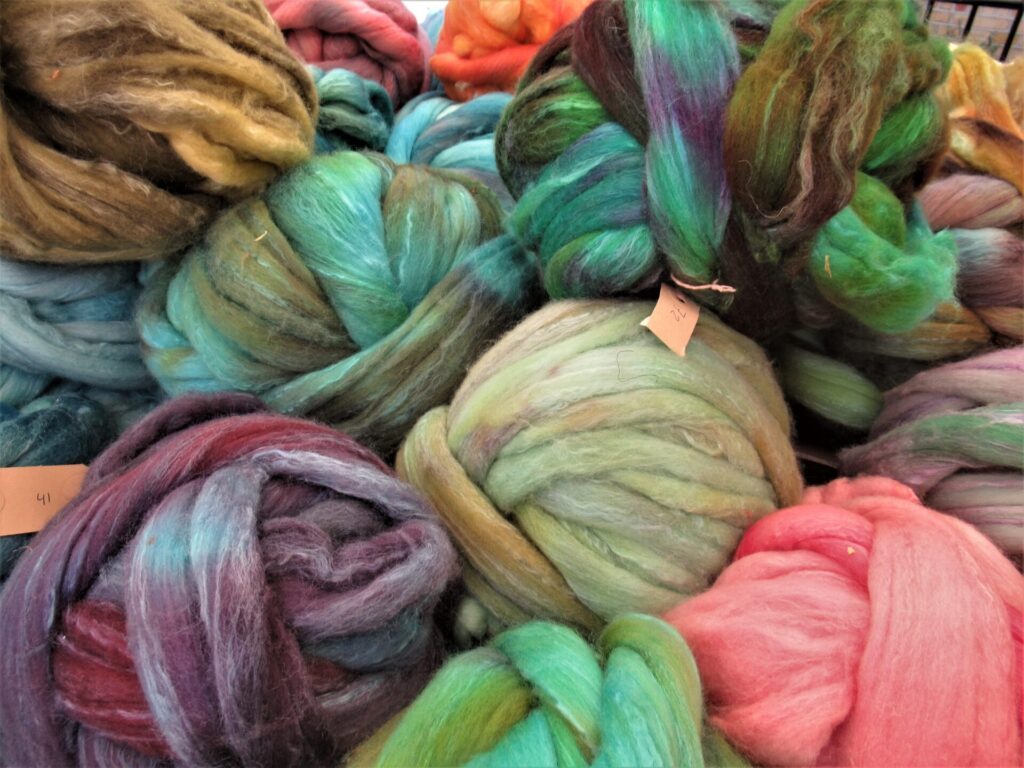
In 2023 I bought some spinning fibre at the wool festival in Joure, from the Q-Art stand that was filled with hand-dyed wool-and-silk in many colours:
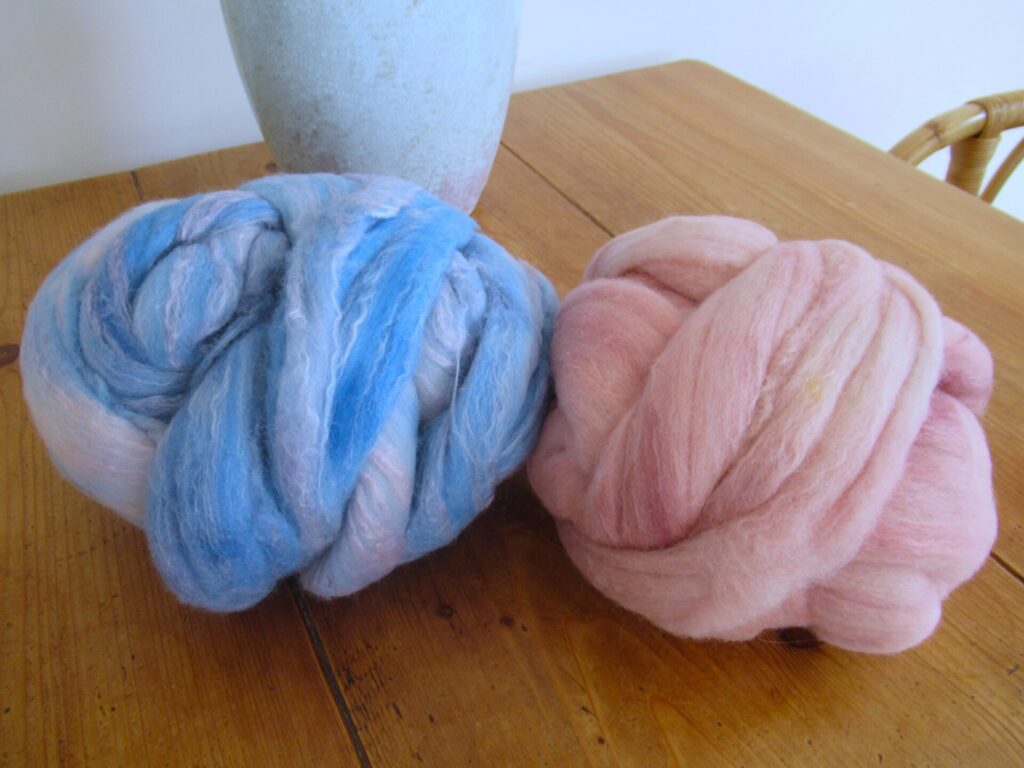
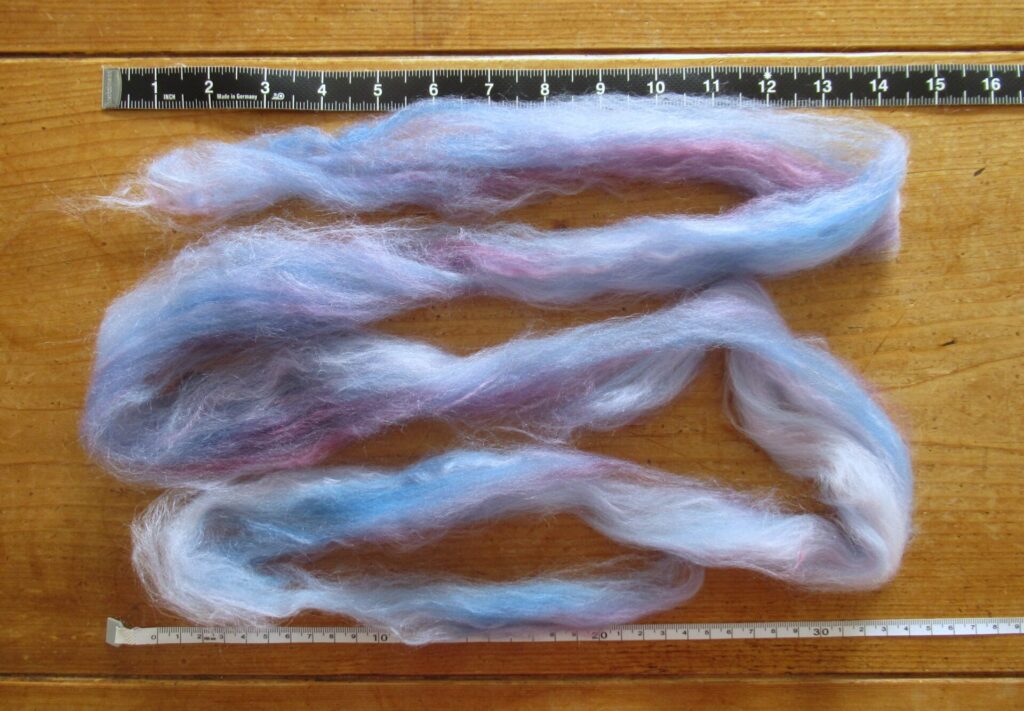
Is there something there to your taste? Which would you choose? I chose two balls, together a little under 300 grams – these:
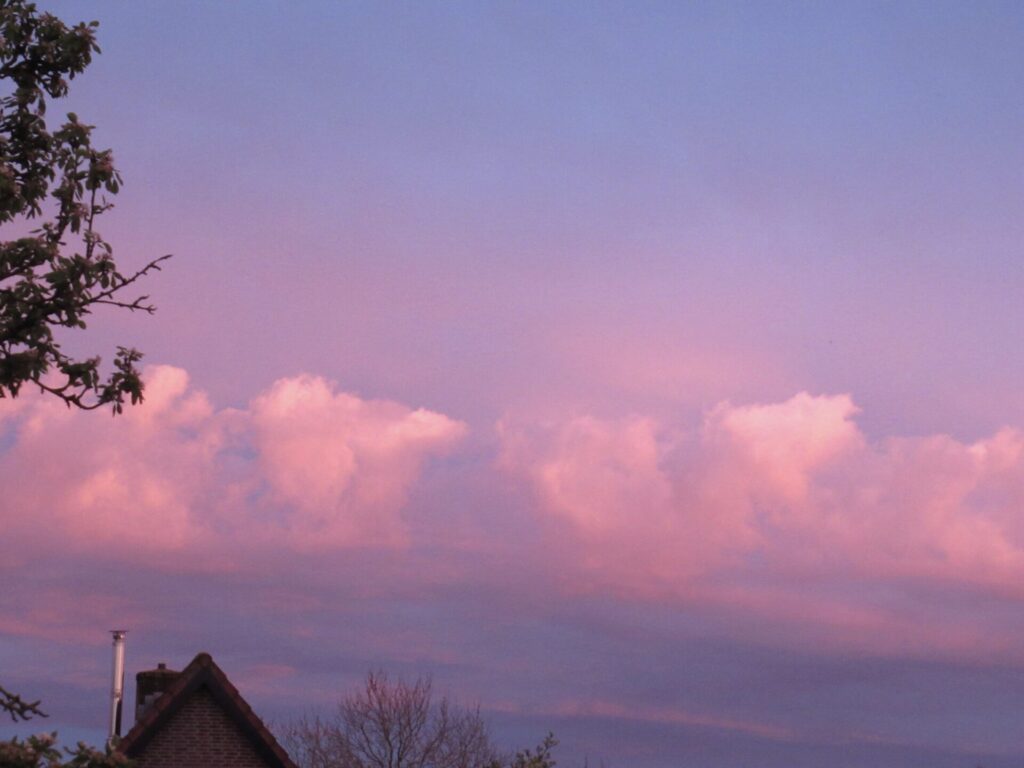
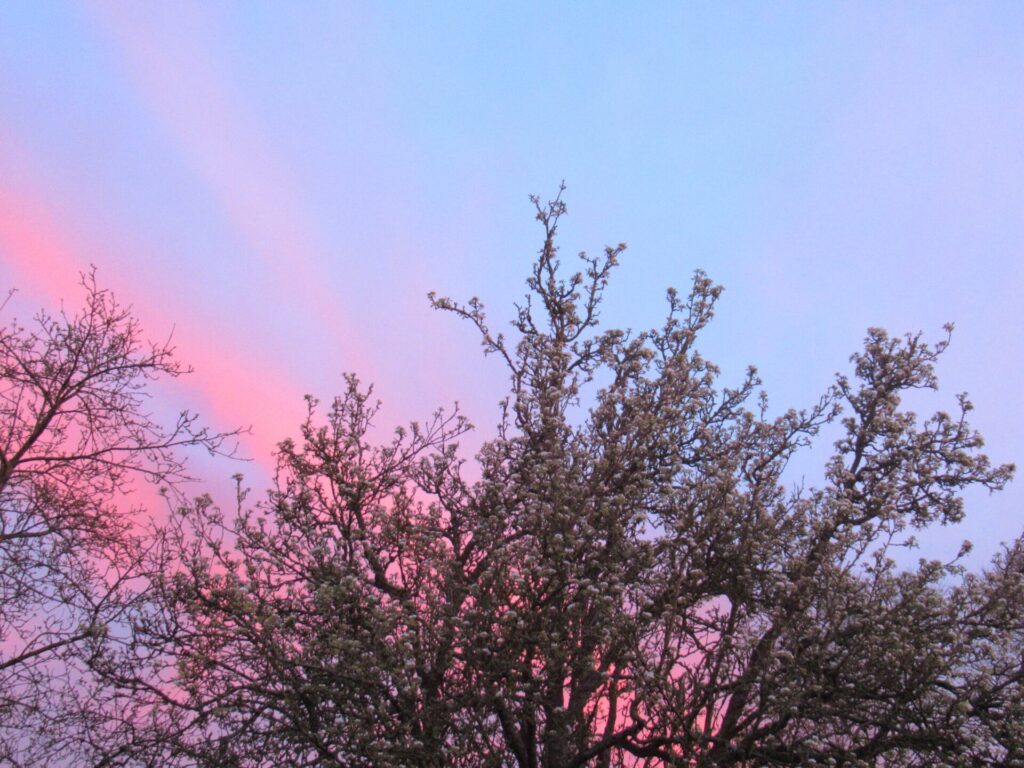
One a dusty pink, and the other the colour of the sky on some mornings and evenings: sky-blue pink.
I love these festivals so much, not just because of the lovely materials on offer but also because of the people visiting them, some of them imaginatively dressed. Take this person, all in white with a lace parasol, an antique-looking skirt, and ankle socks with lace. Even the text on the bag is carefully chosen: Once upon a time…
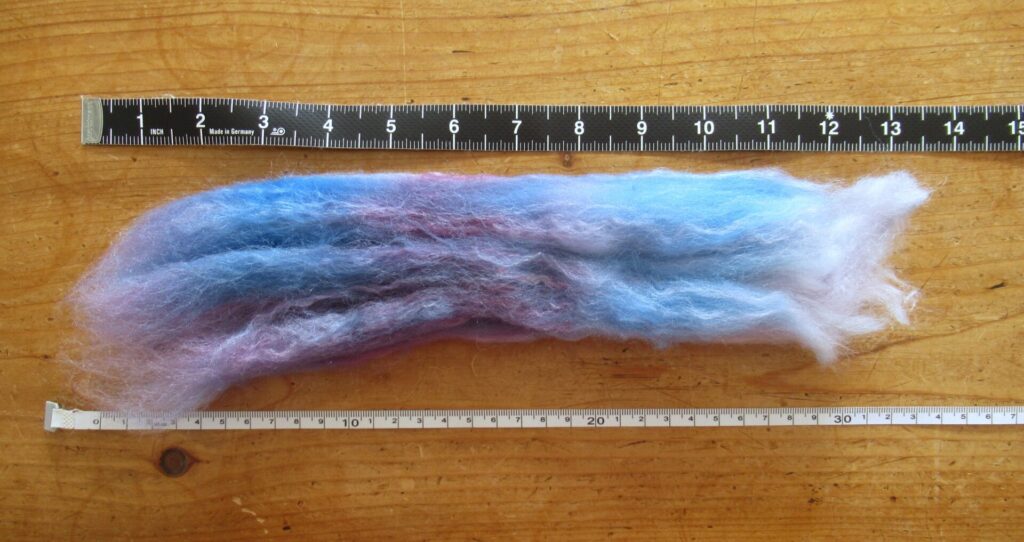
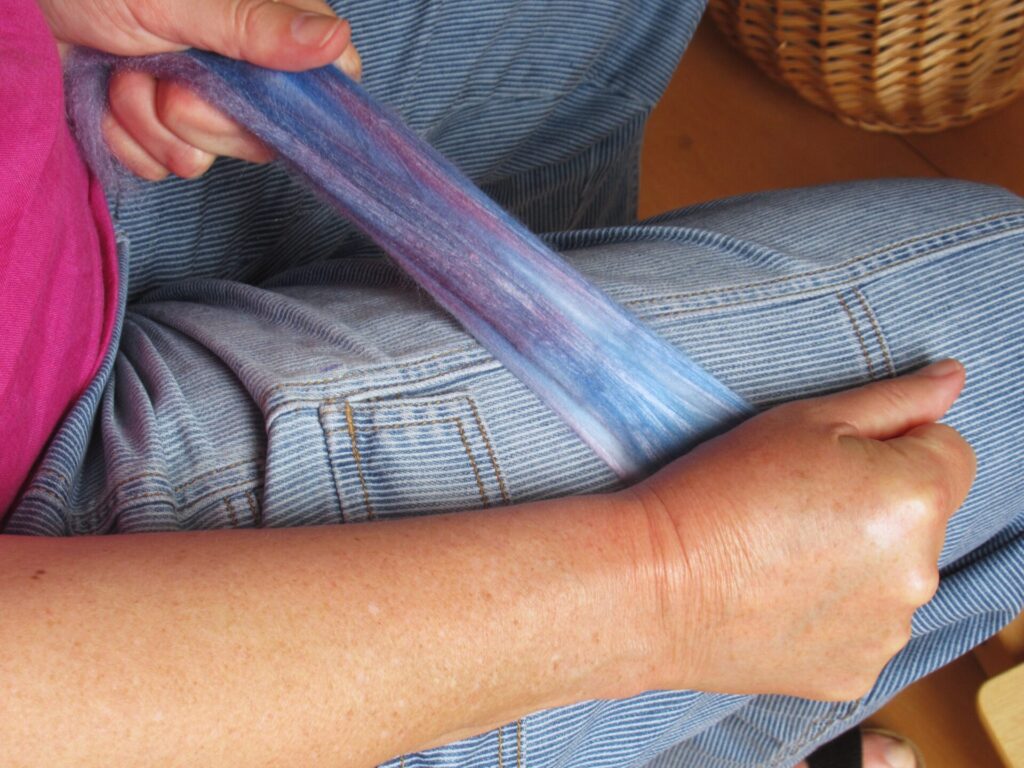
Well, back to spinning. I started with the sky blue-pink fibre, in this case pre-drafting it. I tear off about 30 centimetres (13 inches).
Then carefully pull on it with both hands.
Pulling the fibre out more and more, bit by bit, moving my hands back and forth along its length while taking care not to pull it apart. Until it is about 4 to 5 times the original length.
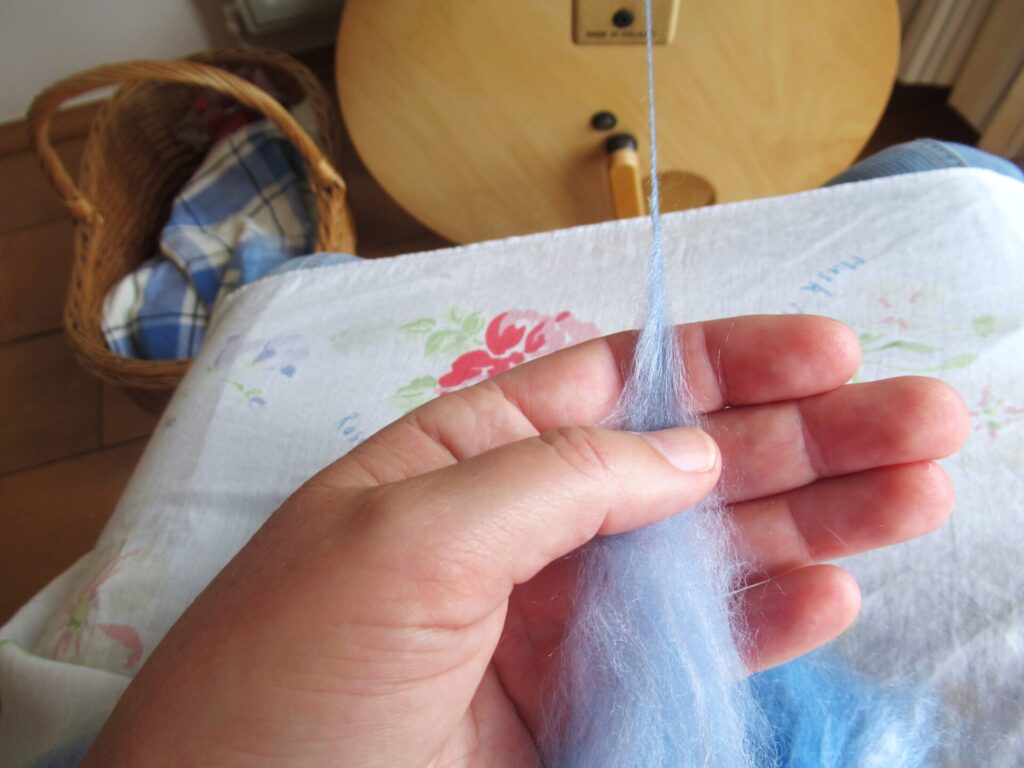
This blends the colours a little more. And most of all it loosens the fibres, making for easier spinning. I spin it, then tear off another piece and repeat the pre-drafting process, spin that, etc.
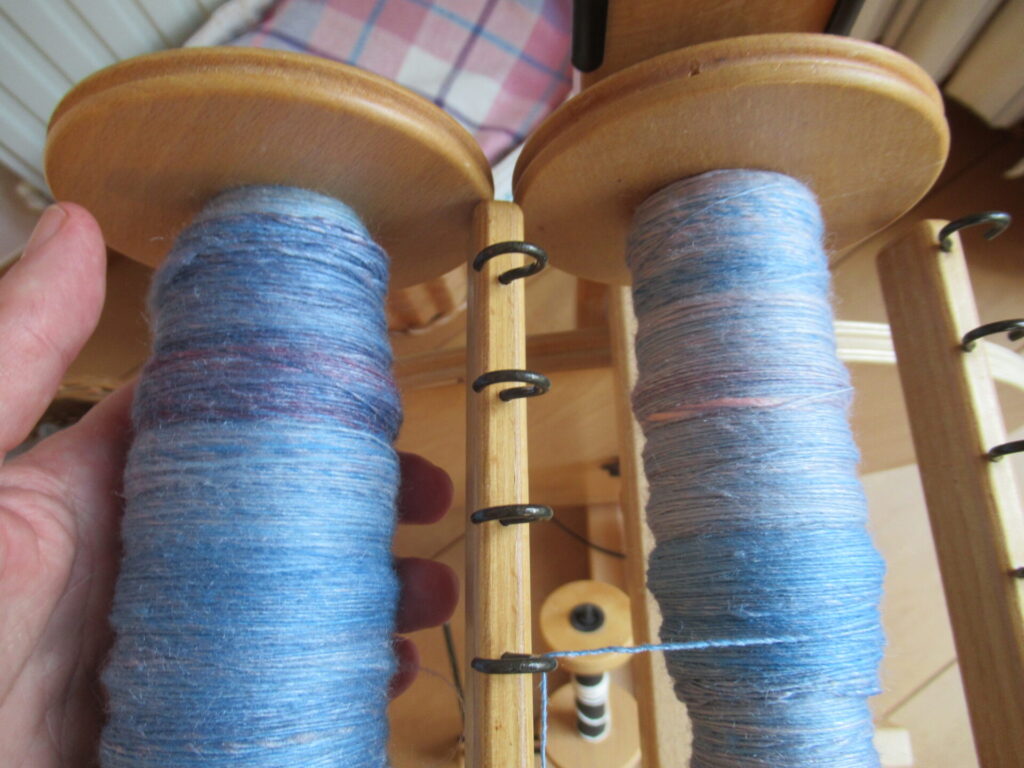
(I also spin with both hands, but do not always have an extra pair of hands handy for taking pictures.) After spinning all of the fibre, I’m going to ply it into a 2-ply yarn. I’m aiming for a sport-weight yarn, but always find the final weight hard to predict.
Do you spin, too? If not, why not give it a try? Once you’ve got the hang of it, it’s such a relaxing thing to do. Wool festivals and crafts fairs are ideal for trying out whether it’s something you might enjoy, without immediately investing in all kinds of materials and equipment. There are always people there who are happy to let you take place behind their spinning wheel and tell you what to do.
Well, that’s all for today. I hope there is something else to share here next week and hope to see you then!
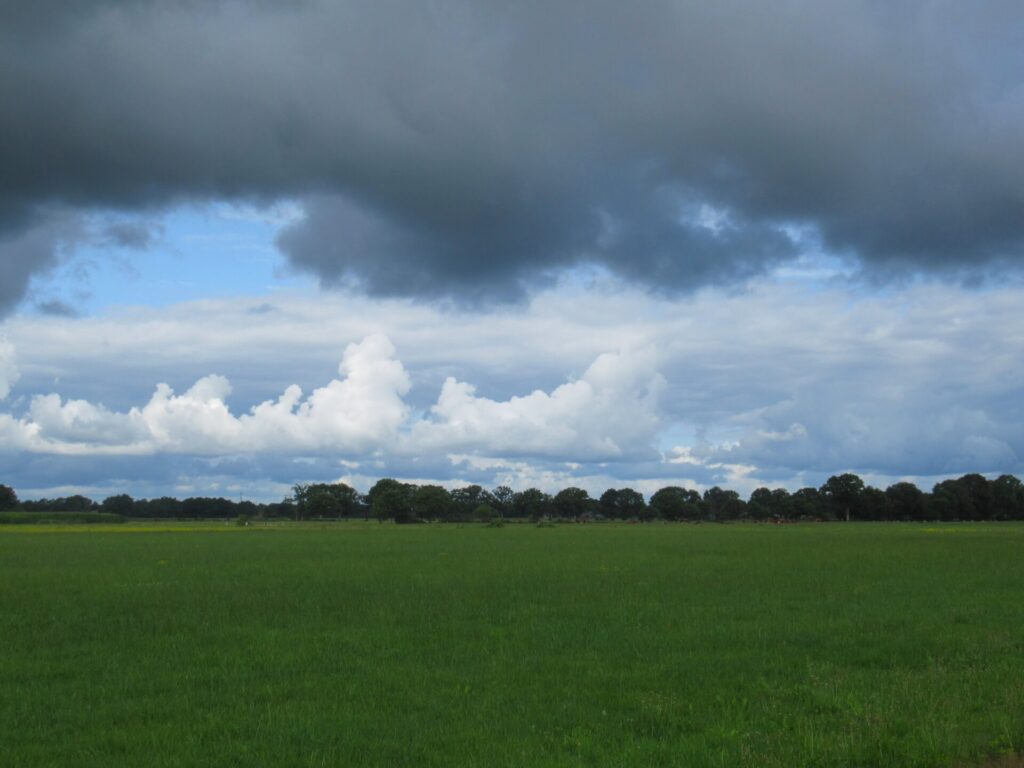
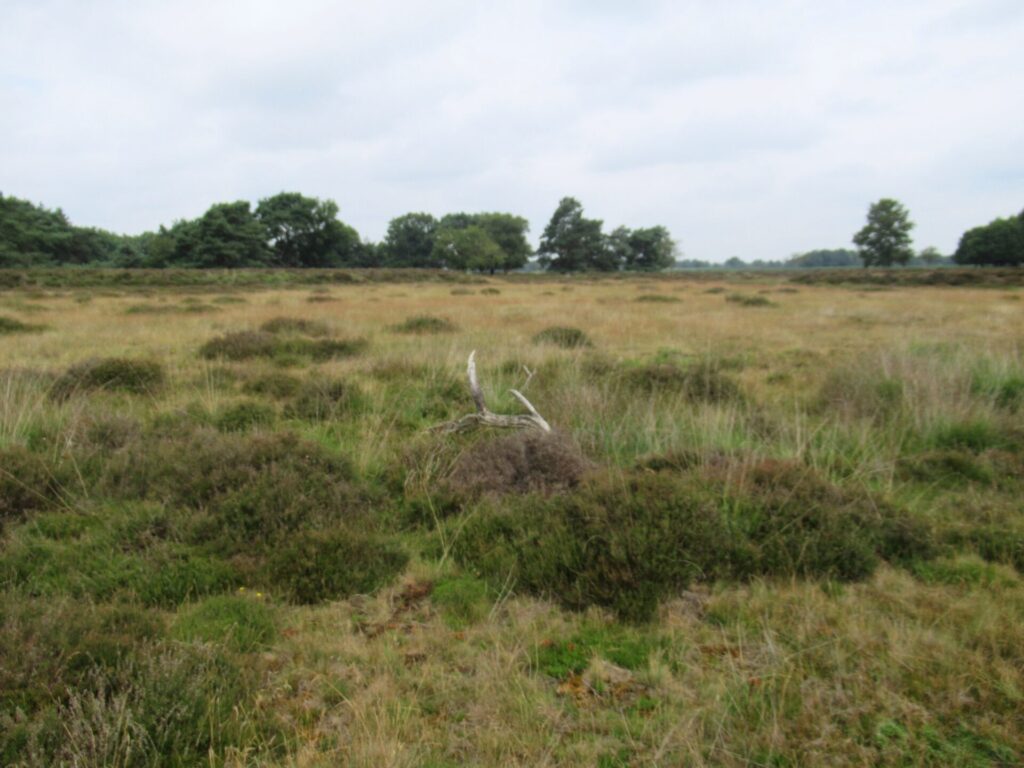
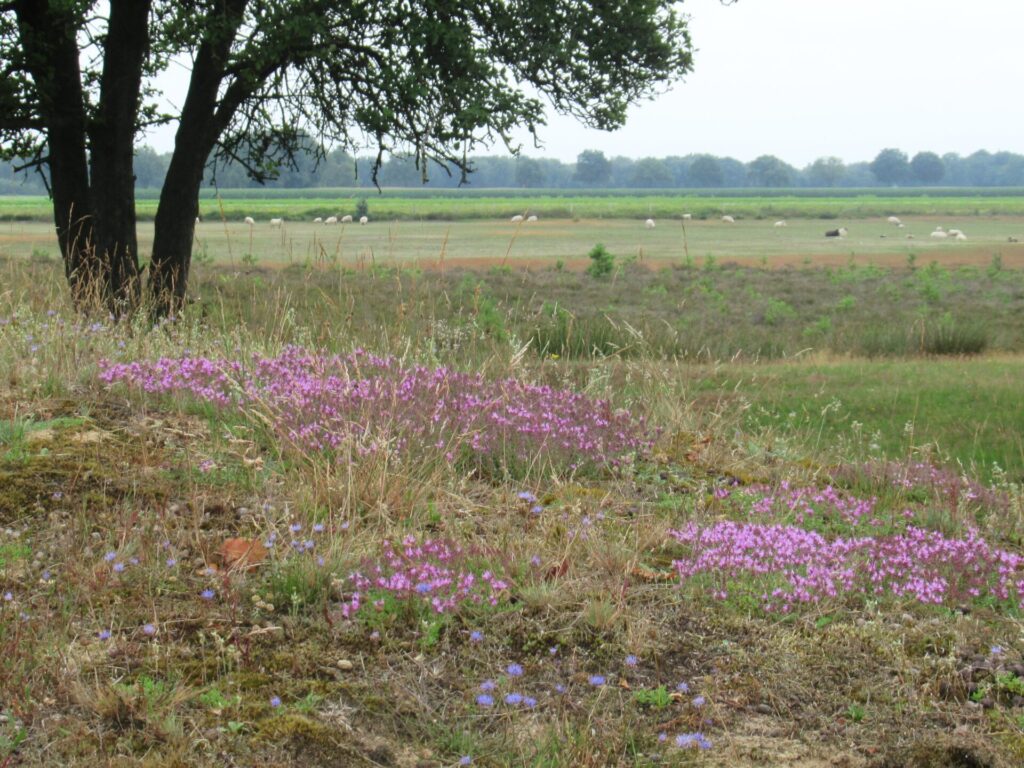
Hello there! Last Sunday morning we went for a walk in a small out-of-the-way nature reserve. In fact, it’s such an out-of-the-way place that we’ve only ever met two other people there, which is very unusual in this overpopulated little country. It’s an open patch of heathland, with dry and sandy soil, various kinds of heather, grasses and some trees. With thunderstorms forecast for the afternoon and evening, the atmosphere was oppressive.
I was feeling a bit meh. Actually more than just a bit meh – tired and uninspired. I was struggling with the last details on the cardigan for our daughter. The ribbings along the pocket tops, which I would otherwise just have got on with, seemed an insurmountable obstacle.
And there was literally nothing else on my needles. I did have some new knitting projects lined up, but didn’t feel excited about any of them. In short, I’d lost my knitting mojo and also felt like I had nothing left to say. While in the distance sheep were grazing and dozing, and a highland cow was playing hide-and-seek, I was ruminating.
Maybe it was the summer weather, never conducive to knitting. Or maybe it was only to be expected after all the knitting and sewing of the past few months, no matter how much I’ve loved it. One of the things I made that I haven’t shared here yet is this little cardi. I think it’s very sweet, but the pattern could have been a little more detailed.
Walking there, I was thinking, ‘Maybe I should abandon all attempts at making things for a while and take a break from blogging for the rest of July and August.’
And then my husband veered off from the main path to follow a side track, I followed him, and… oh, look!
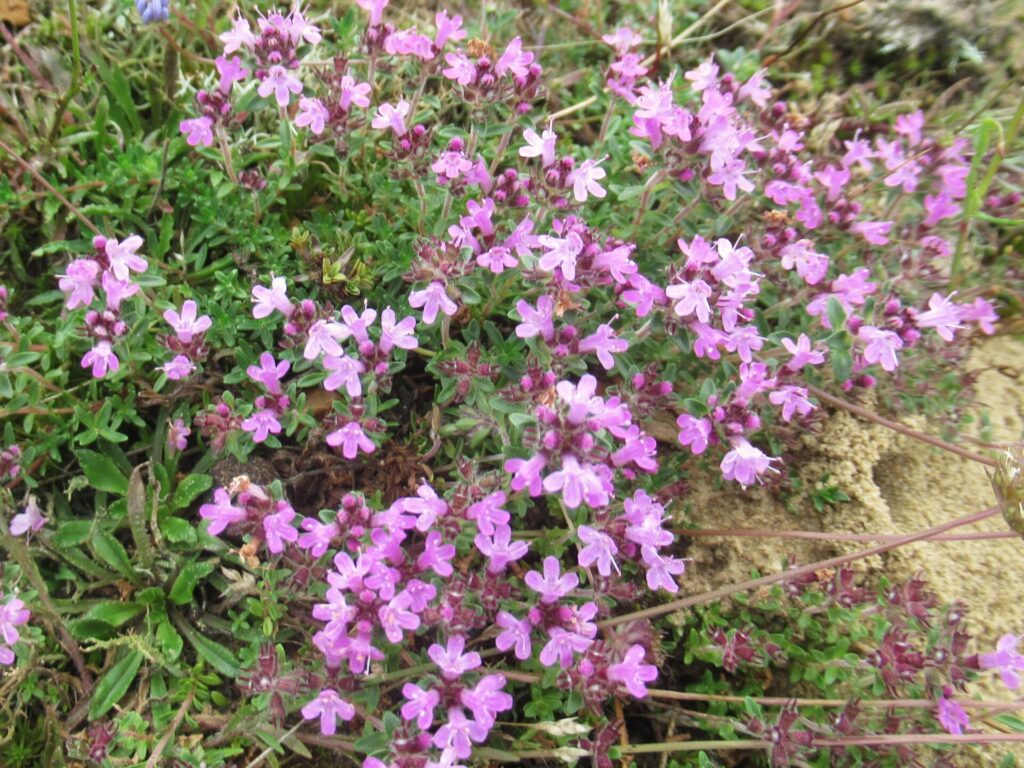
Thyme!
This is a rare kind of thyme called kleine tijm (small thyme) in Dutch (Thymus serpyllum; Breckland thyme or creeping thyme in English). It’s tiny (about 3 cm/1¼” tall), fragrant and covered in pink flowers at this time of year. So beautiful!
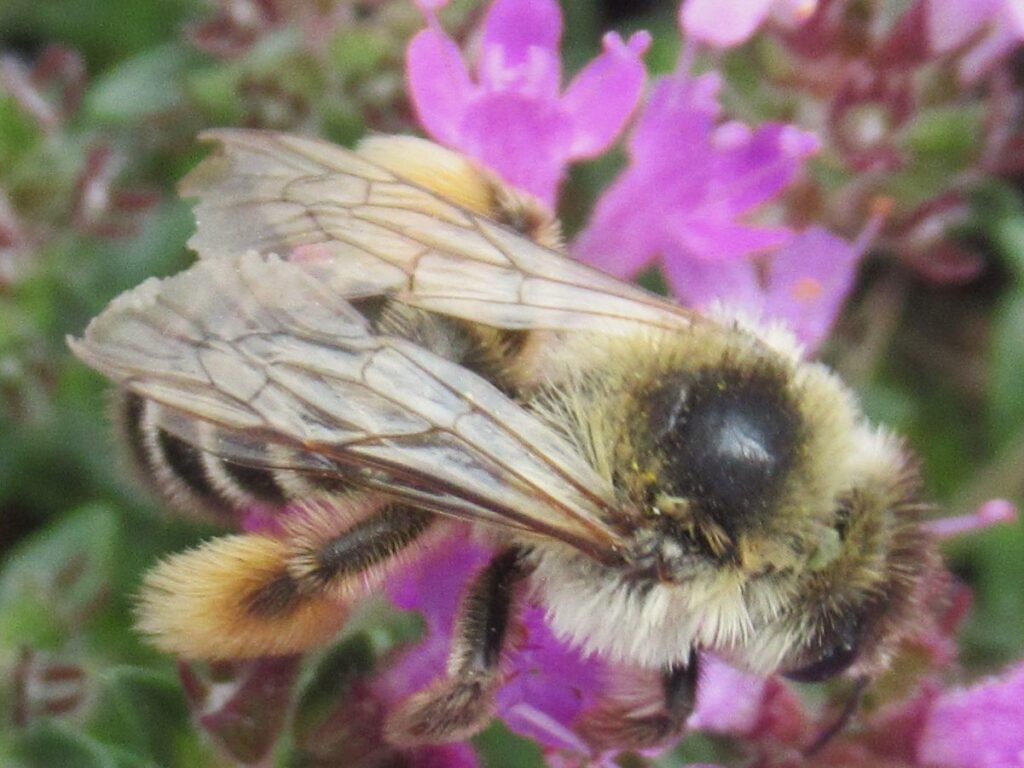
Looking closely, I saw some bees on it with very hairy legs.
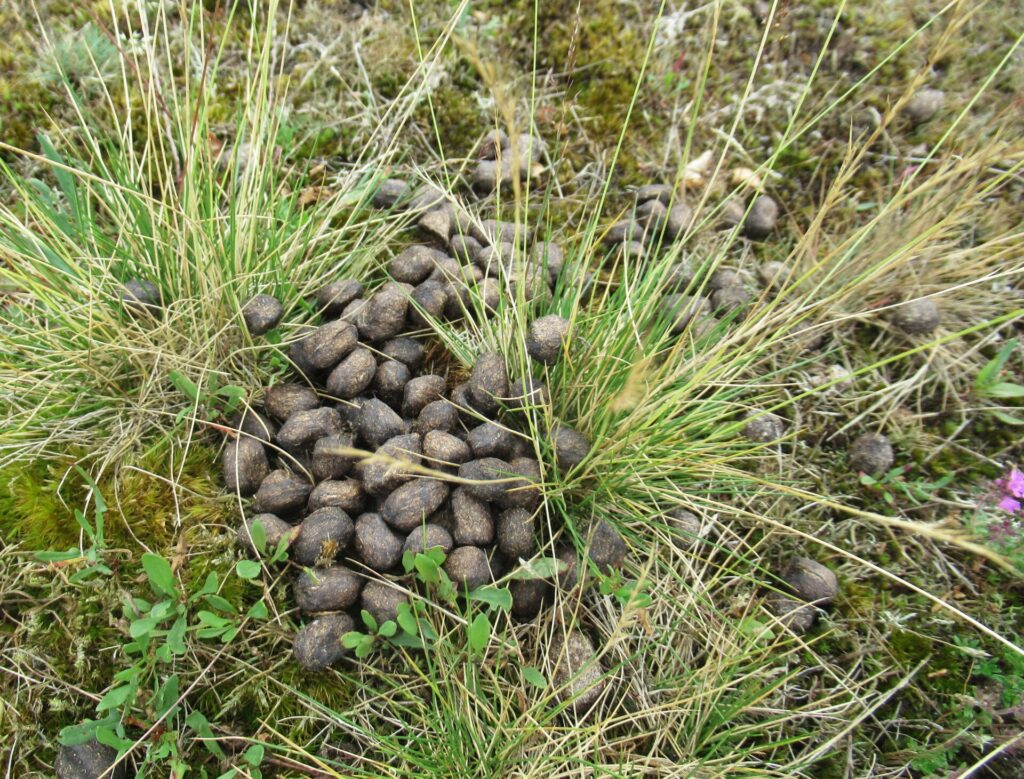
The Plant Atlas of the Botanical Society of Britain & Ireland says about this thyme that it grows, ‘…especially in areas disturbed by rabbits or sheep.’ Exactly.
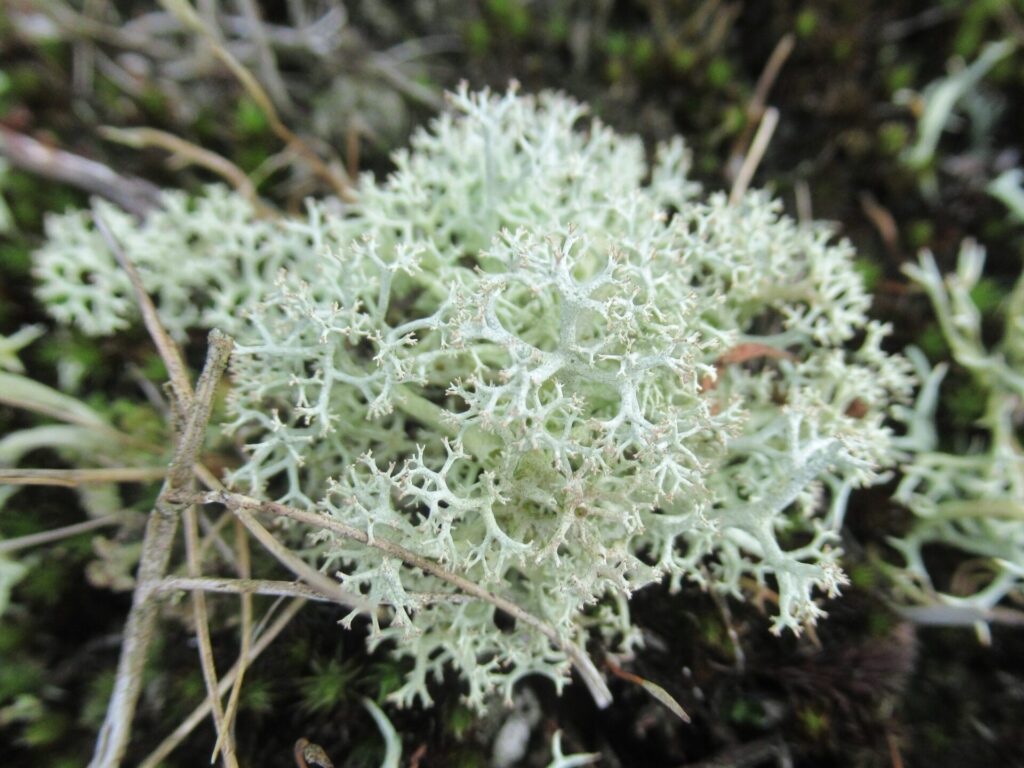
Within seconds the thyme shakes me out of my slump and I begin to notice other small and beautiful things. Like lovely little tufts of lacy lichens.
And small blue butterflies fluttering around the heather. ‘How about making one of those?’ a voice inside of me whispers.
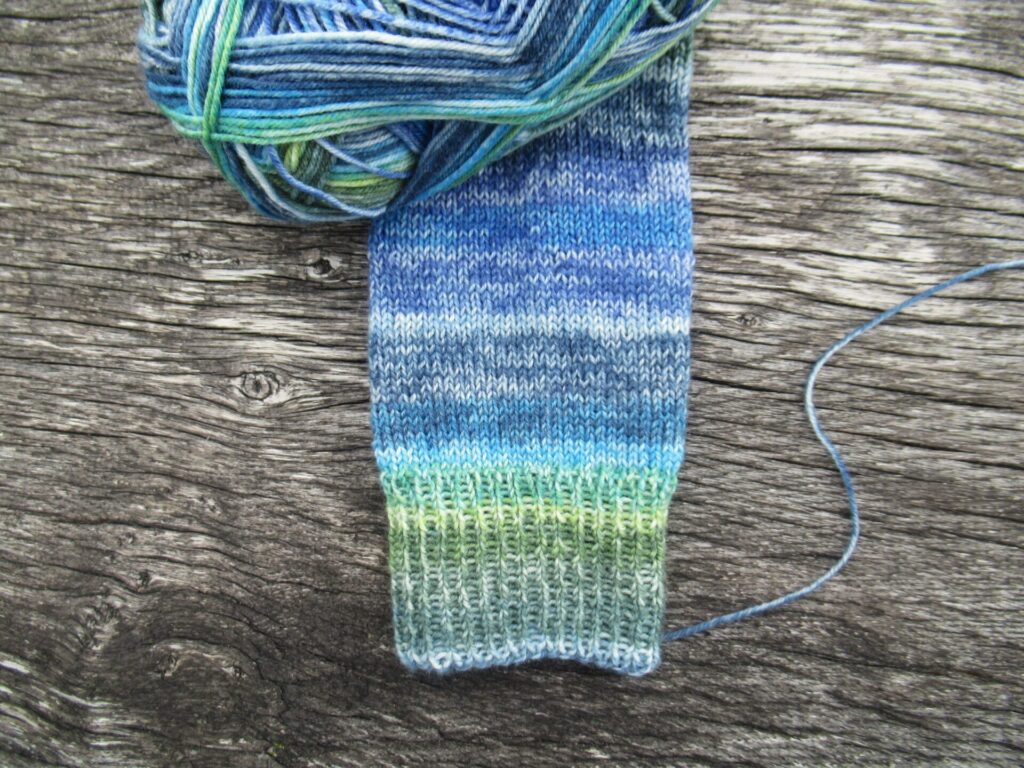
Since our walk, I’ve been hearing more whisperings. It isn’t always clear what they’re telling me, but I feel quite sure I need to listen to them. One of them was very specific, though, and made me cast on a pair of simple socks in a yarn that looks like a water colour painting of a Dutch landscape.
Two takeaways from this walk:
It’s okay to allow yourself to be sidetracked from time to time – it may lead to rabbit or sheep poo, but also to beautiful discoveries.
Small things can bring great happiness.
I can’t say that my knitting mojo has miraculously returned, but I’m feeling more positive. I’d miss chatting with you here on my blog too much, so won’t be taking that break. Only, until my knitting mojo decides to put in an appearance I expect to be writing about side tracks with very little idea of where they’ll be taking us. I hope you don’t mind, hope you’re doing well and hope to see you again next week!