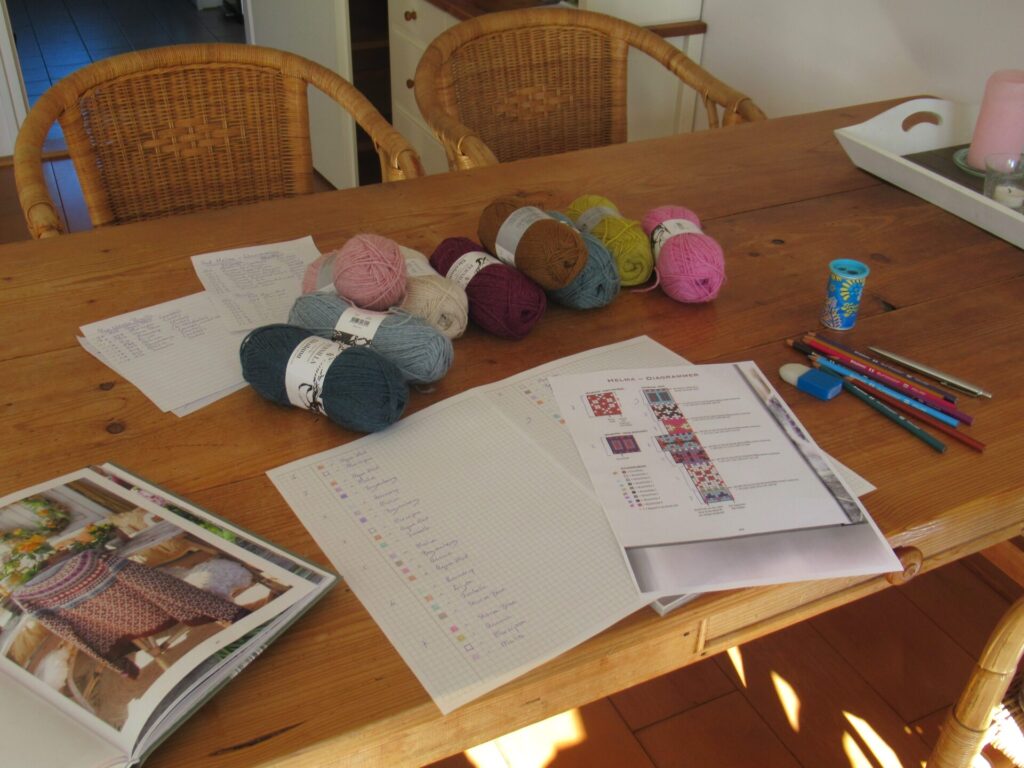
Today I’d like to talk a bit about the swatches I’ve knit for Helma, a cardigan with a stranded colourwork yoke in 9 colours and a 2-colour stranded all-over pattern on the body and sleeves. I hope this’ll be interesting not just for Helma knitters, but also for other stranded-colourwork projects.
I’ve been knitting two kinds of swatches: 1) Swatches to determine the colour distribution, and 2) Swatches to determine the tension/gauge. Let’s start with the first.
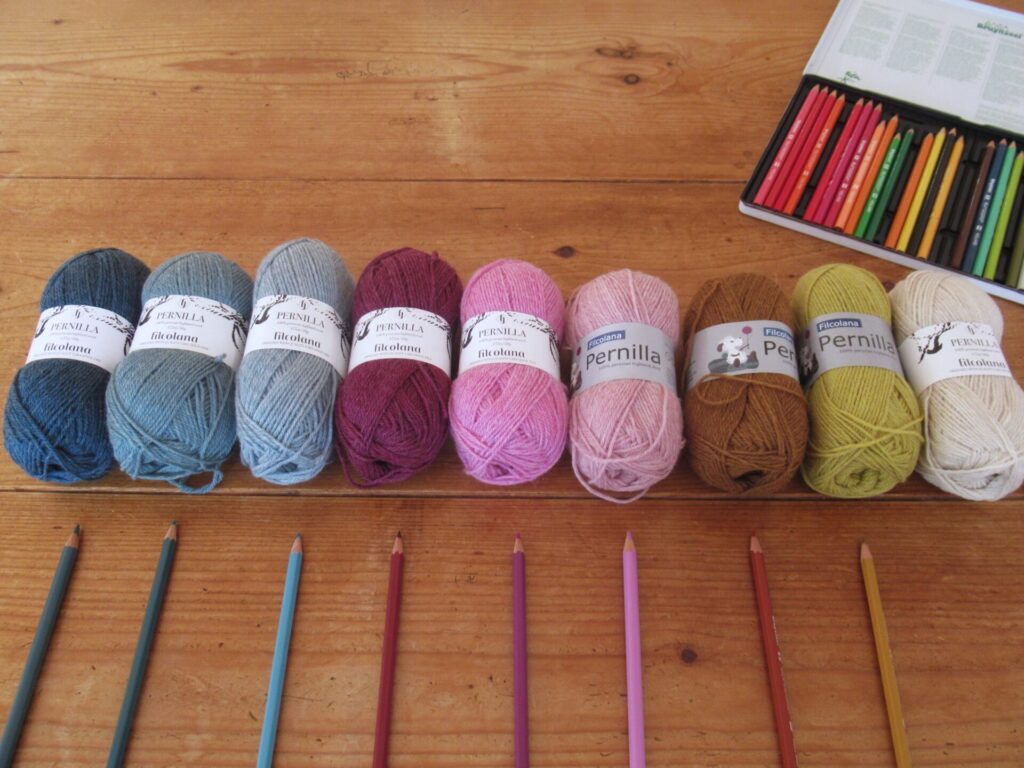
1) Swatches to determine the colour distribution Before I even started knitting swatches, I looked closely at the pattern’s colourwork charts to decide which of the designer’s colours I could replace with which of mine. I got out some coloured pencils in order to try things out on paper first.
This turned out to be so time-consuming, however, that I quickly gave it up. (I also have software for things like this, but somehow that didn’t quite work for me either.) By now, though, I had already discovered that simply substituting the same of my colours for the same of the designer’s colours everywhere wouldn’t always work. Because the designer used colours from 4 colour groups, and I chose colours from just 3 colour groups (see this post), there would not always be enough contrast in my version.
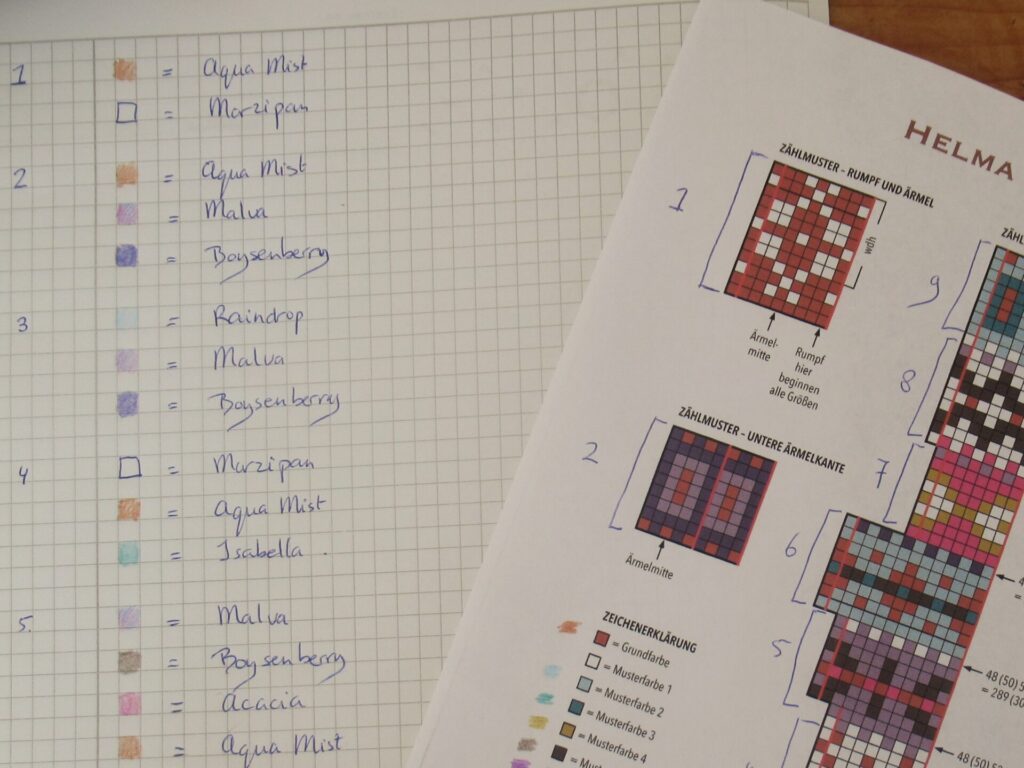
What I did next, was divide the yoke chart up into sections and look at colours for the sections separately.
The rules I set myself were:
Where the designer uses a dark colour, I’ll use a dark colour, too.
Where the designer uses a medium/brighter colour, I’ll do the same.
I’ll use ‘white’ (actually pale beige) in the same places the designer does.
For the designer’s ‘pop’ colour, I’ll also use my colour that pops out (yellow).
I’ll try to distribute my colours evenly over the yoke.
This way, I came up with a colour scheme for each section and wrote it down next to squares I coloured in with the original colours.
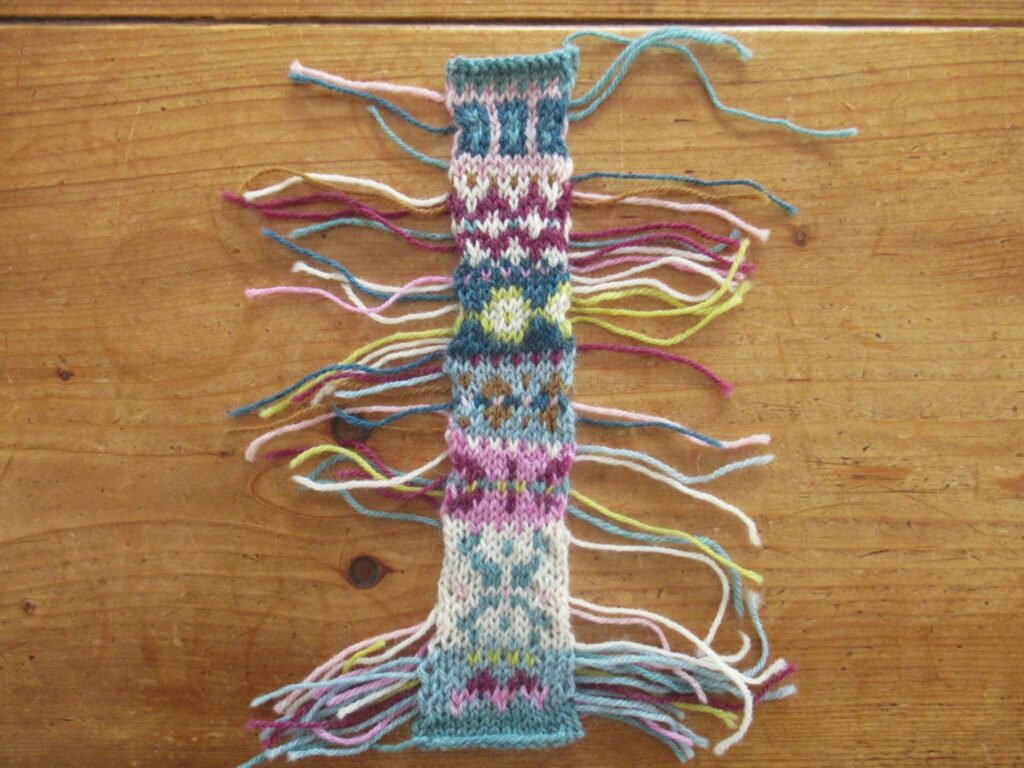
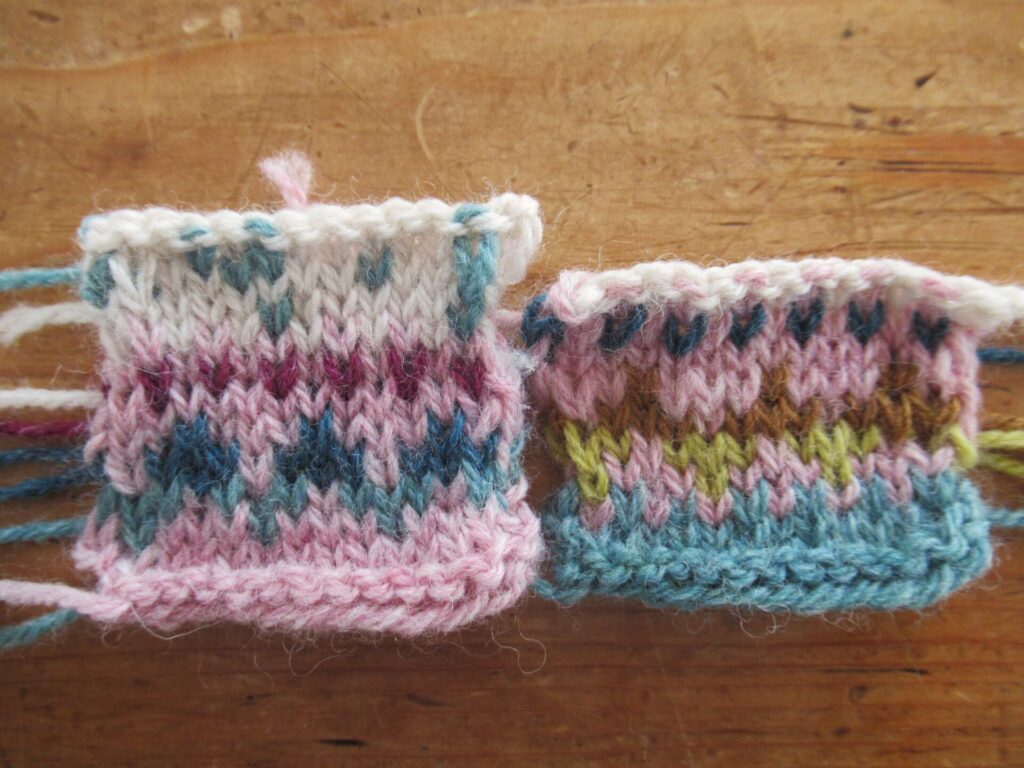
Now I was ready to start swatching. Not wanting to waste too much yarn or time, I made a narrow swatch (13 sts) for the entire yoke sequence.
Reasonably but not entirely happy with the colour distribution, I knit a couple of even stingier swatches for one section (bottom of swatch above).
Hmm, one of them definitely wasn’t an improvement and one of them was. I could also see from the rest of my long and narrow swatch that in some places colours just ‘disappeared’ and would have to be replaced with stronger ones. To solve this, I swapped colours here and there without trying them out, just noting them down on paper. So, that was the colours sorted. Next:
2) Swatches to determine the tension/gauge The cardigan is knit in the round, with only knit rounds (no purling). I’d have to mimic that in order to get a good impression of the gauge. A flat swatch knit back-and-forth wouldn’t work, because the way I knit, purl rows are always slightly larger than knit rows. In other words, I’d have to have all knit rows. As my gauge is always tighter knitting a small circumference (e.g. a sleeve) than a large one (a yoke or body), a small swatch knit in the round would not work either.
So, what I did was make a flat swatch knitting every row. This means starting every row on the right-hand side, breaking off the yarn at the end of each row and sliding the stitches back to the right needle tip. For me, the gauge of a flat swatch knit this way is similar to large circumference knitting in the round.
(I could have done that without breaking off the yarn, leaving a long float at the back, in order to be able to unravel the swatch and save yarn. Jared Flood calls this circular speed swatching. I find this extremely cumbersome, though, trying to get the floats long enough and not too long.)
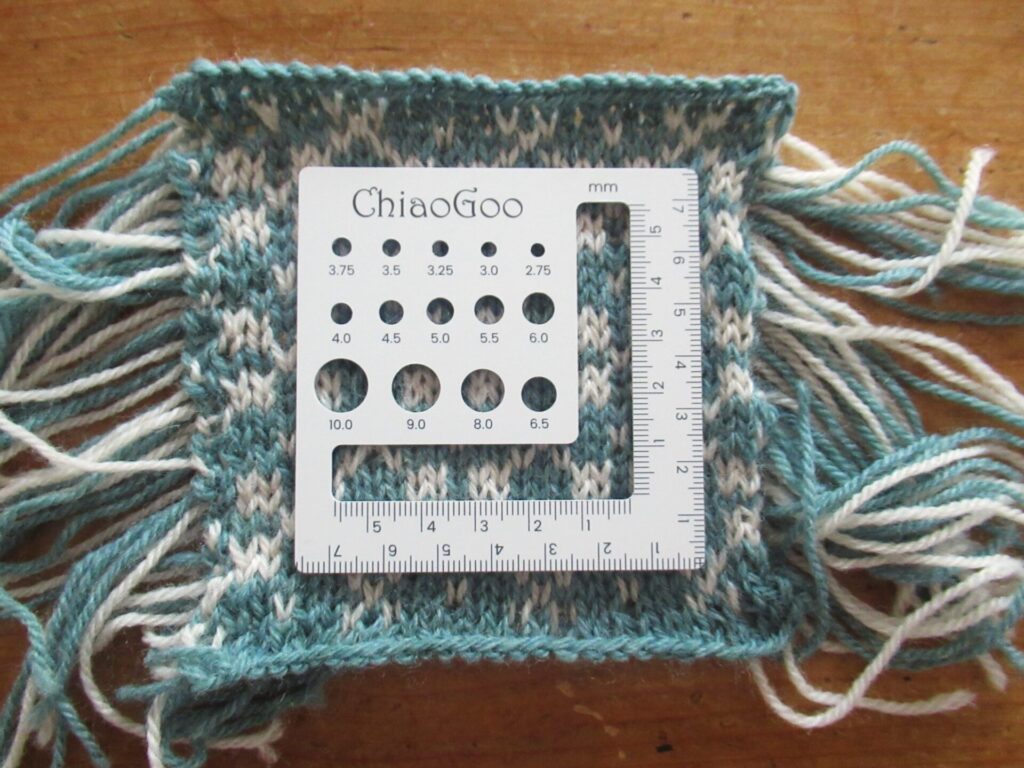
I do not mind swatching, but do not love it either and prefer not to make my swatches too large. In this case my swatch ended up smaller than the standard 10×10 cm/4×4”. As it happened, a dear knitting friend came for a visit last Friday and gifted me just the right tool for measuring small swatches (photo above). Thank you, L, it comes in very handy!
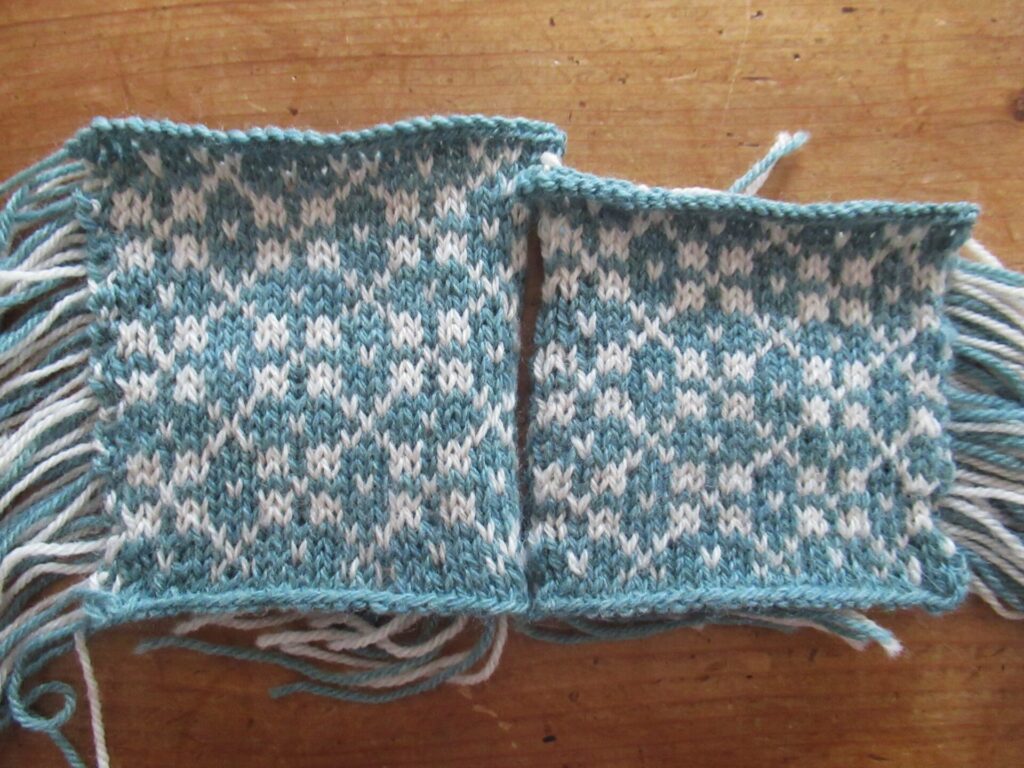
I really liked the fabric of my first swatch, but the gauge was way off. I was aiming for 24 sts to 10 cm/4”, but got 28 sts. That means that if I were simply to follow the pattern for, say, size L, I’d end up with a size S. So, I knit another swatch.
That was 26 sts to 10 cm/4”. Still too small. Going up to even larger needles would give a far too loose and open fabric. What to do now? I think I’ll go for a needle size in between the first and the second swatch to get the fabric I like. I’ll do some maths, and will then follow the instructions for a larger size that will (hopefully) result in a cardigan my size.
Phew! Explaining this concisely was really hard and I hope it all makes sense. Time to finally start on this project! I’ll try to find a less technical and more relaxing subject to write about for next time. Hope to see you again then!
6 thoughts on “Swatching for Stranded Colourwork”
In my experience, these kind of yarns, combined with the seamless construction in the round, will usually lead to a change in gauge after washing/steaming and wearing. I usually end up with a fabric that gets wider and shorter. So, stitch gauge 26 might become 25 or even 24, and the opposite with row gauge. So, I usually knit my round-yoked sweaters quite tight and a little longer than desired, for the best result. Also, yarns like Pernilla tend to bloom when you wash or steaming them, filling up ‘holes’ in between your stitches. If you can, I would definitely steam your swatches and manipulate them a bit when they are damp, to get a better idea of the end result.
On another note: This cardigan will be wonderful!!
Thank you – that’s good to know! I did wash my swatches, but haven’t steamed them. Fortunately, I haven’t cast on yet. Will definitely steam them first for a better estimate of the end result. And I don’t want my cardigan too short, so I think I’ll add a few centimeters to the length.
You did a great job, both with your project, yarns and colour choices, as with writing about it. I love, love, love colourwork knitting, and was so pleased to see you writing about it.
It is a beautiful pattern, I assume it is only available in a book? Because I can’t find it on Ravelry.
Okay, stop, what am I doing??!! I have so many patterns I want to knit, I don’t need another pattern suggestion 😂. But I do love what I see on the picture.
Since this is a cardigan, you’ll be steeking. Will you keep us updated, and show us that part as well?
Currently I am knitting a testknit, a sweater in 13 colours, but I decided I wanted to use “only” 10 colours. It was not possible to just substitute the 3 colours, because that would have resulted in parts where the colourwork had to be knit with one colour 🤭, so I had to change the whole chart (74 rows). I enjoyed the process very much, have knitted the body and half of the first sleeve. It is a sweater, but there is still steeking involved, for the armholes and in the neck. I’ll be writing about it soon on my blog (https://eenleukleven.blogspot.com/).
By the way, washing and blocking your swatches is a good idea, but do it the same as you will do your cardigan. So if you lay your cardigan flat to let it dry, do that with your swatches too, or you might end up with a different gauge.
I admire you for all the swatching. I hardly ever do, I know how useful it can be, but I find it so boring and time consuming, I just want to knit garments 😄.
The Helma cardigan pattern is on Ravelry (here), only not available via Ravelry and without pattern photograph. You can take a look at other knitters’ Helma projects, though. I wrote about the book in which it is published in this post. (Or maybe you’d rather not click on that in case the temptation is too strong? 😉 I’ll certainly be writing about the steeking process when I get to it, but that’ll be a while. Your test knit cardigan looks stunning – you did a great job substituting the colours. Your yarn is more suitable for colour knitting than mine, which is more slippery. I already had some struggles with that during the swatching, with stitches coming undone at the sides. Well, I’ll take it step by step and see how it goes. Enjoy finishing your beautiful autumn coloured cardigan! (And I’m sure you already have the next project lined up.)
Good to refresh! Swatch along in life…
Wat een fijne blog Marijke! 💚